Some people have asked me whether a glass bed is actually an upgrade. In my opinion, the answer is yes for a few reasons.
One of the most obvious reasons is that the surface of a glass bed is smooth, which will ensure that the bottom of the part you’re printing is smooth as well.
Glass is also more durable than other materials and will therefore cost you less over the long term because you won’t have to replace it as often. However, it’s easy to scratch if you’re not careful during bed leveling. I just flip the bed over to use the other side once the glass has a few too many scratches. The scratches will create scratch lines under the part if you print on them.
Another advantage of glass is that it conducts heat very well, so the bed gets up to temperature quicker and has better heat distribution.
It’s easy to remove and clean the bed in your sink. You can also wipe it off with cleaning alcohol on the side you’re going to print on for a perfect finish.
Warping isn’t as much of an issue with a glass bed, which is going to make bed leveling more accurate. You can account for warping with devices like the BL Touch, but it doesn’t beat having a straight bed to begin with. I still use the BL Touch with my glass bed because it assists in the leveling process, but warping is one less defect that it needs to account for.
If you haven’t already upgraded to a BL Touch, I highly recommend you do so. This is one of the best value for money upgrades you can do for your printer. (BLTouch on Amazon.com)
3D Printer Glass Bed Options
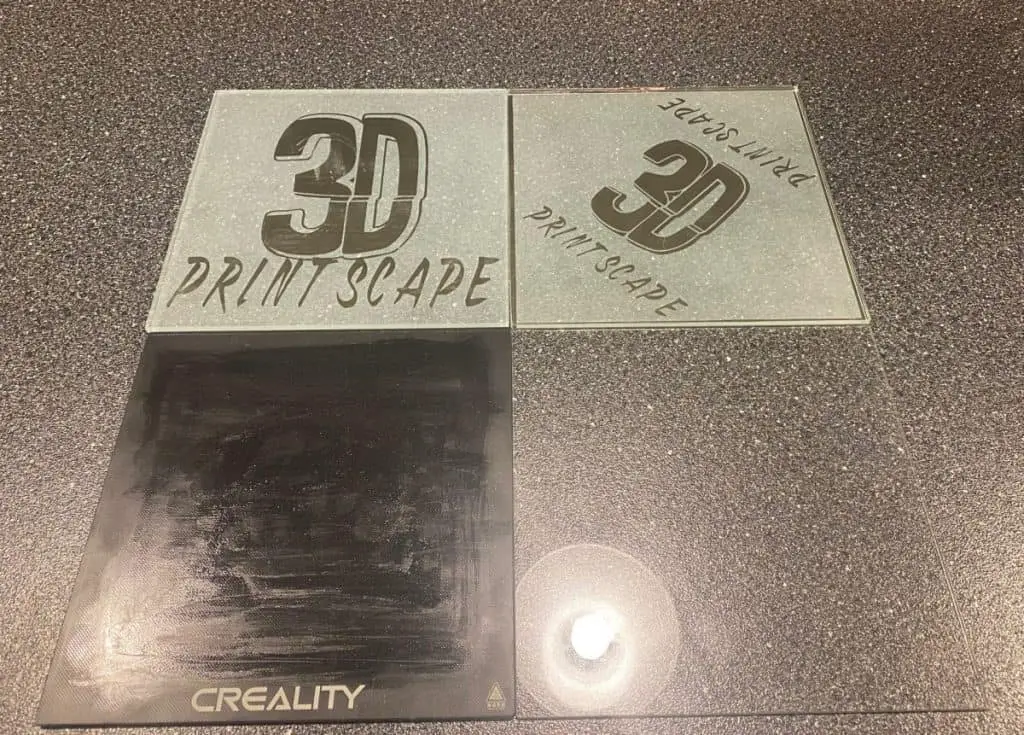
I have two glass beds for my Ender 3. Here’s a quick rundown of each. I also cover the Ender 3 Pro Glass Bed Upgrade video I have on my YouTube channel.
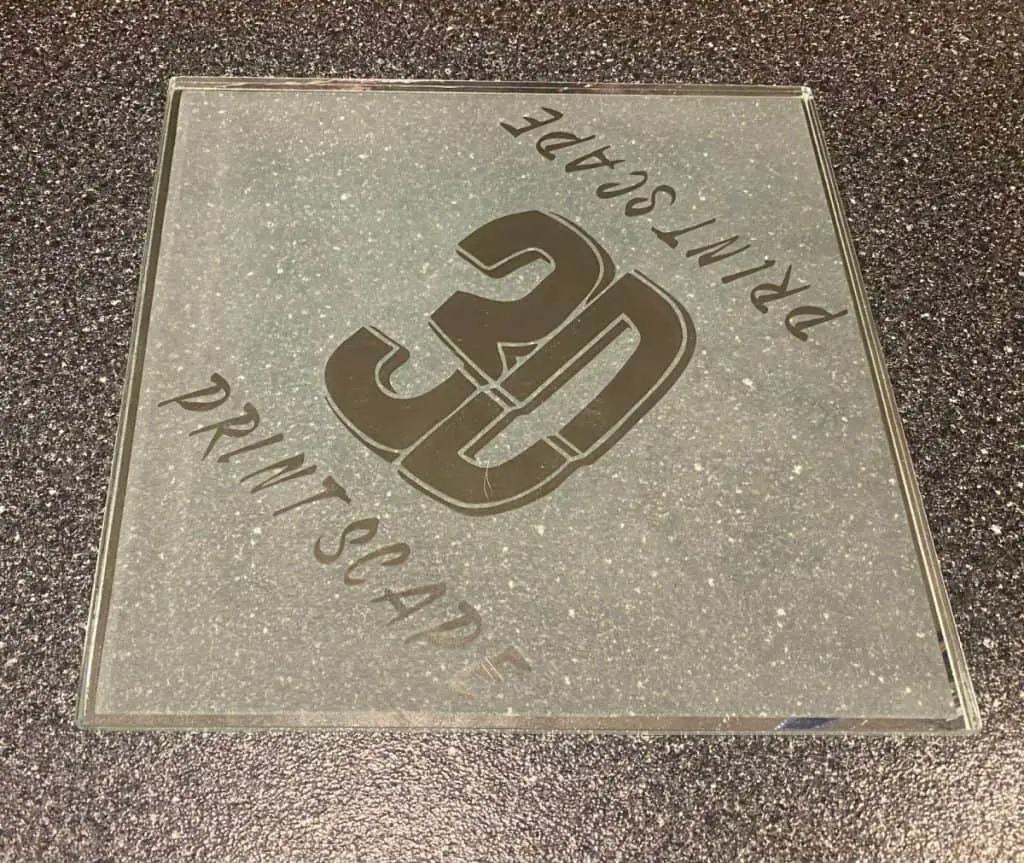
Generic glass 235mmx235mm
You can upgrade to a glass bed at a very low cost if you buy a standard 235mmx235mm piece of glass. These are usually thinner than an actual Creality Glass bed but only by around 25%. I like this type of option because it gives me two smooth sides to print on, some glass beds are textured on one side to help with adhesion, but the surface isn’t as smooth as pure glass.
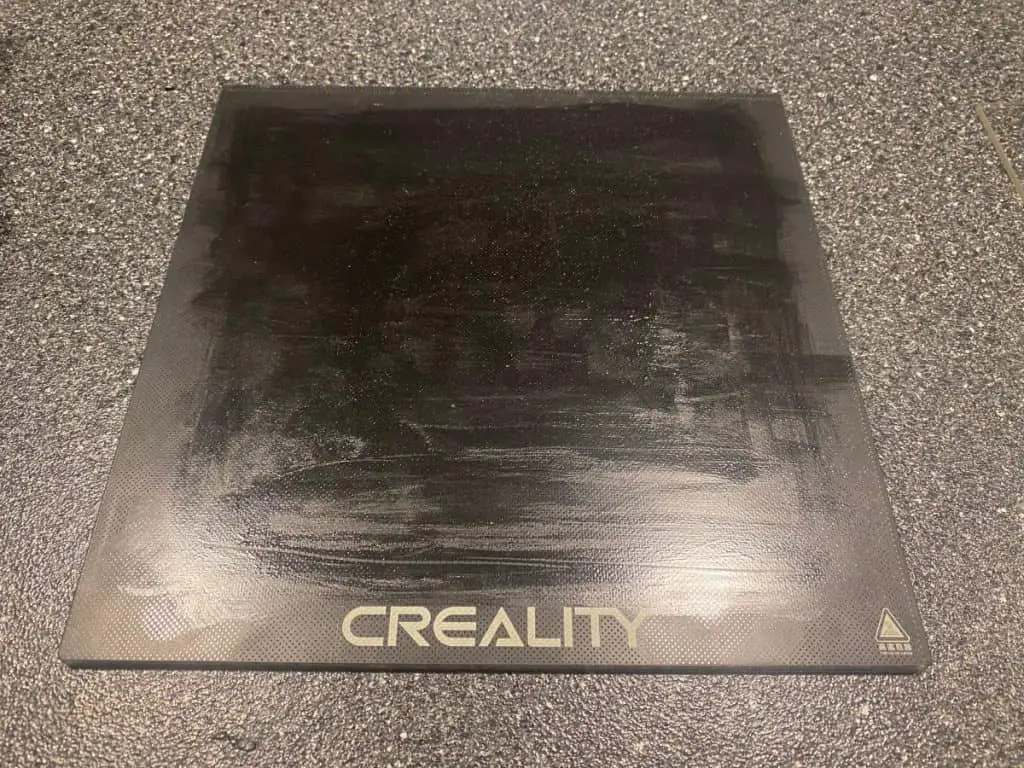
Creality Ender 3 Glass Bed
This bed has a textured side for better adhesion, but it isn’t as smooth as flat glass. I’ve heard some people flip it over and use the smooth side, but the problem with that is that it will take longer to heat because the glass won’t be directly on the heat plate.
The good thing about this glass bed is that it’s 4mm thick. A generic piece of glass is usually around 3mm. So this will be much more resistant to breaking if there are any accidents.
Remove The Magnetic Sheet
This is optional, but the reason I wanted to mention it is that there are people that have problems with it sticking to the glass. The other problem is that temperatures of higher than 80 degrees weaken the magnetic strength and cause bed shifting.
But if you’re only going to print with PLA, you won’t have to worry about any high temperatures.
So the decision is yours, either peel the magnetic strip off with the help of a putty knife or install the glass bed on top of it.
Drop The Build Plate Low
Before you put the bed onto the build plate, reduce the height as low as it will go. This creates a good starting point for the rest of the process.
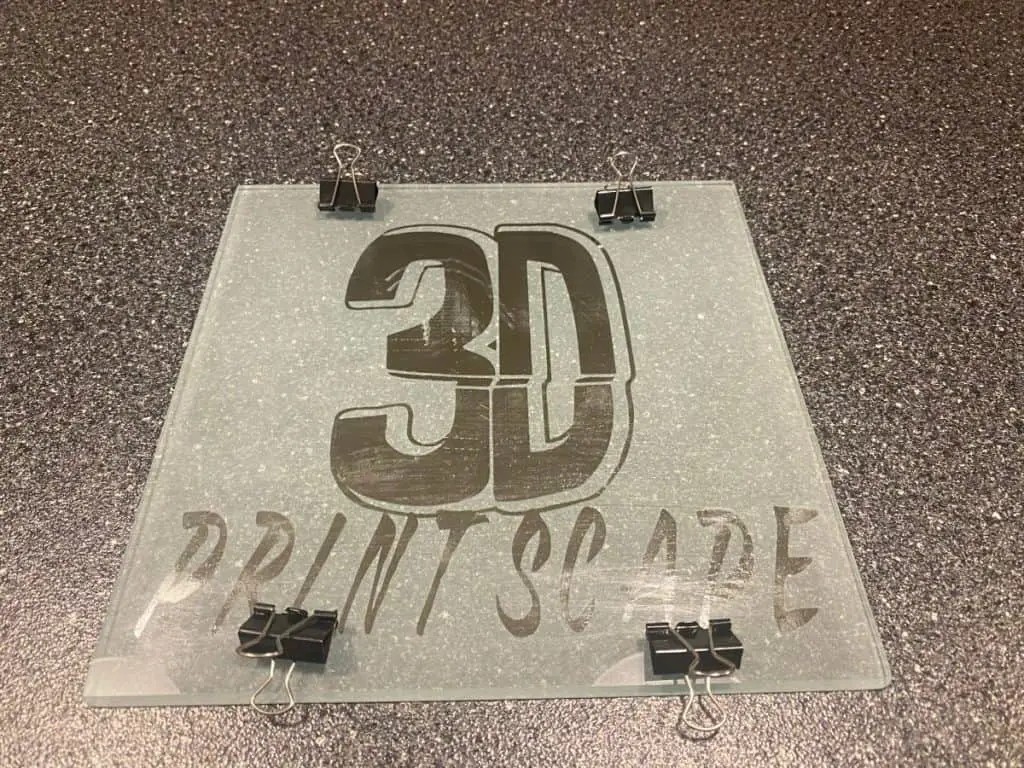
Secure The Bed With Binder Clips
Binder clips like these on Amazon are perfect for securing a printer bed and most people do it this way. Just use two clips on each side to hold it down.
Remember to check the disallowed areas in your splicing software and make sure that the clips are within the restricted area. I will explain how to do this in the next section.
How To Add Restricted Areas In Cura
If you’re using an Ender 3 Pro, there won’t be any restricted areas by default so you’ll have to add them. You also may have previously removed this code to get the full use of your previous print bed. Here’s how to find the profile and add the code:
- Go to the Cura installation directory. The default location in Windows is on the C drive inside Program Files.
- Go into the Ultimaker version that you’re using. Then open “Resources”, and then “Definitions”. Here’s the path: C:\Program Files\Ultimaker Cura 4.6\resources\definitions
- Now go to the printer profile, which should be labeled “Creality_ender3pro”
- Make a backup of the file by copying it before editing.
- Open the file as administrator with Notepad.
- Copy and paste this code into line 15 if you’re using an Ender 3 Pro.
“machine_disallowed_areas”: {
“default_value”: [
[[-117.5, 117.5], [-117.5, 108], [117.5, 108], [117.5, 117.5]],
[[-117.5, -108], [-117.5, -117.5], [117.5, -117.5], [117.5, -108]]
- Save the changes and restart Cura.
The restricted areas should be back in the preview window. You can adjust the numbers in this code to get the perfect sizes.
Raise The Z Stop
It’s best practice to raise the z stop to compensate for the thicker glass bed. This will make it less likely for the nozzle to scratch the bed, especially with 4mm glass.
Loosen the two screws on the side of the printer so that you can move the stopper up. Place the glass under the stopper and tighten the screws.
If you have a BLTouch, you don’t need to do this, but it won’t hurt any if you do.
Perform Bed Leveling
It shouldn’t take longer than a few minutes to level the bed. I like to use cardstock because it’s durable so it won’t tear if things get rough.
- On the printer LCD, go to “Control”, “Prepare”, “Auto Home”.
- Now disable the stepper motors by going to “Prepare” and “Disable Stepper Motors”
- Move the first corner of the bed under the printer nozzle.
- Slide the paper between the bed and the nozzle and adjust the dial under the bed until you feel a bit of resistance on the paper.
- Move to the next corner and repeat the process.
- After all four corners, move the nozzle to the center of the bed and perform the leveling there as well.
- You will need to go around the bed three or more times if it’s the first time you’re leveling the bed.
Glass Bed Leveling With BLTouch
If it’s the first time you’re leveling the bed, you’ll need to go through the manual leveling process above to make sure the nozzle doesn’t scratch the bed when you first power it up. After performing the manual leveling, do this to level with the BLTouch:
On the LCD, go to “Menu” – “Movement” – “ABL”- “Z Offset” and turn it on.
The nozzle will move around as the BLTouch probes the bed for measurements. If there’s any deviation, it will compensate for it.
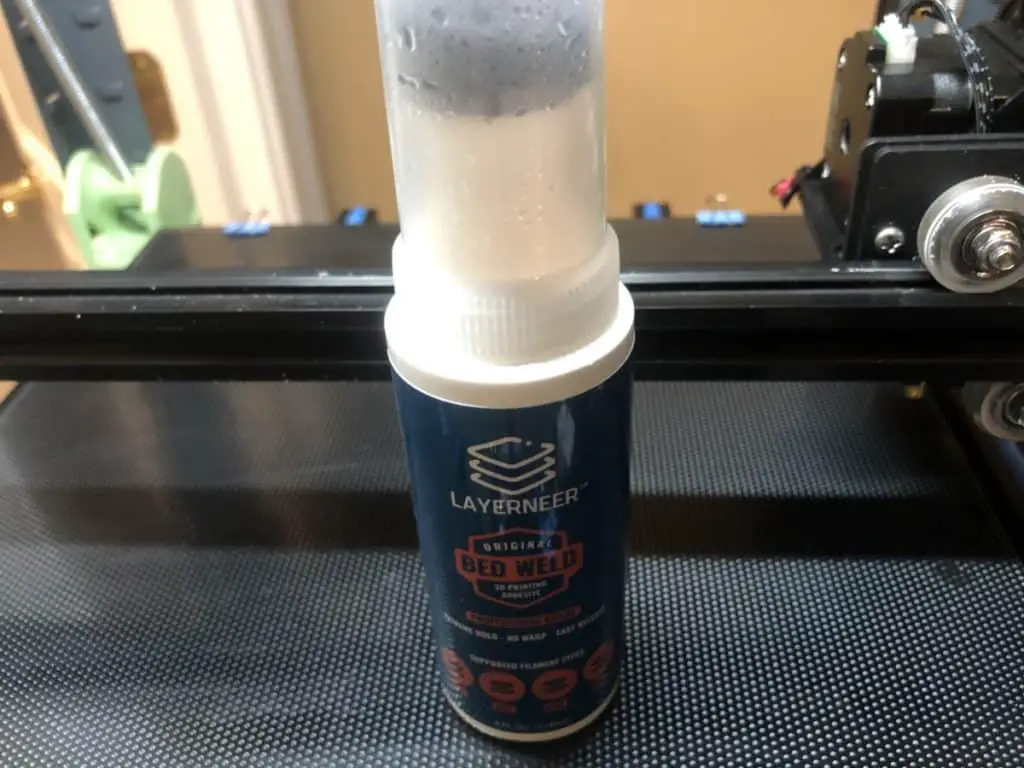
Adhesion For Glass Bed
If you’re using smooth glass, you’ll need to increase the adhesion in some way. My favorite solution is Bed Weld, here’s how it looks on amazon.com: Bed Weld.
Other solutions include hairspray and a variety of glues.
Related Articles
- Cura Brim Build Plate Adhesion – Everything You Need to Know!
- Best 3D Printer Build Plate
- How to Get Your Print to Stick to the Build Plate
- Ender 3 Bed Leveling Issues – Common Causes and Fixes
- Top Ender 3 Printable Upgrades – My Picks!
- How To Connect Ender 3 to PC
- Ender 3 Pro Cura Setup – The Basics (2021 Edition)
Conclusion
A glass bed is definitely an upgrade, in my opinion. I like the smooth finish it produces, and it heats up really fast. So if you’re looking for the same benefits and more, a glass bed isn’t expensive, it’s one of my favorite low-cost upgrades. After that, the BLTouch should be your next upgrade at about twice the price of a glass bed.
Make sure you check out our YouTube channel, and if you would like any additional details or have any questions, please leave a comment below. If you liked this article and want to read others click here.
Glad to see good info on a site. Did you acid etch the back side of the glass?
Crusty old Chief
I believe its a heat vinyl on the back, but not sure. A subscriber made it for me.