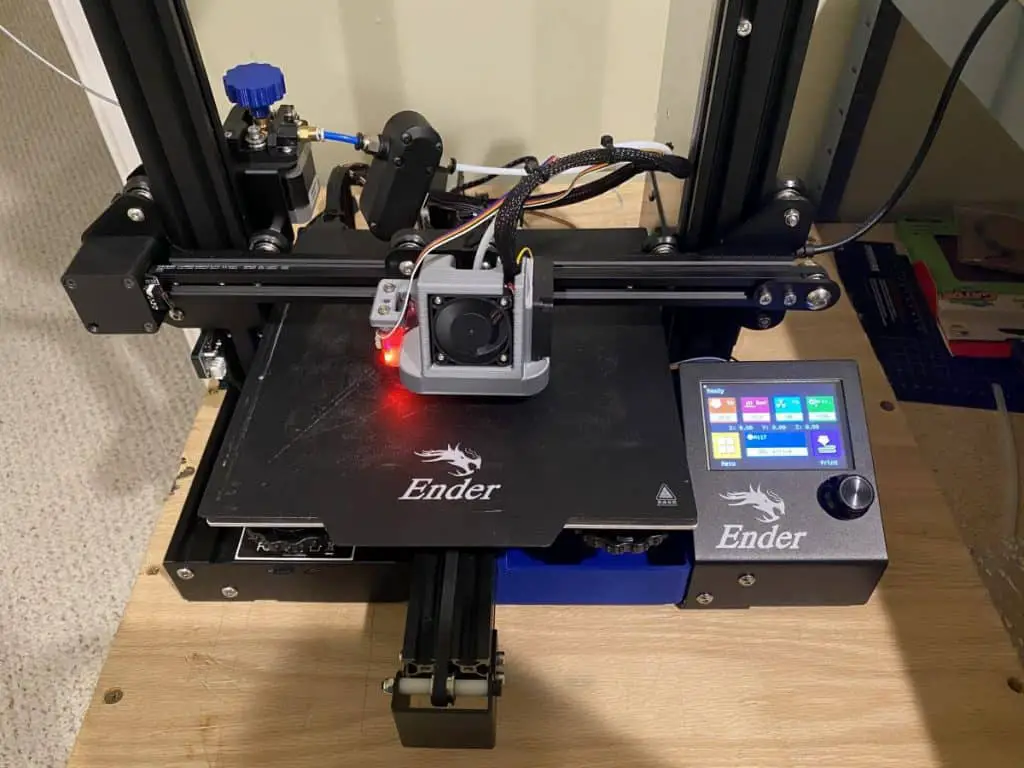
You need to print these upgrades as soon as possible to get the most out of your Ender 3. Some upgrades make the printer safer to work with and others increase the printing performance.
The Ender 3 design is very basic in order to keep the price low enough for most people to afford. This means you can upgrade it easily by printing a few extra parts.
You won’t need to buy anything else like nuts and bolts for these prints, just print and attach. Most of these prints have little overhang if you position them on the bed correctly. (In Cura before you print) So you don’t have to worry about printing supports or anything else besides loading the file and printing.
All these upgrades were created for the Ender 3 specifically and I’ve verified the compatibility to make sure they all work.
Printable Upgrades Preparation
Here’s some advice before you print your upgrades.
- Consider the filament color. I like to use black filament whenever I want to blend the upgrades in with the printer. Blue also matches up with the black paint of the printer.
- Read through the instructions on thingiverse.com to understand the upgrade entirely before printing it. Read through the comments on the part to get more input from other people who’ve already printed it.
- If these upgrades are the first things you’re printing and they have defects, you’ll need to go over your printer assembly and make sure the bed is level. Here’s a short video on bed leveling the Ender 3 with no tools.
- After that, print a benchy to see if there are still any defects. Here’s one of the most popular ones to print called “The Jolly”.
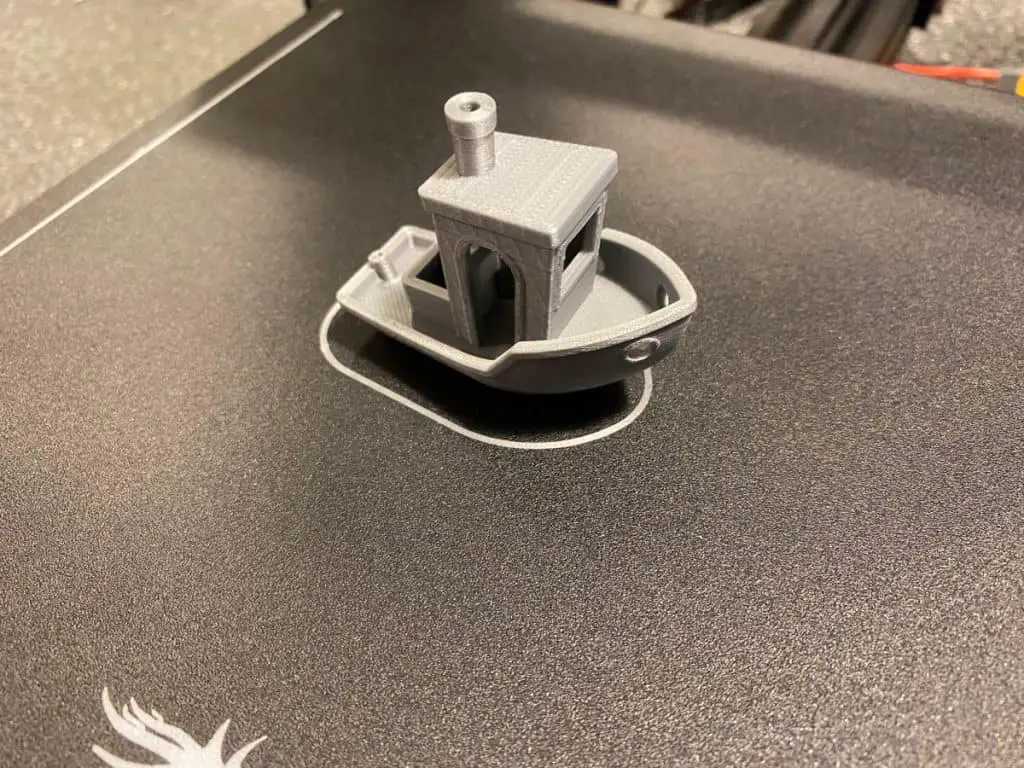
- Once you’ve printed the Jolly successfully, you can start printing upgrades for your printer.
What Should I Upgrade First In Ender 3?
You should upgrade the z-axis with a stepper spacer first to get perfect spacing and prevent binding. After that, I suggest printing the Petsfang Duct to help cool the filament at the nozzle. Both of these upgrades are performance upgrades, which is why I suggest printing them first.
The fan cover is also high on this list because it makes the printer safer to use by covering the upward facing fan.
I’ve arranged these upgrades in the order I advise you print them. Starting with the upgrades that affect the performance of the printer before the appearance. This way, each print should lead to an even better one.
Z Stepper Spacer

This is the perfect sized spacer to prevent the leadscrew from binding. It aligns the z motor perfectly so you don’t need to leave the motor loose or use paper spacers.
Z Stepper Spacer: Link
Fan Duct Cover
There are two popular options when it comes to fan duct covers, so i will cover them both.
Satsana Ender 3 Fan Duct
The Satsana Ender 3 Fan Duct is one of the most popular covers and the one I personally went with. It does a great job at balancing the air between both sides of the nozzle and helps provide a better overhang and bridging. I cover the full install in the video below.
One other thing that is worth pointing out is installing this fan duct cover reduced the overall noise produced by the printer. I wasn’t expecting that when I did the install but the difference was definitely noticeable.
Satsana Ender 3 Fan Duct: Link
Petsfang Duct
The Petsfang Duct is also a popular printable upgrades for the Ender 3. It channels the airflow from the fan to cool the filament more accurately and effectively than the default design.
This is a performance upgrade because it gives your Ender 3 the ability to print with less supports. You’ll get a tighter overhang because the filament gets cooled so quickly it doesn’t have time to droop.
With better cooling at the hot end, you’ll also get better layer adhesion.
Petsfang Duct: Link
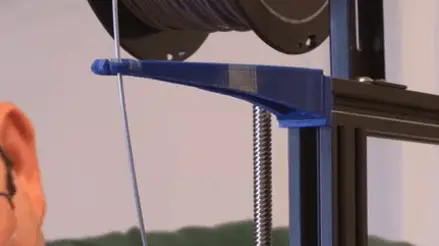
Filament Guide Snap In (Top)
This upgrade snaps into the top of the Ender 3 for you to guide the filament through. It keeps the feed smooth and consistent, which can also reduce strain on the extruder.
Filament Guide Snap In (Top): Link
Filament Guide (Bottom)
The bottom filament guide serves the same purpose as the top. It keeps the filament moving consistently.
Filament Guide (Bottom): Link
Ender 3 Fan Cover
The design of the Ender 3 has the fan facing upwards, which makes it vulnerable to pieces of filament falling inside. This upgrade will protect the fan from any falling debris.
Fan Cover: Link
Cable Chain
A cable chain will keep the rear printer cable neatly out of the way.
Cable Chain: Link
Pressure Fittings
These keep your PTFE tubes from popping off. You may have received a couple of these in the box but here are the print files if you ever need to replace them.
Pressure fittings: Link
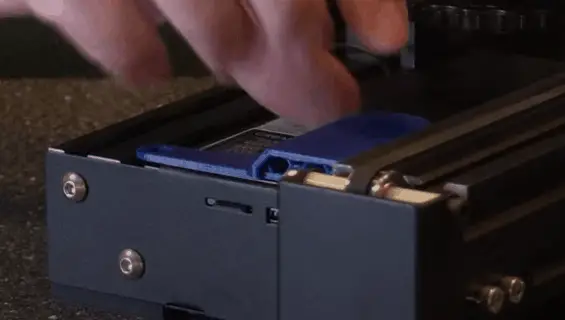
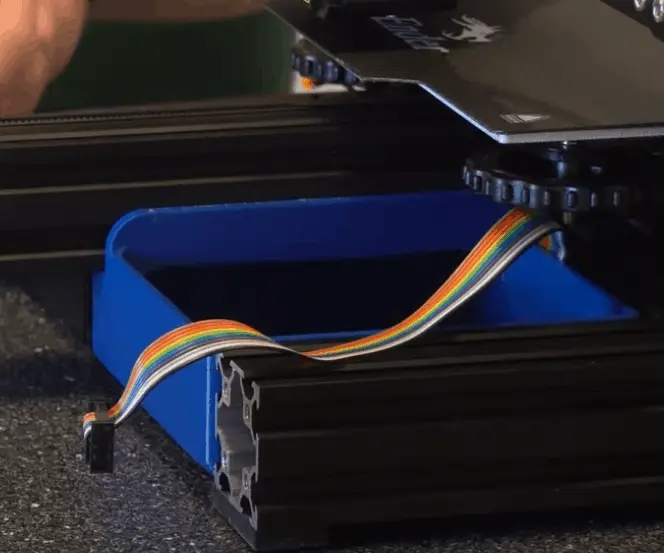
Display Ribbon Cable Clip
Use these ribbon clips to position the cable neatly against the base of the printer. Prevents anything snagging on it and makes the printer look much neater.
Display Ribbon Cable Clip: Link
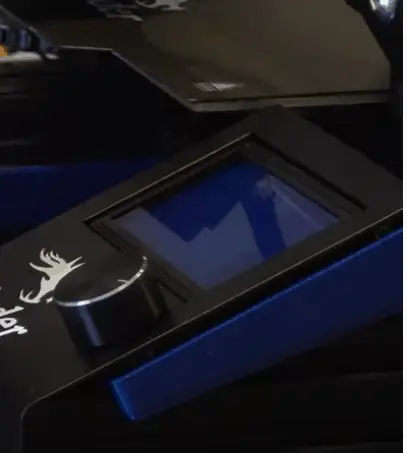
LCD & PC Board Covers
This printable upgrade has two features in one print. It covers the LCD to prevent it from illuminating the room at night.
The other side of the part covers the PC board behind the LCD to protect it from dust. It also makes the printer look way better.
LCD & PC Board Covers: Link
Bed Handle
The Ender 3 bed can reach temperatures of up to 230°F / 110° so this handle will prevent you from burning your fingers. It’s also just more comfortable to move the bed around with a handle.
As a final bonus, you can add a camera mount to this handle to create exceptional time lapses or monitor your prints.
Bed Handle: Link
Camera Mount: Link
Base Shelf
There’s a good amount of space in the front of your Ender 3 where you clipped the ribbon cable. That space is ideal for a toolbox to keep all your 3D printing gadgets.
Base Shelf: Link
Extruder Knob
An extruder knob is useful for feeding filament to the nozzle. When you’re loading up new filament or need to purge filament from the nozzle after a print.
Extruder Knob: Link

Z-Axis Manual Adjustment Knob
This z-axis knob makes it easy to raise and lower the hot end at any time, even with the steppers disabled. It comes in handy for moving the nozzle away from a failed print.
Z-Axis Knob: Link
Control Knob Cap
My favorite benefit of these caps is that they give you one finger control. So you can spin your finger around fast to adjust those percentage settings, or just for quick menu navigation.
Control Knob Cap: Link
Related Articles
- Ender 3 Pro Cura Setup – The Basics (2021 Edition)
- How To Connect Ender 3 to PC
- Create a Temperature Tower Using Cura – The Easy Way
- Cura Profiles
- Cura VS Simplify3D – Which is Right for You?
In Summary
The first few upgrades on the list are highly recommended not only by me, but thousands of others that have printed them over time. The upgrades toward the end aren’t absolutely necessary but they add a lot of value to the printer in my opinion.
Make sure you check out our YouTube channel, and if you would like any additional details or have any questions, please leave a comment below or join us on Discord. If you liked this article and want to read others click here.