The first layer of a print is the most critical because the rest of the print is literally built on top of it. There are several factors that can cause issues with the first layer but the filament not sticking to the bed is by far the most common. In this article, I’m going to cover why build plate adhesion is important and how to actually get your print to stick properly.
Unfortunately, there is no silver bullet when it comes to build plate adhesion as many factors come into play. Some of which are easy to account for, others not so much. The most common issues are the bed not being properly leveled, incorrect temperatures being used on the build plate or extruder, and no adhesion solution being used. To fix most adhesion problems verify your bed is level, make sure you are using the correct temperatures for the type of filament being used, and make sure you are using an adhesion solution that is compatible with the filament being used.
Verifying your bed is level is really step number one if the bed is not level your print will turn out bad, even if you manage to get it to adhere properly. Once your bed is level you will want to make sure you are running everything at a temperature that is compatible with your filament, the filament manufacturer should give you a temperature range to use. I have been running my bed at 60 and my extruder at 205 °C and that has worked fine for all the PLA filament I have tested. After that look into the adhesion solution being used, if any, as this tends to be where most of the issues are.
I will be covering each of these areas along with why build plate adhesion is important in more detail later in the article so keep reading to find out more. Also, I am aware that this list is not fully comprehensive but it does cover the 90/10 rule. If you have an issue that falls into the 10% category and needs assistance feel free to reach out to use and I will help try to solve your issue.
What is Build Plate (Bed) Adhesion and Why is it Important
In simple terms, build plate adhesion is the ability of the printed material to be able to stick to the print bed. If for some reason your print fails to stick it will most likely result in the entire print to fail. I personally have never been able to save a print once a section failed to stay adhered to the build plate.
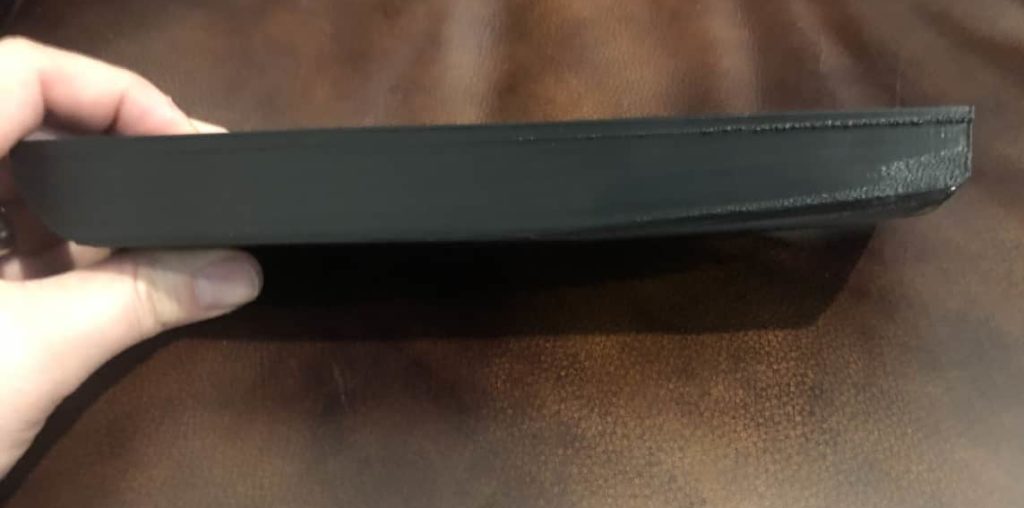
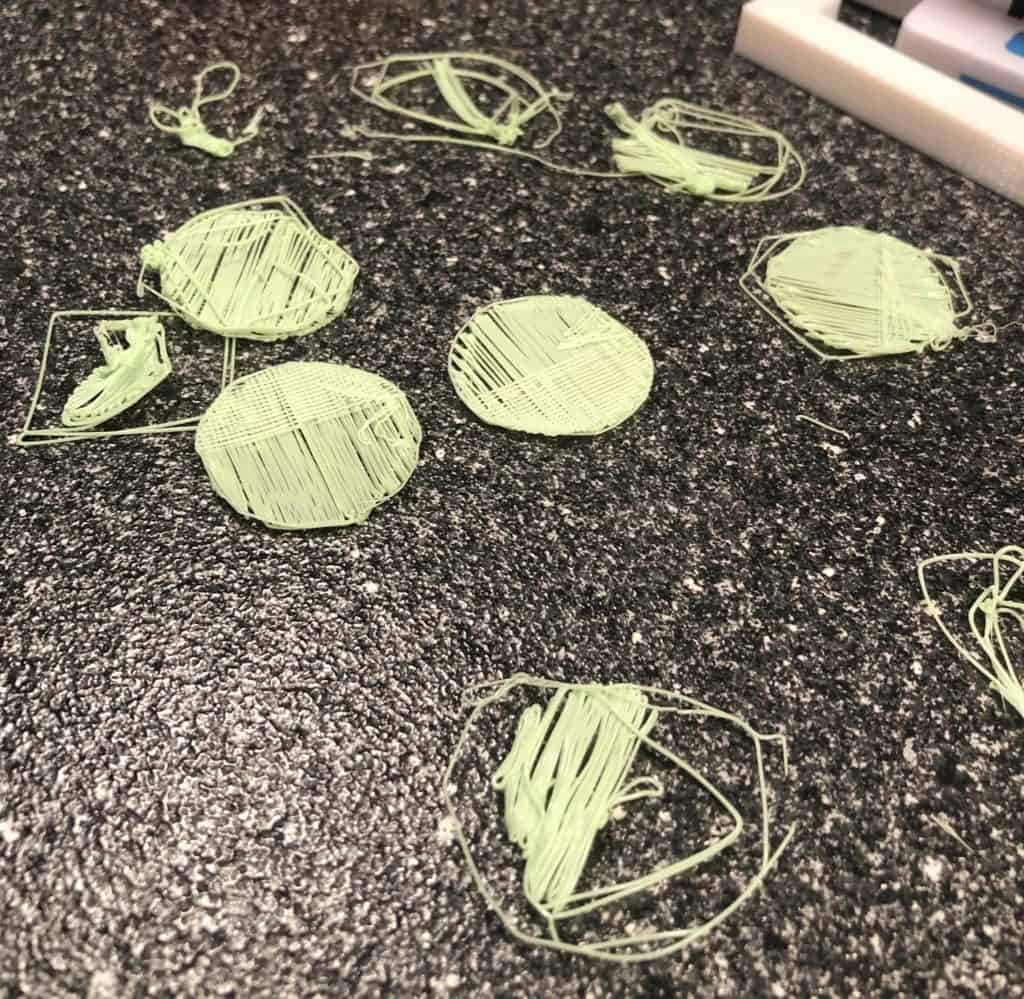
This can happen on the first layer or any subsequent ones. I have seen many prints start off fine then fail about an hour or so into the print because one part got knocked around or failed to stay adhered to the print surface. It’s even worse if you kick off the print before bed and wake up to a mess of a print. Here are a couple of examples of what can happen if a print fails to adhere, or stay adhered, to the print bed.

Leveling Your Print Bed
Having a level print bed is really a requirement for any 3D printer regardless of type. A level print bed really does these two things.
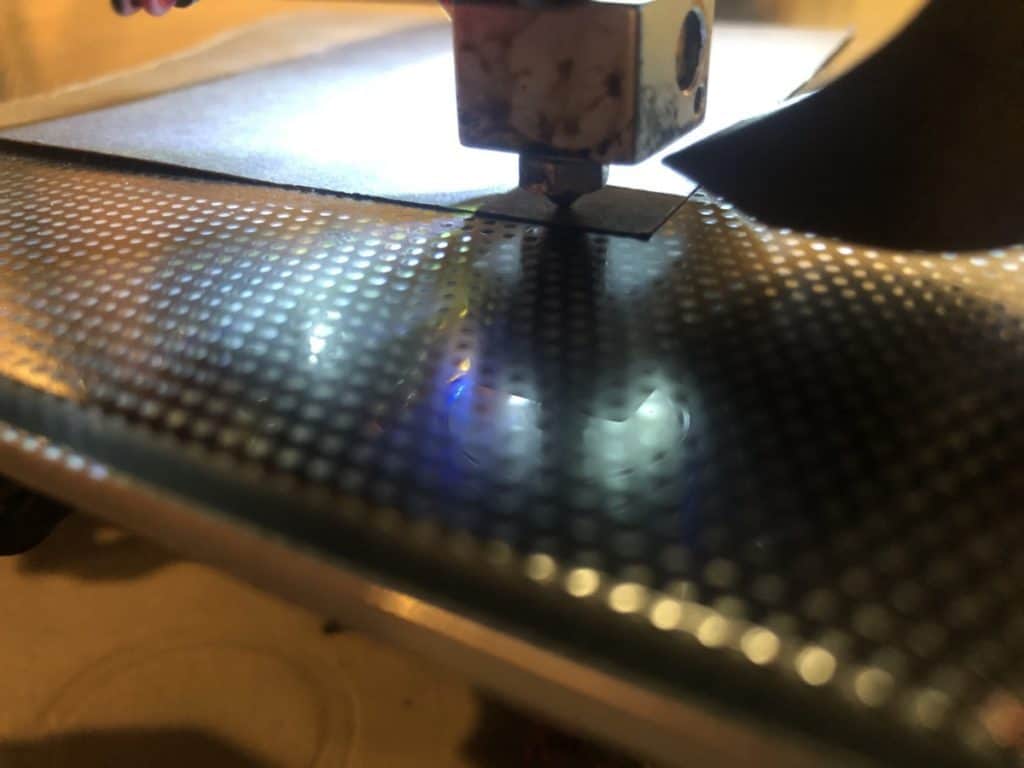
- It helps make sure the filament is close enough to the build plate to be able to stick. If the hot end of the extruder is too far away from the build plate it can cause unwanted spacing on the bottom of the print or cause the print to not stick and fail. If its to close it can cause scarring on the print or warping.
- It ensures the print will be level and come out as expected. If the printer bed is unlevel it can cause an assortment of problems including prints not sticking to the bed and dimensional inaccuracy.
The bed leveling process can be different based on the printer you have but the steps below should be similar across the board. If you have a 3D printer that has an auto-leveling bed this process can be skipped.
- Run through the X-axis height adjustment
- Go to Prepare and select the X Height Adjustment option
- The height should be set at 10 mm from the frame, many printers come with a preprinted piece that can be used here.
- Go through the bed leveling process
- Go to Prepare and select the Manual Bed Leveling option
- The extruder will move to the front left of the bed which is the first leveling point.
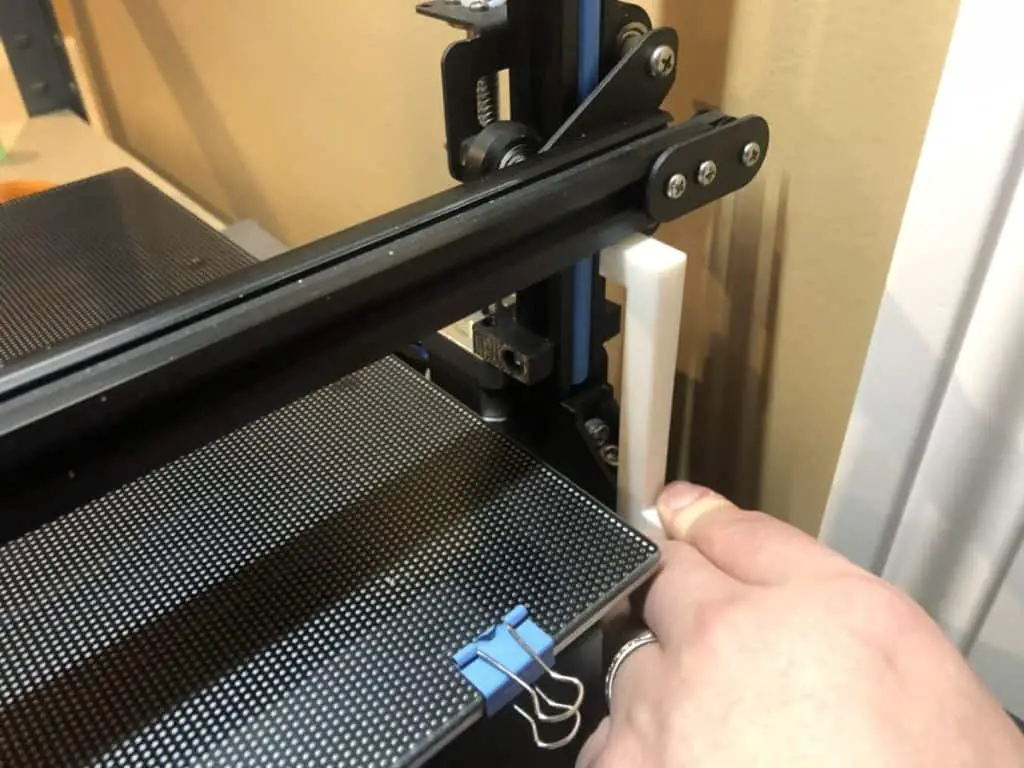
- Grab a leveling tool or a piece of construction paper (I use construction paper here)
- Use the hand screw nut under the bed to adjust the height so that the nozzle just touches the construction paper. Once done hit Next Point to move to the next leveling point. Repeat the same thing for the next 4 points.
- Repeat the entire process at least 3 times. I tend to do it four or five times depending on how large the needed adjustments are.
You should now have a level print bed. You will need to do this from time to time as general printer maintenance.
*** My examples here are going to be specific to FDM printers but the same principle applies to pretty much all 3D printers.
Choosing the Proper Temperature for the Filament Being Used
Printing something at the wrong temperature can lead to the filament not sticking to the print bed, the final print having blemishes, stringing and oozing, along with a variety of other possible issues. This is easy to solve for and shouldn’t bed overlooked because it will end up leading to time wasted later. If I’m working with a filament I haven’t worked with before I will typically take the average of the range provided and use that as a starting point.
For example, Overture’s PLA filament has a recommended nozzle temp of 190 – 220 °C and a bed temperature of 25 – 60 °C. I would take the average of the two values (rounding up) and start there, so in this case, I would start with 205 °C and 45 °C respectively. If I have any issues with those temperatures my next step would be to print a temperature tower (here is an example of one from Thingiverse) and look to see what temperature has the best results.
** Note: If you end up needing to print a temperature tower make sure you actually change the temperature at the correct layer. Some slicing software allows you to make the change in the software, others don’t and will require you to make the changes in the G-code.
Build Pate Adhesion Options
The built plate adhesion option you choose will have the largest impact on the print actually sticking. This is really the most important section but I added in as the third step because if your print bed isn’t level or you’re running the printer at the wrong temperatures you are going to have problems regardless of how well the filament sticks.
Adhesion Options
Glue Stick: You can use any glue stick but the Elmer’s disappearing purple works well and you can see exactly where the glue was added. There are also “3D printer glue sticks” on Amazon but they are more expensive and I’m not sure they would do a better job. The downside to glue sticks is they can be messy to work with and need to be applied before every print.
Hair Spray: Hair spray works pretty much the same way as glue sticks but can be messier and if you’re not careful you can cause problems with other printer components. I personally don’t like using hair spray but have a couple of friends that swear by it. If you decide to go with hair spray the Aqua Net Super Hold works the best.
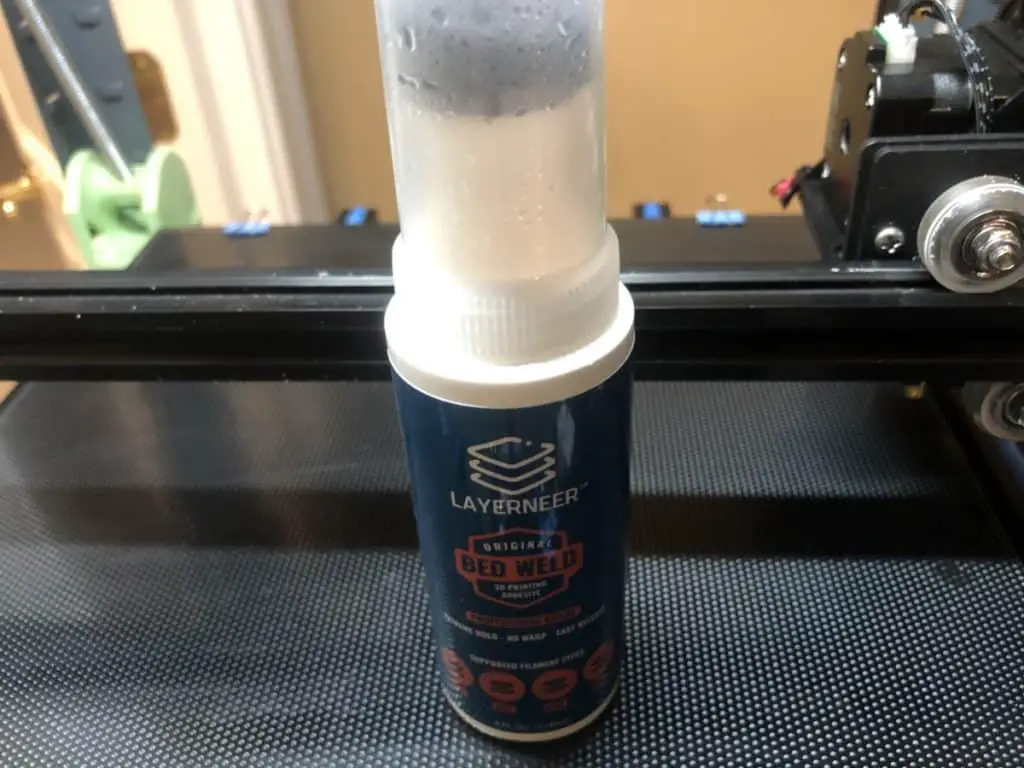
Specialized 3D Printer Adhesive: There are specialty 3Dprinter adhesive like the Bed Weld Original by Layerneer that work very well. I am about 50 prints into the bottle I purchased and it doesn’t seem like any is actually missing so it will last a long time. My only complaint with this option is you can’t really tell when you need to recoat. I have been cleaning my glass bed every five prints or so but there is no way to know for sue when you need to reapply it.
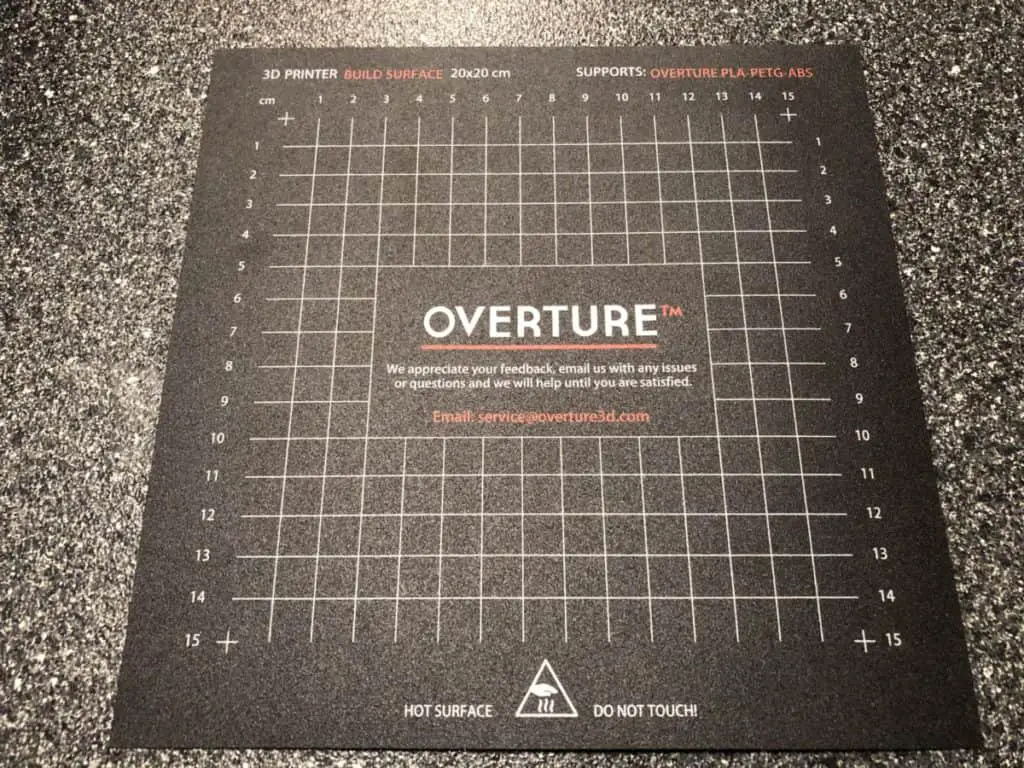
Replaceable Build Surfaces: Replaceable build surfaces like the 3D Printing Build Surface is a popular option among hobbyists, albeit more expensive. I’m going to move over to these once my bottle of Bed Weld is gone. The life span of a single sticker sheet can vary but people on Amazon are saying they can get 100+ prints on a single one.
Note: Make sure the option you choose works with the filament type you are using.
Additional Options
Clean the Print Bed
One thing you will want to do on a regular basis is to clean your build plate. Even if your using a good adhesion option you can still run into issues where the dust will cause your print not to stick. As a general rule of thumb, you should clean the build plate every time you apply a new coat of adhesion to it.
Add a Brim or Raft to the Print
If you have tried everything above and are still having issues getting your print to stick you can look at adding a Brim or Raft to the print. I typically only use the Brim option but wanted to make sure I coved both.
A Brim basically adds a flat layer that is connected to the print around the base. This makes the bottom surface larger, essentially giving the print a larger area to stick. The downside of using a Brim is you end up using a little more filament and you need to remove it after the print finishes.
A Raft adds a thick grid with a top that the print will be built on. This can be a good option for prints that don’t have much of a base or that don’t have a flat base. The raft settings are more difficult than the Brim ones because it’s broken into three layers. A Raft does use more filament than a Brim and is more difficult to remove.
Summary
The first layer of any print is the most critical because it’s the foundation for the rest of the print. If you have issues here it’s likely your print will fail. The most common first layer issue is the print not sticking to the bed and can typically be fixed by making sure your build platform is level, verifying that you are using the correct temperature for the material being printed, and making sure you are using a good adhesion solution.
If you would like any additional details or have any questions please leave a comment below. If you liked this article and want to read others click here.