No matter how well you set your printer up, it’s still highly likely that you’ll experience print defects from time to time. After months of use, screws can loosen and gantries can go out of alignment.
Z banding, or “ribbing”, is one of the least common issues you’ll encounter, but I noticed a few people asking about it. So I decided to write this article which goes through every possible cause of Z banding and how to fix it.
Some of the advice here applies to the Ender 3 but if you have a different printer, most of the information here will help you as well.
What Is Z Banding In 3D Printing?
Z Banding in 3D printing is a defect in the Z axis that causes print layers to protrude from the part. So the part ends up with obvious layer lines that ruin the appearance of the print. Z banding makes it impossible to print parts with a smooth finish. It’s a print defect found in FDM printers caused by multiple factors which I’ll cover shortly.
Z banding occurs when the printer doesn’t move straight up and down the Z axis during a print. This is caused mostly by lead screws or motor shafts that are bent. Loose screws are also a common cause of defects like Z banding.
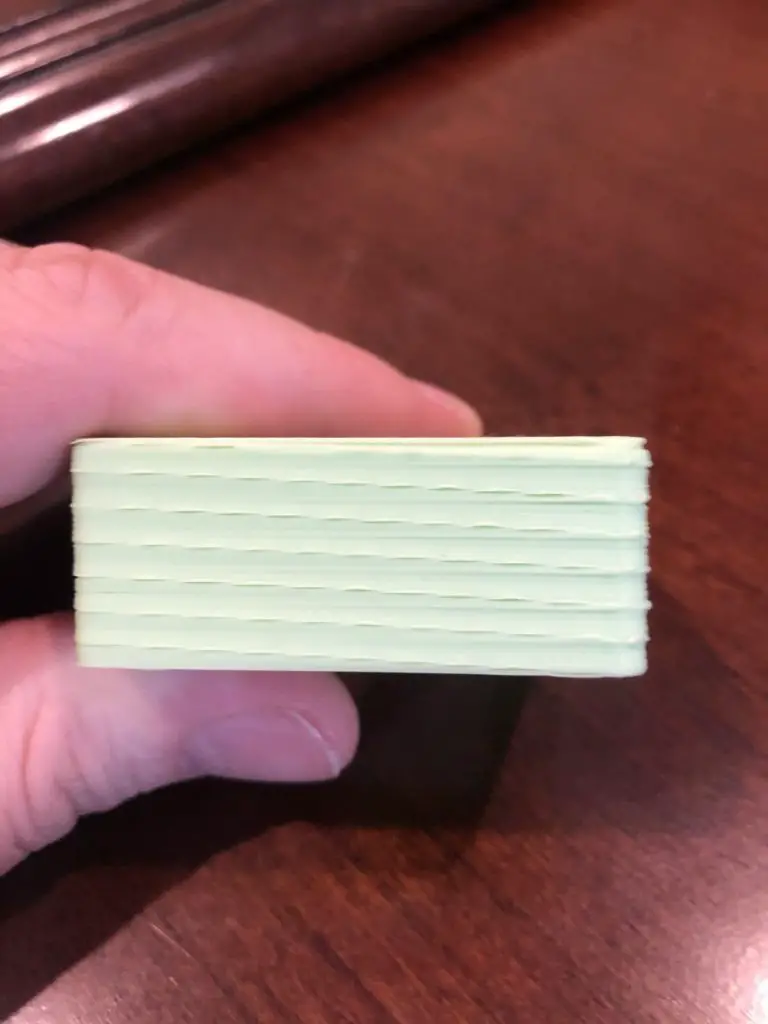
What Does Z Banding Look Like?
Z banding looks like lines or ribs on a print where it should be smooth. Z banding is usually the appearance of a uniform pattern in print layers that stick out from the part. Sometimes, Z banding looks like a bulge around the part in only a few layers, with the rest of the model looking normal. Z banding results in a ribbed surface instead of a flat one.
Causes Of Z Banding In 3D Printers And How Fix It
There are a lot of reasons Z banding could occur. I’ll explain the most common causes and then go over how to resolve them.
Loose screws on the X axis gantry
Loose screws on the X gantry causes Z banding because both sides of the gantry don’t move together properly. This is a bigger problem with single Z axis screw printers compared to dual lead screw machines.
Solution: Tighten the screws that connect the X gantry to the Z rail on the left
Here are the steps on how to tighten the appropriate screws on an Ender 3, but it’s very similar for most FDM printers.
- Unplug the printer for safety reasons.
- Unscrew the four screws at the top of the Z gantry.
- Remove the Z gantry from the top of the printer.
- Manually raise the X gantry from the printer. (The extruder gantry)
- Tighten the screws on the left side of the gantry.
- Put the Z gantry back into the printer and tighten the top screws.
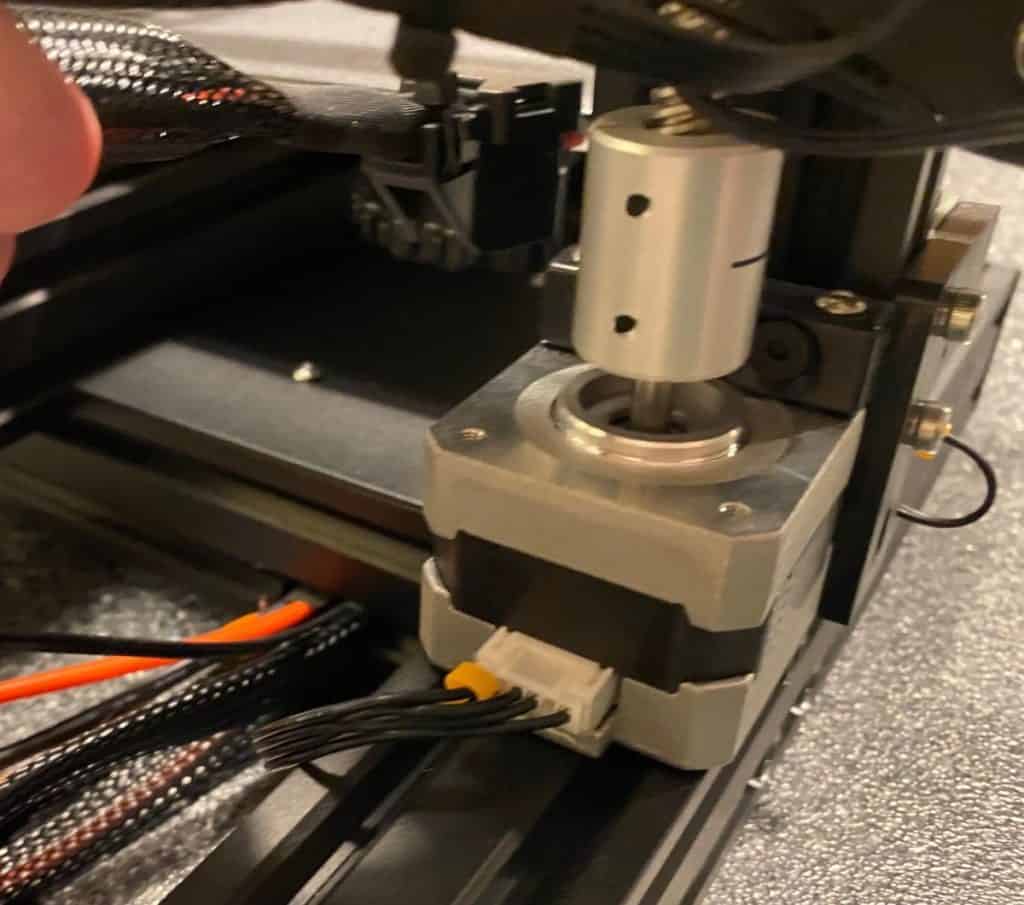
Screw rod coupler is skew
A skew coupler will cause Z banding because it puts the lead screw out of alignment.
Solution: Straighten and tighten the coupler on the lead screw
Unscrew the two screws on the coupler and remove it from the lead screw. Put a spacer of around 1cm at the bottom of the lead screw and then tighten the coupler back on. Remove the spacer after screwing the coupler on.
Once you’ve attached the coupler, print a Z motor spacer and attach it below the coupler to prevent Z binding.
Screws on X gantry are too tight
X gantry screws that are too tight cause binding on the Z axis. This is because the X gantry can’t move up and down the Z axis smoothly with over tightened screws.
Solution: Loosen the elliptical nut on the X axis gantry
If you have a 3D printer like the Ender 3, you might need to loosen the nut on the X axis gantry. If it’s too tight, it causes binding on the Z axis. To test if it’s tight enough, gently move the X gantry up and down with your hand. There should only be a couple of millimeters of play. It needs to be tight enough to reduce the play but also loose enough to allow the X gantry to move up and down with the Z axis accordingly.
After tightening, manually move the X gantry up and down the lead screw to make sure it’s not too tight.
The X gantry sags on the side without a lead screw
For printers that only have one lead screw, the X gantry can sag on that side. So the one side of the X axis will be a bit lower than the other.
Solution: Add an additional Z axis lead screw
Having the X axis gantry supported by a lead screw on one side only is problematic because it causes a bit of sagging on the side without a lead screw. This is especially bad if you plan to upgrade the hot end and therefore increase the weight for the gantry to support.
If tightening the screws doesn’t decrease the sag, rather upgrade your printer with an additional lead screw and stepper motor. This is also a good idea if there is no sag, but binding still occurs.
A dual lead screw upgrade will make your printer a lot more accurate and stable during prints, so you won’t only be fixing the Z banding, you’ll be increasing the printer’s overall performance.
Upgrade kits like these on Amazon will give your printer more accuracy and remove the play on the side that didn’t have a lead screw. This upgrade will also enable you to print at higher speeds with less wobble.
Filament not feeding through freely
Filament that’s not feeding freely into the extruder can cause Z banding because the filament pulls the extruder upwards and puts it out of alignment. Then the filament causes the X axis gantry to fall back into position when it manages to feed through again. This process repeats throughout the print, which causes the Z banding.
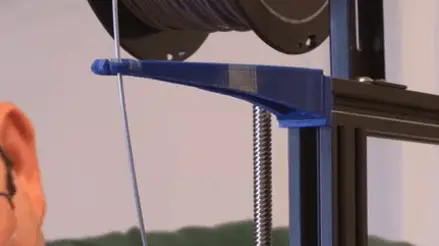
Solution 1: Add a filament guide
A filament guide will help the filament feed through the printer freely. It’s not a very complex part, so you should be able to print it even if you have some Z banding. Then you can print a good-looking one with the imperfect guide attached and swap them out.
Solution 2: Add a filament tube
Filament feed tubing also helps to feed the filament through in a uniform and controlled manner. There are a variety of tubes available like these ones on Amazon, so you can check which one suits your budget.
Bent lead screw
A bent lead screw is a major cause of Z banding because, as the screw turns, it moves the extruder in and out of the print incorrectly.
Solution: Replace the lead screw
Luckily, lead screws are widely available. You’ll need to check the dimensions of your lead screw to make sure you purchase the right size. To check if your lead screw is bent, remove it from the printer, place it on a flat surface and roll it over. It should roll smoothly across the surface and you’ll notice if it’s bent when it rolls with a wobble. Here are a few different lead screws on Amazon.
Bent stepper motor shaft
If the stepper motor shaft is bent, it will cause the Z axis to wobble constantly because it’s directly connected to the lead screw.
Solution: Replace the stepper motor
The best thing to do is replace the stepper motor if the shaft is bent. Here is a range of stepper motors on Amazon for you to look through. Just check the compatibility with your printer before making the purchase.
Loose stepper motor
A loose stepper motor will cause unwanted movement on the Z axis, especially with faster prints.
Solution: Tighten the stepper motor screws
Tighten the screws of the stepper motor just enough for it to have no movement when you move it with your hand. Don’t make it too tight or you’ll get a different variation of Z banding.
Dirty Z lead screw rods
Over time, the lead screws can gather dust, especially because it sticks to lubricants that should be on the screw. Dust is very abrasive and can cause the movement of the Z axis to be restricted. Dust can even damage the threading of the lead screw if you don’t clean it off from time to time.
Solution: Clean the lead screw
There are many ways to clean the lead screw, but I find the best way is with isopropyl alcohol because it strips any lubricant away, along with the dirt. I suggest pouring some of the cleaning agent into a small container and then dabbing a brush into it to brush off the dirt from the screw.
Remember to add lubricant again once you’re done cleaning the lead screw. I cover the full process in this video.
Inconsistent extrusion
Inconsistent extrusion can cause defects that look similar to Z banding. However, extruder feed problems usually create random ribbing and other defects on the part, whereas Z wobble or Z banding creates regular patterns of Z banding. If the ribbing on your print is random, inconsistent extrusion could be the cause. These are some ways you can fix it.
Solution 1: Clean the nozzle out
I only clean the nozzle out if it’s a more expensive one, like a hardened “high-quality” nozzle. Having said that, cleaning a nozzle is relatively simple. Here’s a video I made on how to do it.
Solution 2: Replace the nozzle
If you’re still using the stock nozzle and it’s clogged up, I suggest buying a higher-quality hardened nozzle like these ones on Amazon. You’ll get better printing performance from them and they last a lot longer than weak stock nozzles. Here’s another video I made on how to install them.
Z Banding Test
The best way to test for Z banding is to print a smooth surface cube. If you see Z banding patterns which look like fat print layers instead of a smooth surface, you have Z banding issues.
Here’s a detailed cube on thingiverse that you can print to test for Z banding on your printer.
How To Remove Z Banding Defects
To remove Z banding defects from a part, there are a few different things you can do.
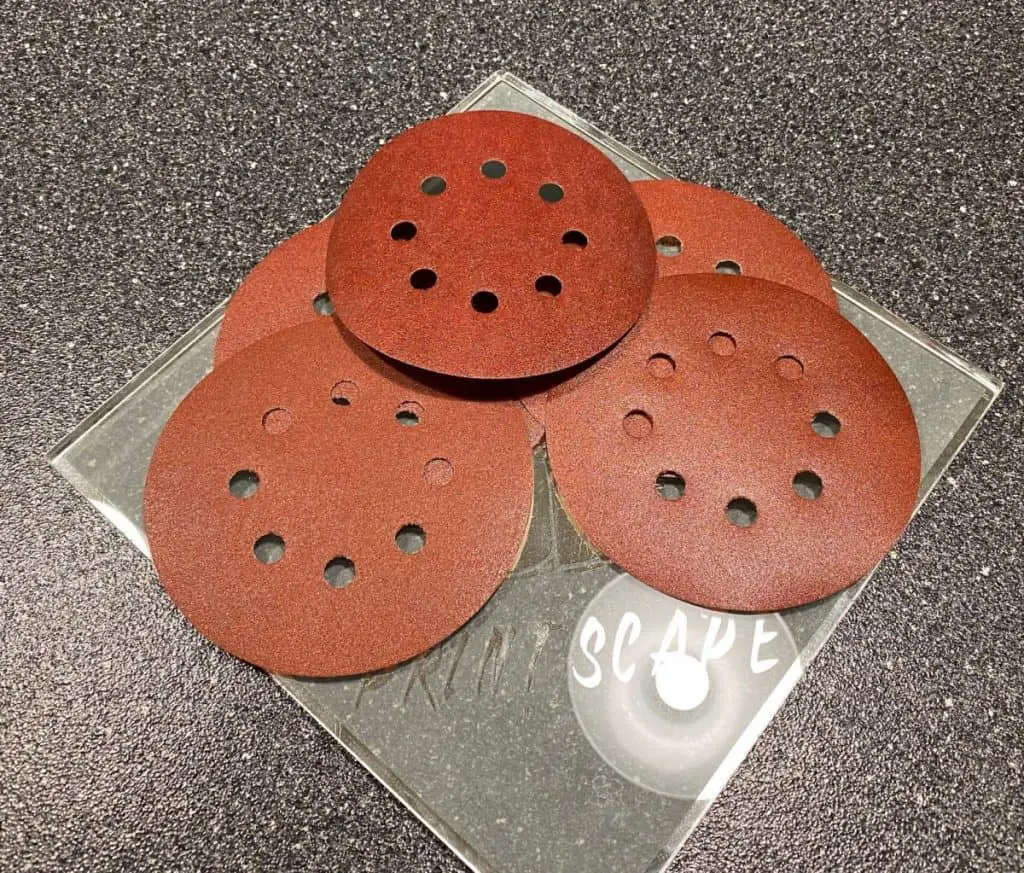
Sanding
One of the easiest and most common ways of removing print defects is by sanding them away. Start with a low grit paper around 300 to 500 in the beginning and work your way to high grit paper like 2000 to finish the job off.
Wet the sandpaper before using it to polish the part. This will reduce heat generated by the friction of sanding and it gives the part an extra smooth finish.
If you’re polishing a flat area of the print, use a sanding block to prevent digging grooves into your part.
Try to sand the part in circular motions to avoid obvious sanding lines.
Related Articles
- Bed Leveling Issues – Common Causes and Fixes
- 3D Printer Speed VS Quality
- 3D Printer Nozzles (Detailed Overview)
- How Do You Resume A 3D Printer After Power Loss?
- Create a Temperature Tower Using Cura – The Easy Way
- Cura Profiles
Conclusion
Z banding in 3D printers almost always occurs due to misaligned parts in the printer. Parts become misaligned when screws come loose or if parts are bent. So it’s fair to say that you can eliminate the problem by tightening up the printer and making sure everything is in its optimal position.
Some cheap upgrades like spacers and filament guides can be very useful in eliminating Z banding. On the more expensive side, if you have a single Z axis screw rod, upgrading to a dual rod system will eliminate Z banding, increase accuracy, and speed capabilities of the printer in a big way.
Make sure you check out our YouTube channel, and if you would like any additional details or have any questions, please leave a comment below. If you liked this article and want to read others click here.