There are several popular types of 3d printers on the market today but Fused Deposition Modeling (FDM) is by far the most popular. With that said, let’s go over all the components that make up the FDM printer to see how it ticks. Understanding what all the parts are will be immensely helpful to any 3d printer hobbyist, especially when it comes to troubleshooting.
So, what makes up an FDM 3d printer? The standard 3d printer is made up of the components listed below. There will be some differences between printers but those are normally small things that the manufacturer added to make their printer stand out.
- Axis Stoppers (Endstops)
- Base Frame
- Build Plate
- Control Box
- Drive Belts
- Extruder (Hot and Cold End)
- Filament Sensor
- Gantry
- Heating Element
- Lead Screws
- Stepper Motors
- Tracks
- Wheels
I know it looks like that’s a lot of components but its not that bad. Keep reading to learn more about what each component is and what it does. By the end of this article, you should have a basic understanding of the inner workings of a 3d printer which will go a long way to help you troubleshoot printer issues in the future.
Axis Stoppers (Endstops)
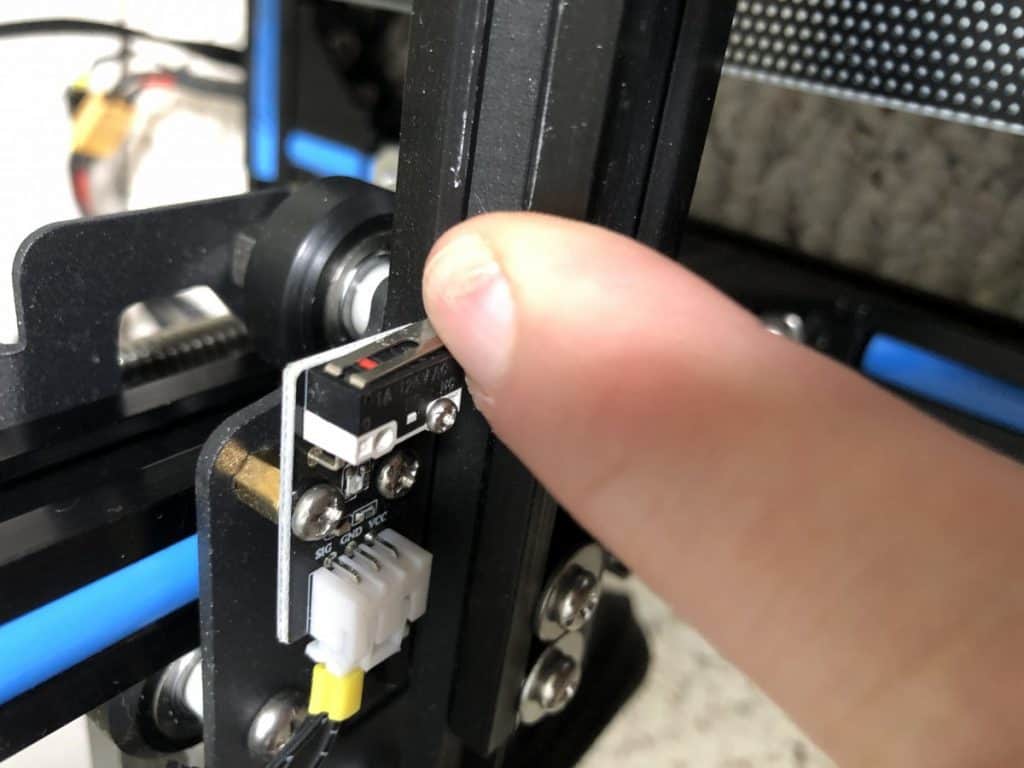
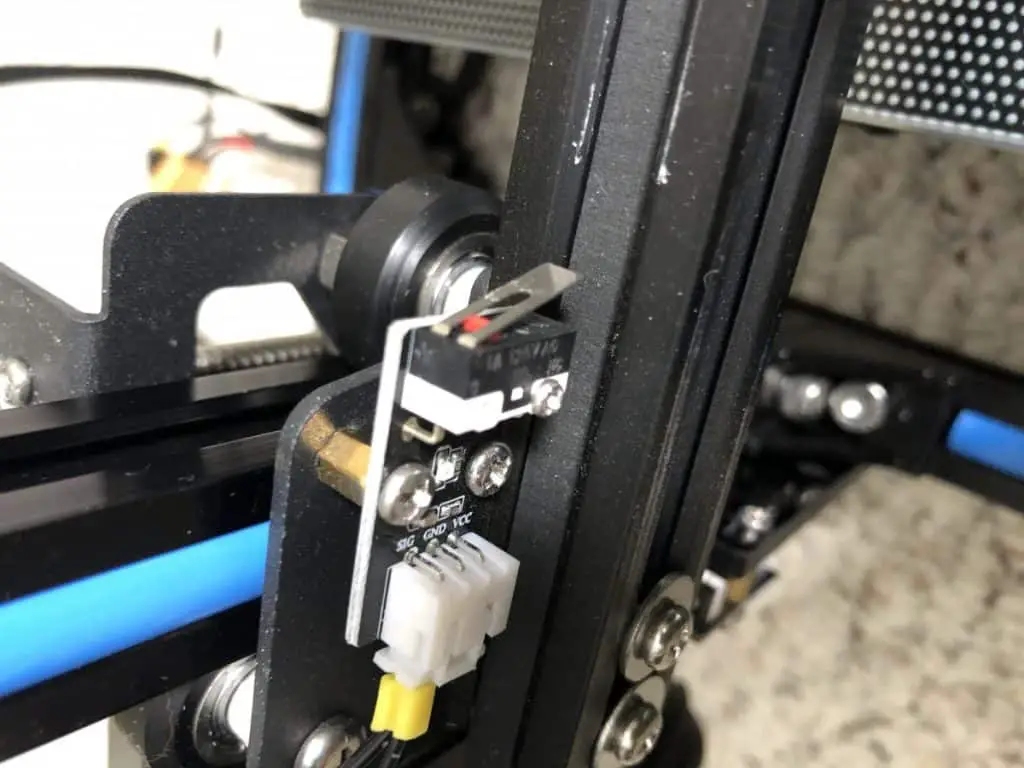
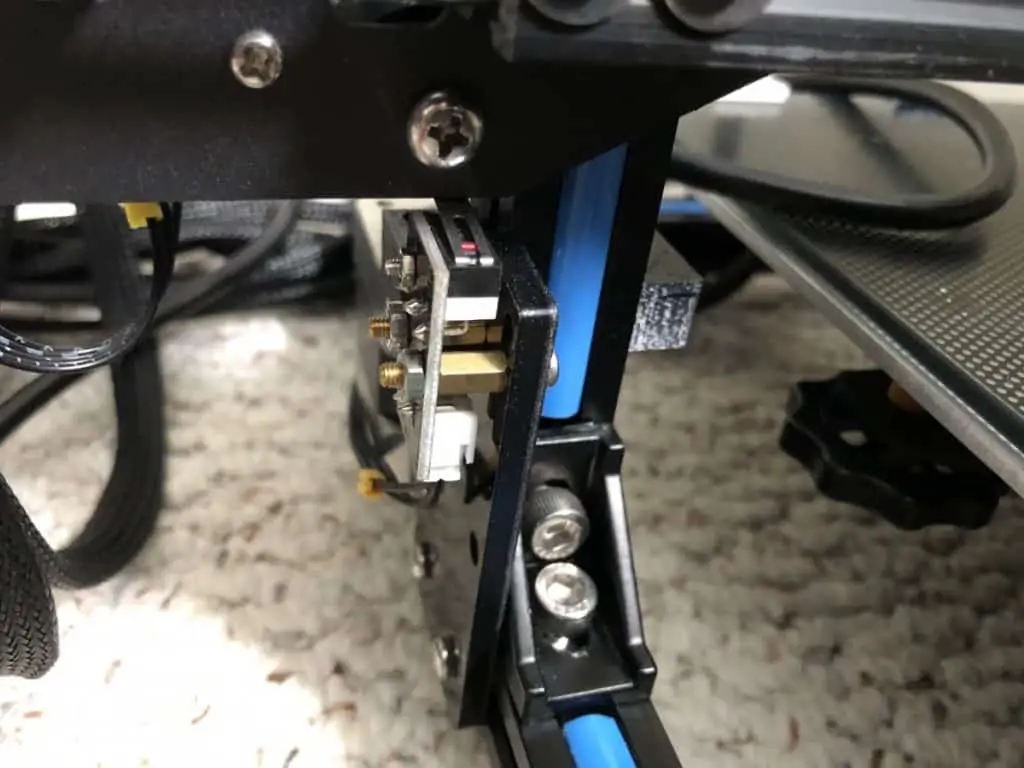
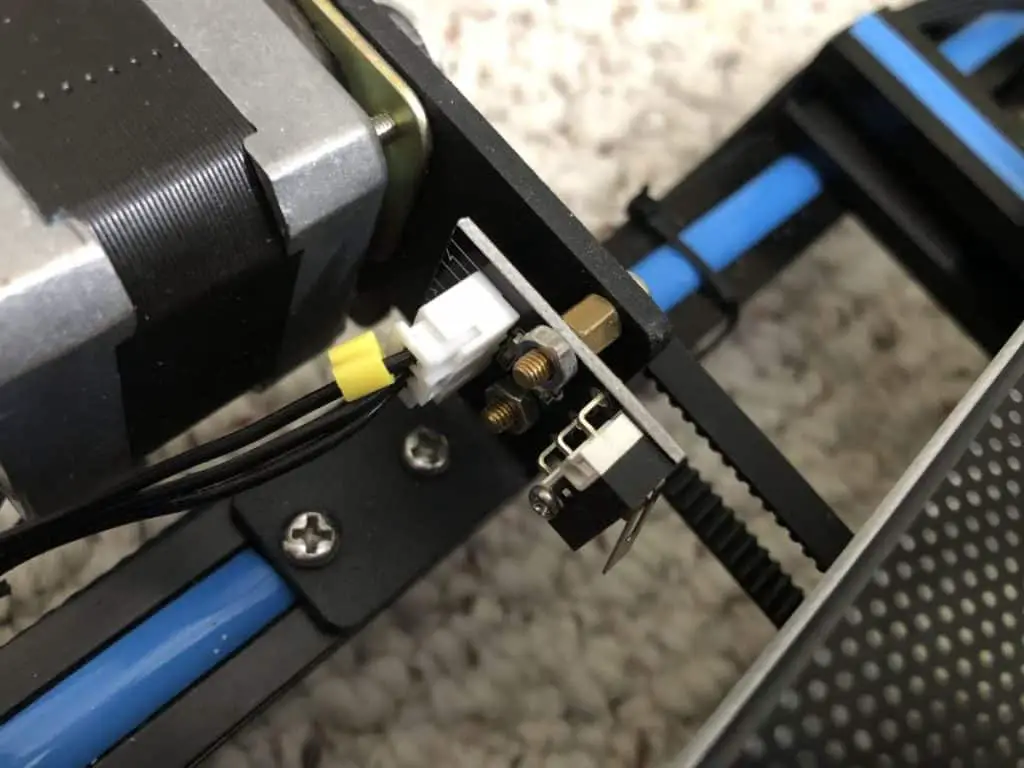
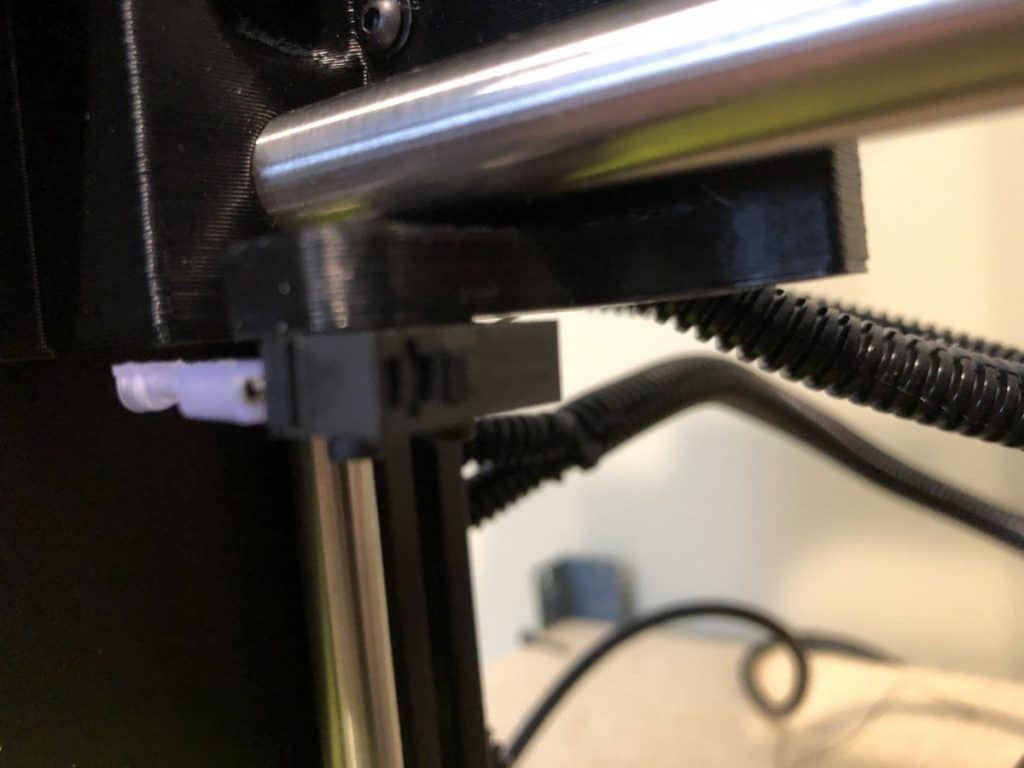
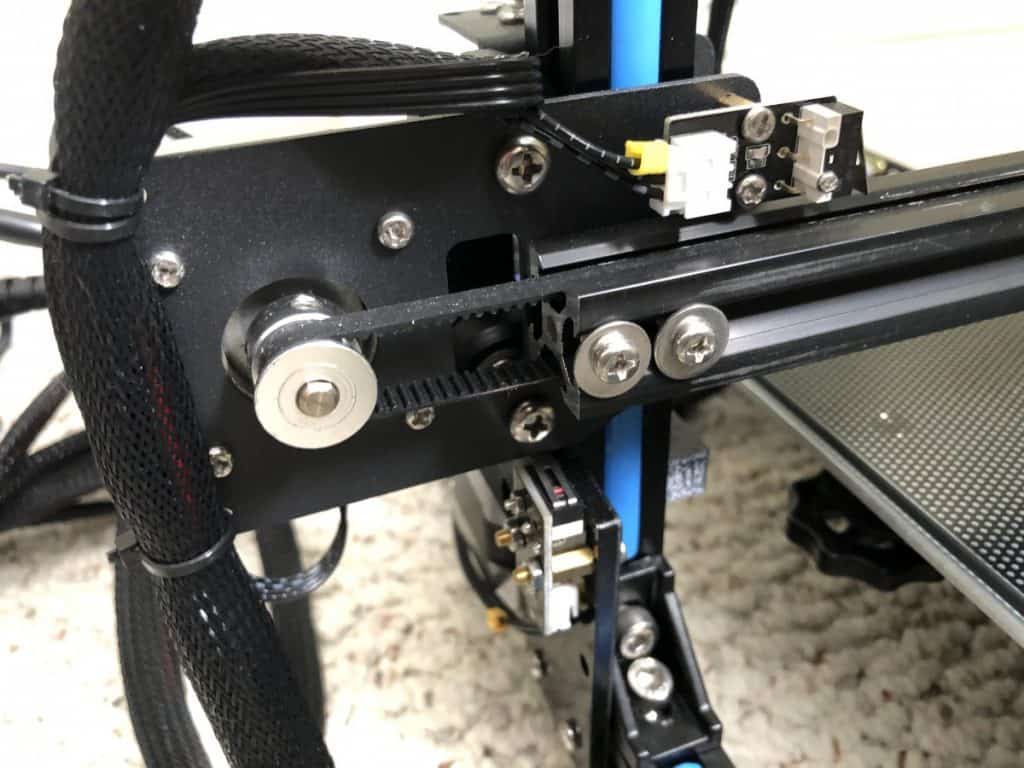
Axis stoppers, also commonly called endstops, are basically microswitches that when triggered stop the movement on that axis. These switches are actually a critical part of the printer because they are used to determine the zero point of each axis. Without them, the printer wouldn’t know where it’s at on the axis or when to stop and would most likely cause damage to the printer.
Most printers will have three stoppers on them, one for each axis, though this is not always the case. I have seen some printer with two on each axis but that’s not common at all.
Base Frame
The base frame is a commonly overlooked part of a 3d printer but it really shouldn’t be. The more rigid and sturdy the frame is the better as it will reduce unwanted movement and vibrations during a print. This is especially true when it comes to printers that have a larger build volume. Let’s go into why this is the case.
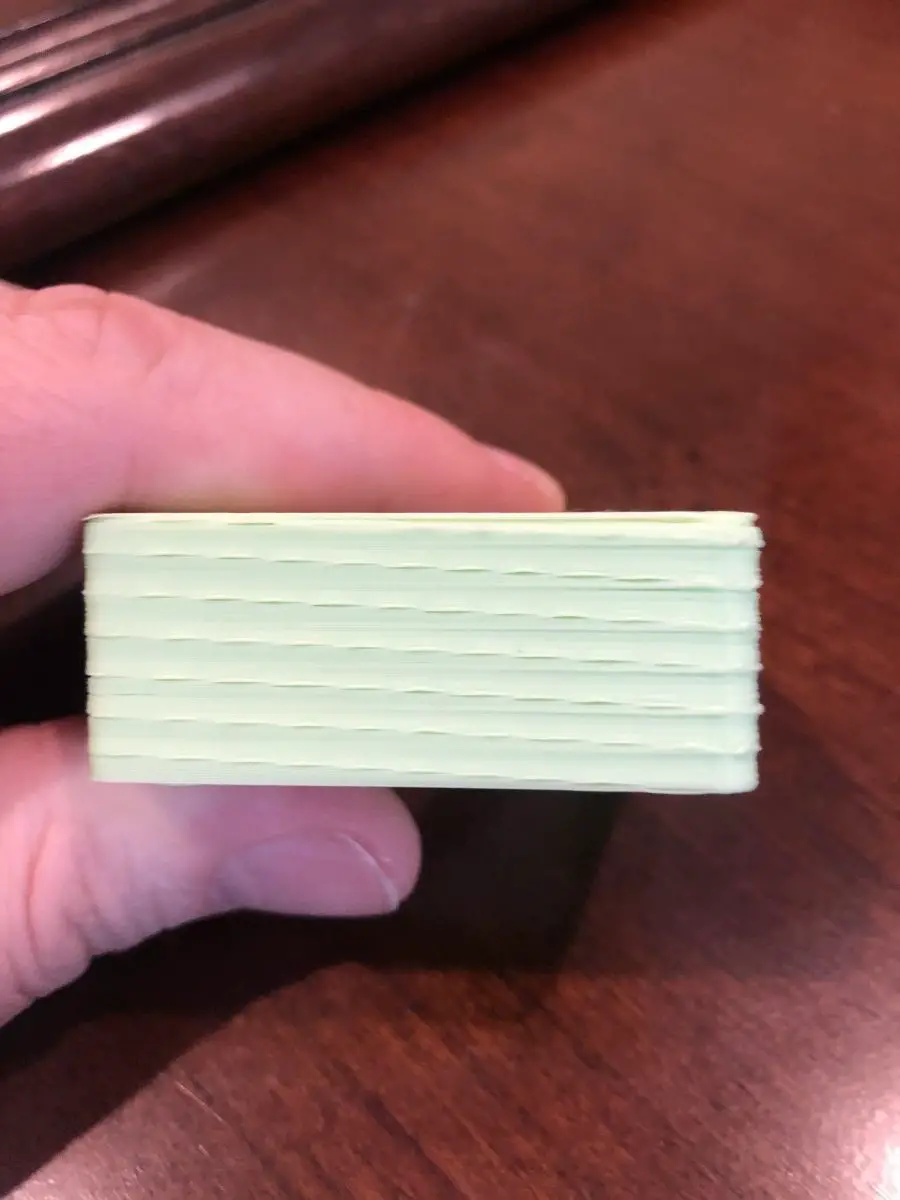
When the printer is in operation, you get a large and sudden movements from the build plate moving on the Y-axis and the extruder moving back and forth on the X-axis and upon the Z-axis. If the frame cannot absorb this movement it will likely have a negative impact on the object being printed, especially on the Z-axis. This is commonly referred to as ringing, or ghosting, and can be challenging to fix.
A general rule of thumb is the more rigid the frame is the better. So if you’re looking to buy a new printer, the key things on the frame to look at are the thickness/quality of the materials used, how they are assembled, does it have a full-frame, and how is the gantry attached.
This is especially true if you are looking at some of the cheaper printers made in china. I purchased a printer that used 20/20 aluminum extrusion for the entire frame not knowing the importance and ended up getting rid of it a couple of months later after many hours of frustration.
Build Plate
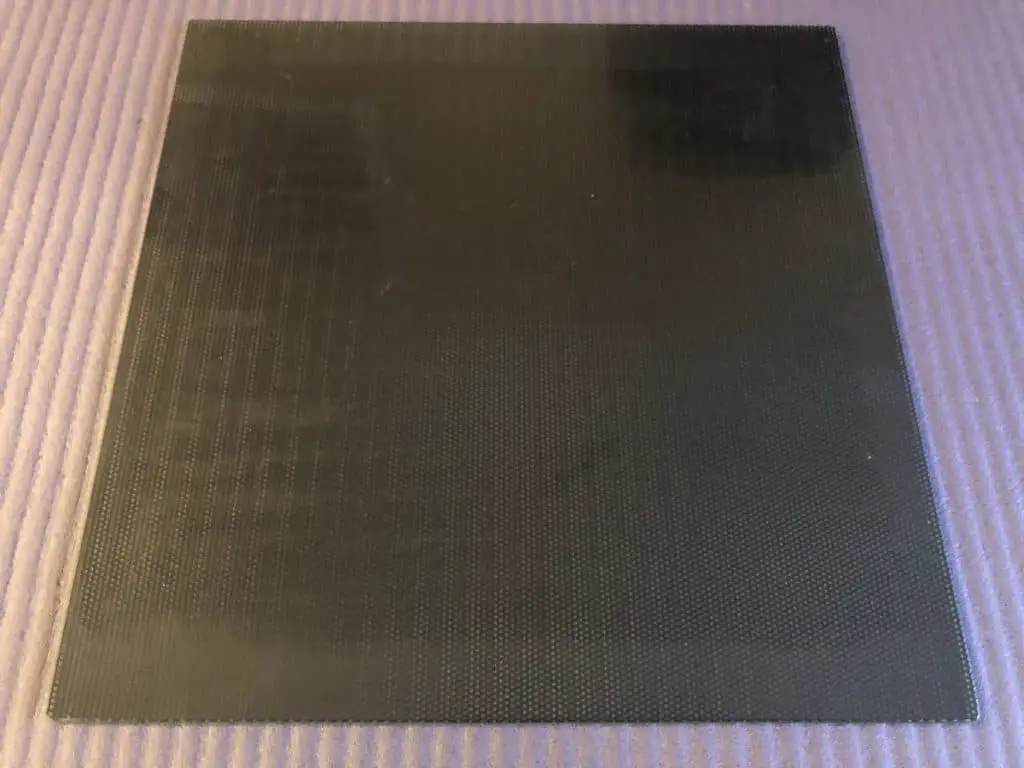
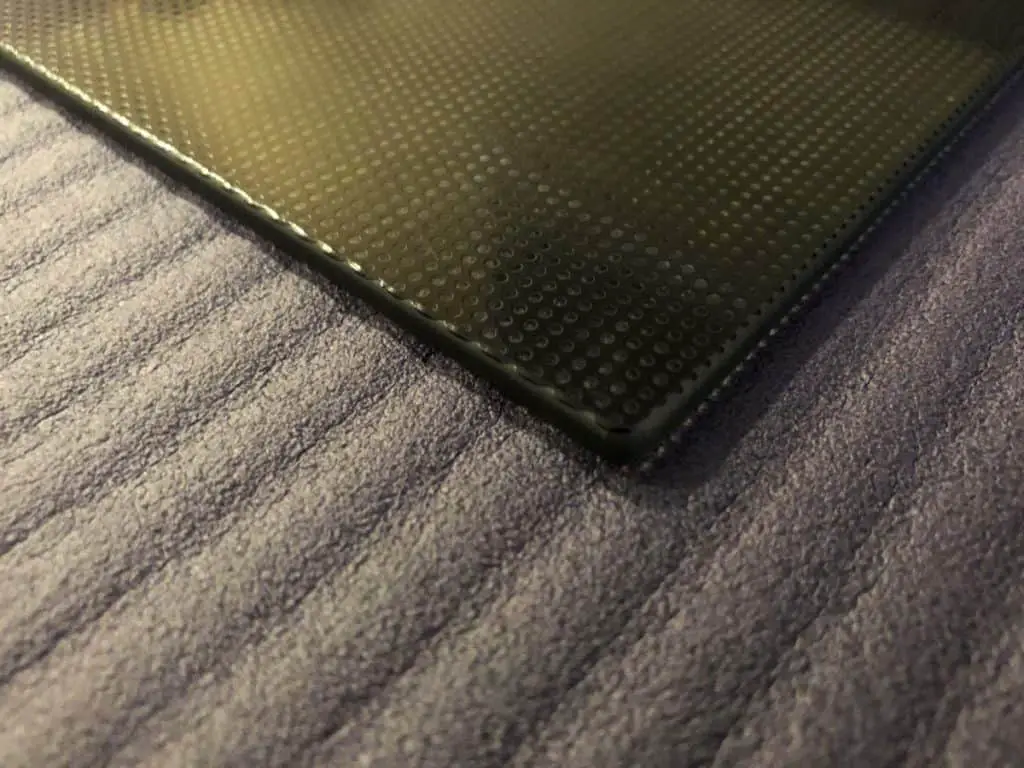
The build plate the foundation to all objects printed and is a key part of all 3d printers regardless of the design or who manufactured it. Build plates can be heated or not and come in six main material (there are others but these are the most common).
Heated
Heated build plates are by far the most common and are required for some materials like ABS that shrink when cooling. The temperature of the build plate can range based on what the printer was designed for but can typically reach temperatures of up to 100°C, some of the higher-end ones can go higher.
Non-Heated
You may see non-heated build plates on some of the smaller printers, or printers designed for kids, but they are becoming less common. I would personally steer away from any printer that doesn’t have a heated build plate because you will have issues getting prints to stick.
Common Materials
- Glass
- Anycubic Ultrabase
- Buildtak FlexPlate
- Easy Peelzy
- Polypropylene
- Geckotek
Leveling
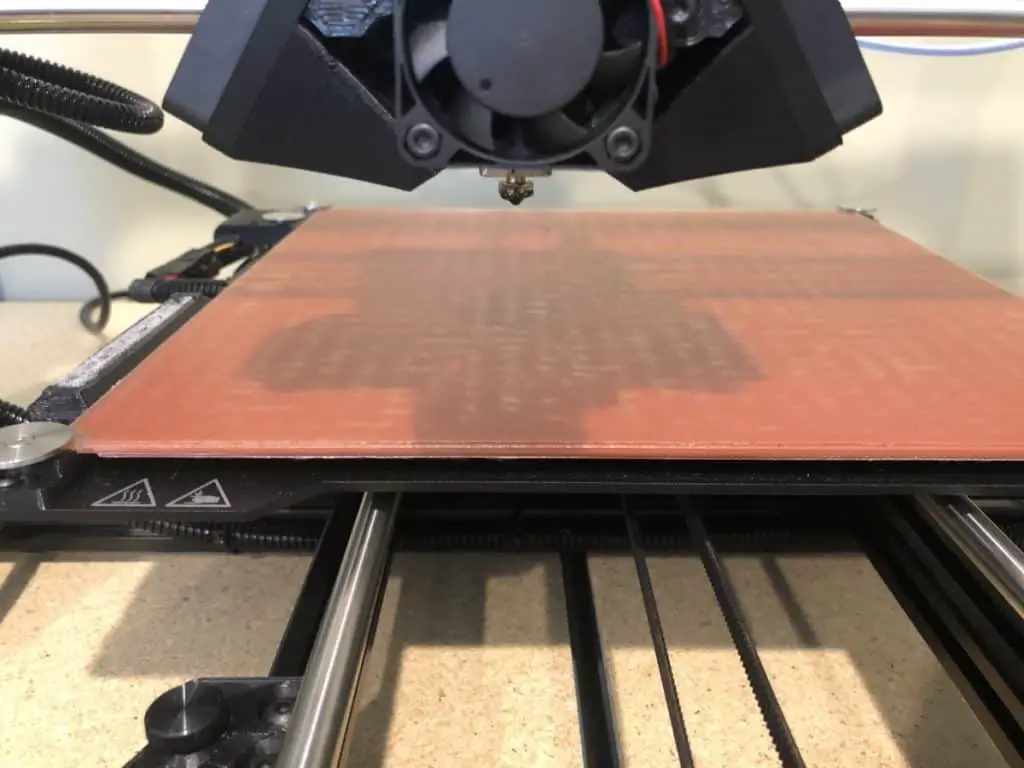
The final point to make on the build plate is that it must be level for the print to come outright. If it’s not level you may have issues with the print sticking to the build plate and could even potentially damage the printer. Most printers on the market require you to manually level the build plate using the program in the controller and the spring wheels (shown below) to make the adjustments. There are printers on the market that auto level the build plate before each print but they are not cheap.
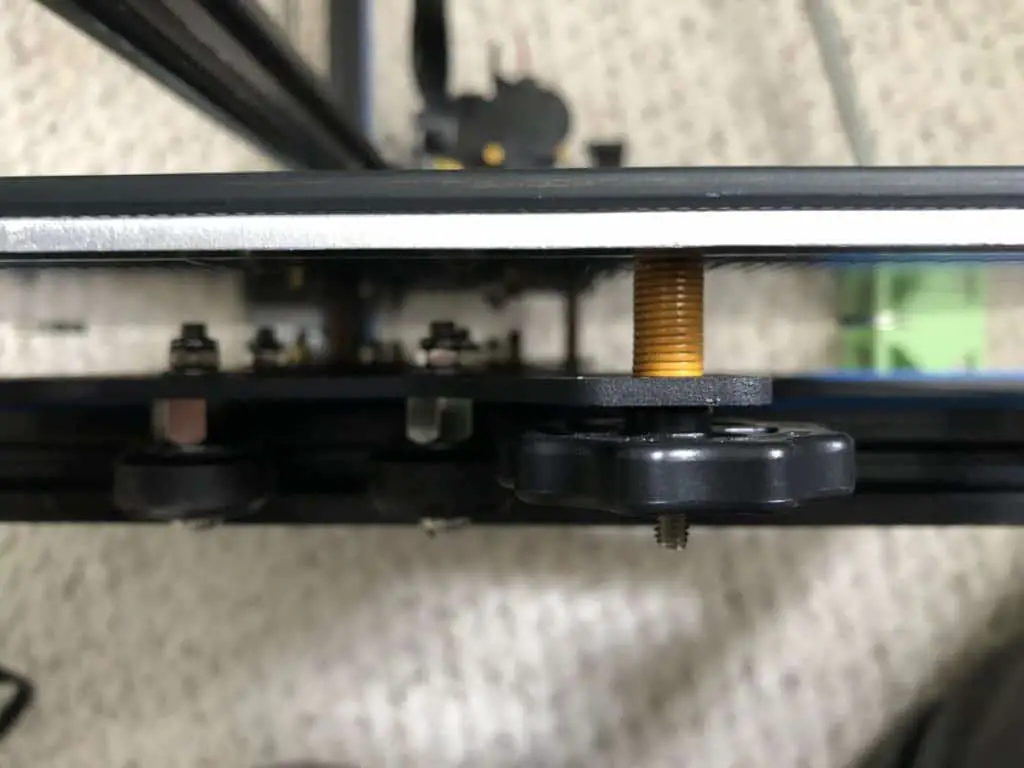
My recommendation is to always use a heated build plate because it helps get prints to stick to the surface and are actually required to print some materials like ABS that shrink when they cool. Just make sure to follow the temperature recommendations for the filament being used.
If you would like to learn more about build plates you can check out the article I wrote on them here.
Control Box
The control box is made up of four main components. I went ahead and took mine apart so that I can show you what everything is and how it’s connected.
Case
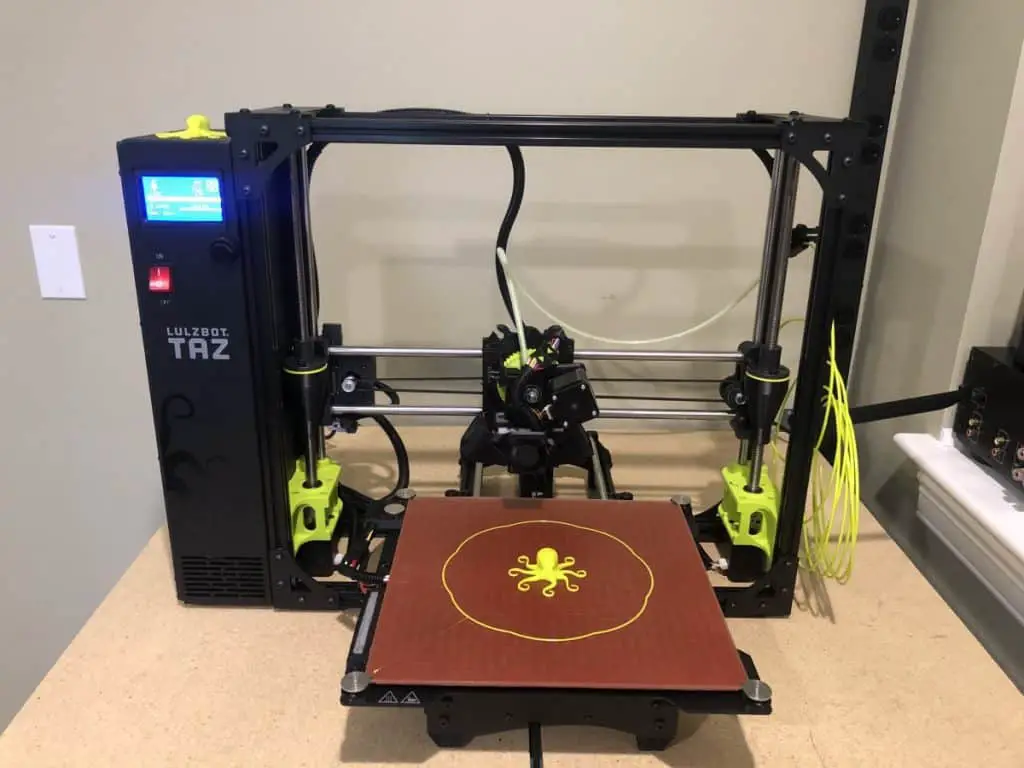
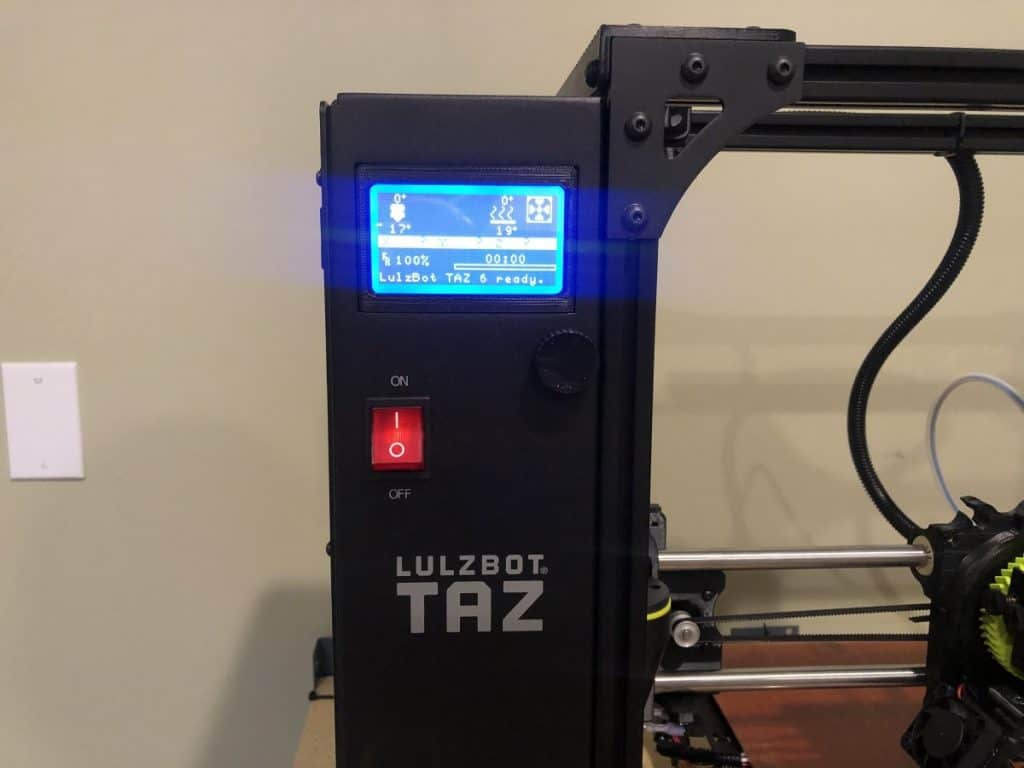
The case can be stand-alone or build in fame (example below) but it really just meant to safely house the display, controller board, and power supply.
Display
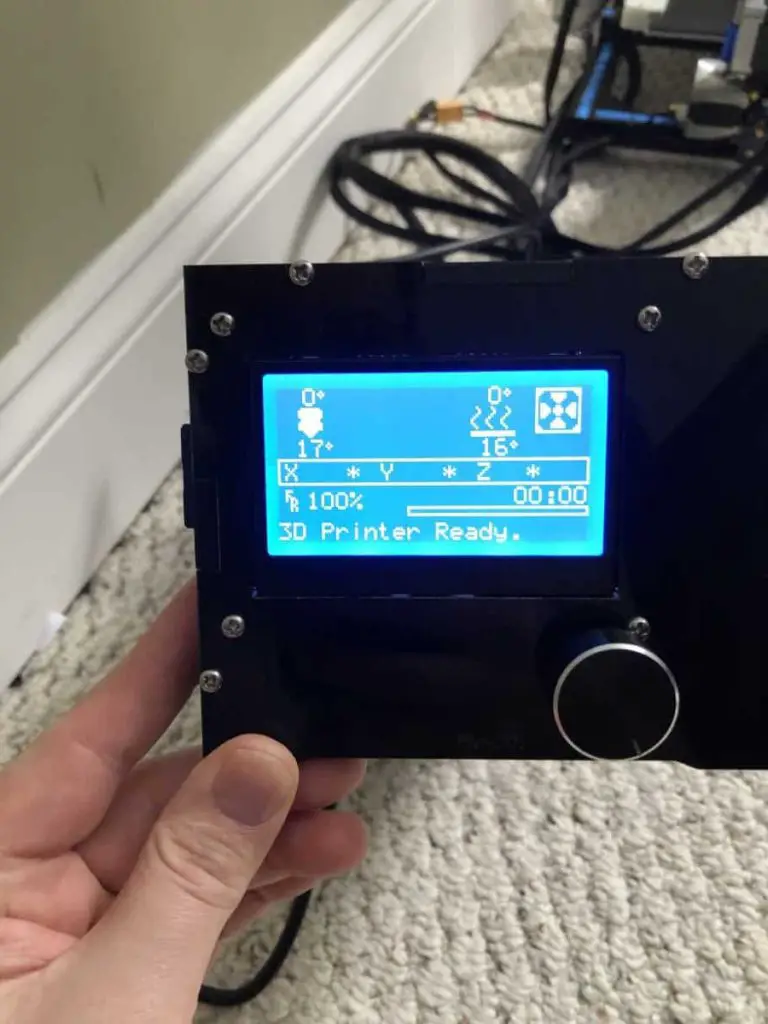
The display is meant to give you an interface to the controller board to control a print if you’re not connected with a computer. There are many sizes and quality options available, including touch screen. The SD slot is typically connected to the display to make it more convenient for the user.
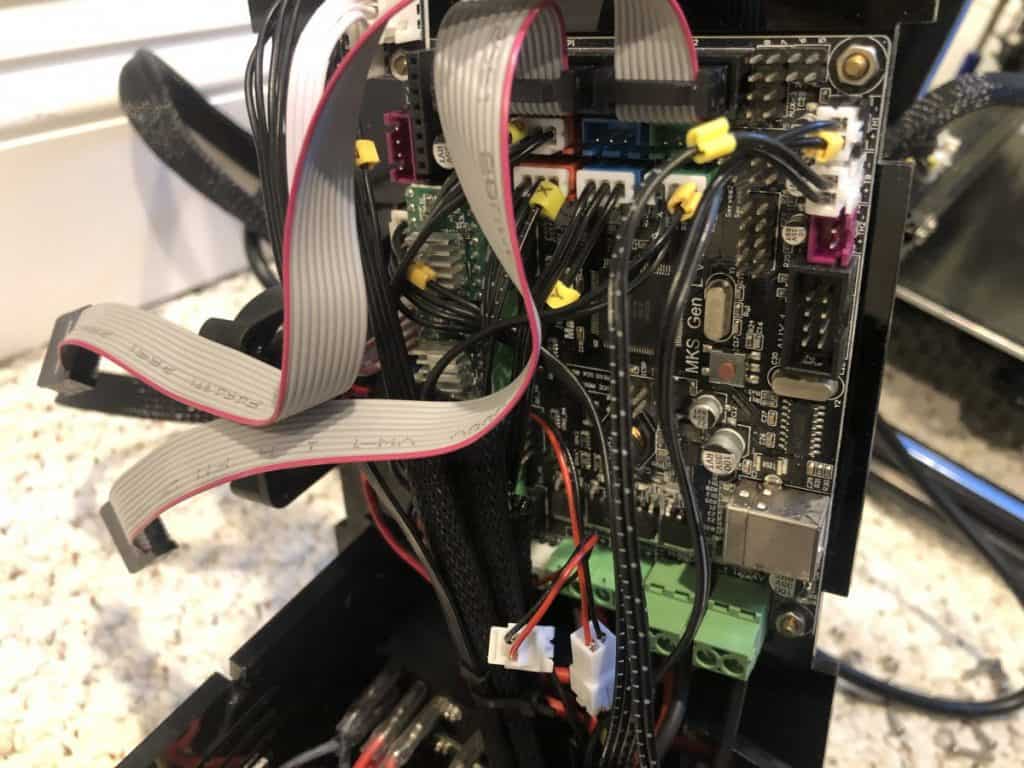
Controller Board
This is the heart of a 3d printer. It is responsible for processing everything related to the print while having all the electric components connected to it. As of today, you can get them in either an 8, 16, or 32-bit architecture and some even come with built-in wifi. I will be making an article dedicated to this topic so stay tuned for the link.
Power Supply
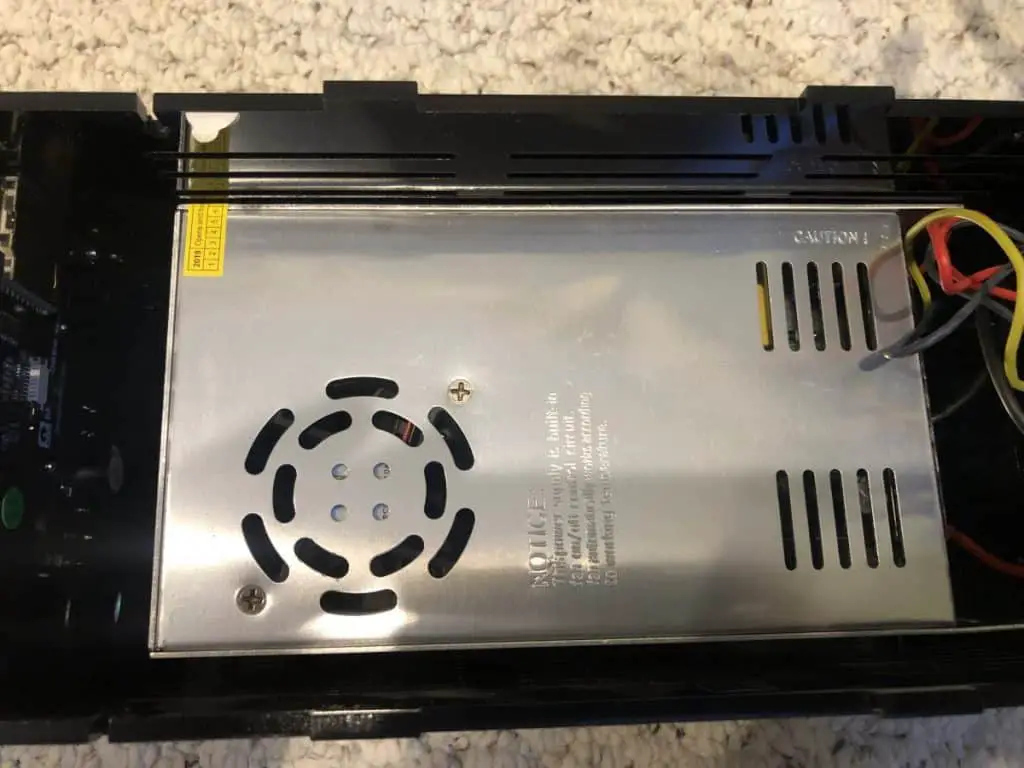
The power supply is also housed in the control box. It is responsible for providing the required power to the controller board, screen, stepper motor, extruder, heating element, etc. Basically, the printer will not work without power and this what converts the inputted power to the proper specs for the components. The efficiency of the power supply provided between manufacturers will vary but the more efficient it is the less power it will waste.
Drive Belts
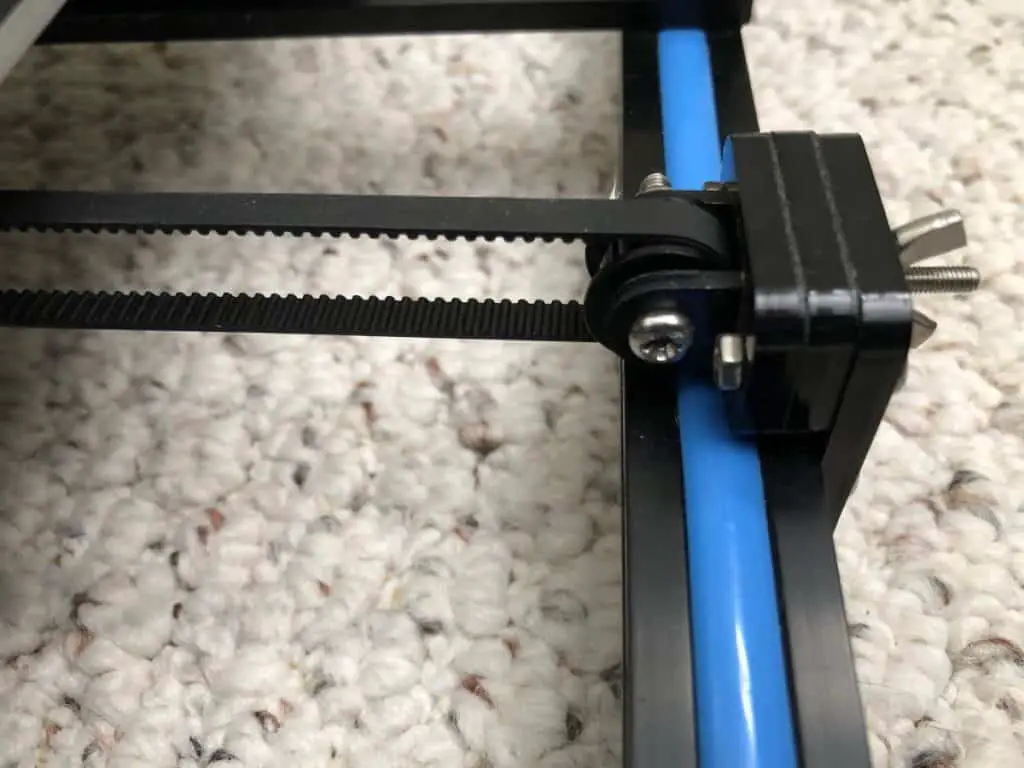
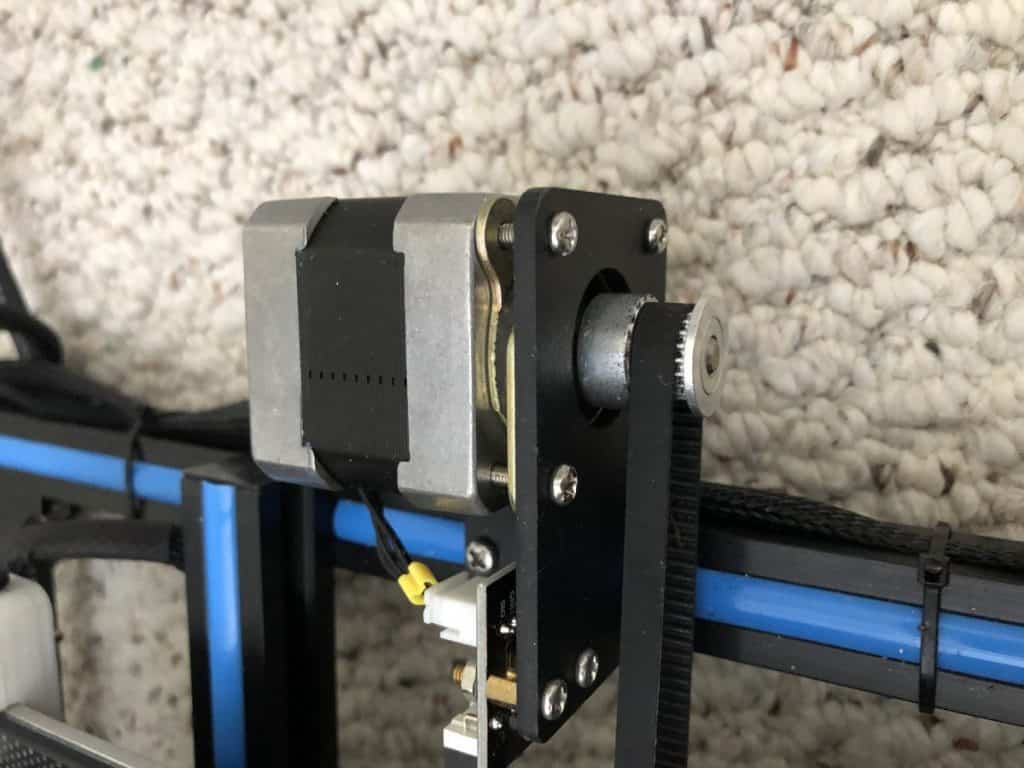
Belts for 3d printers are usually rubber with steel reinforcements, similar to tires, that have measured notches on one or both sides. The belts connect from the stepper motors to the extruder and build built. They are used in conjunction with the stepper motors to control the movements of those parts.
If the belts are too loose or worn it will result in unwanted movements that will show up on the object being printed. This can typically be fixed by adjusting the tightness of the belts but if you see any cracks or tears in the belt it will need to be replaced. Replacing a belt isn’t difficult but will require you to take some of the printer apart.
Extruder
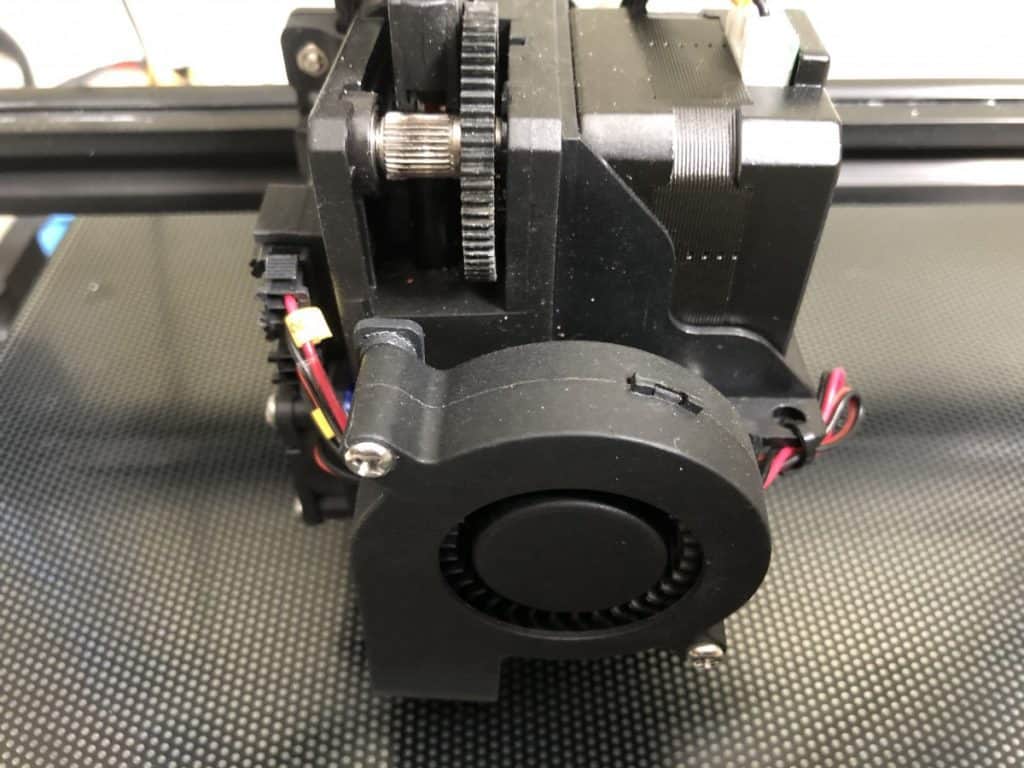
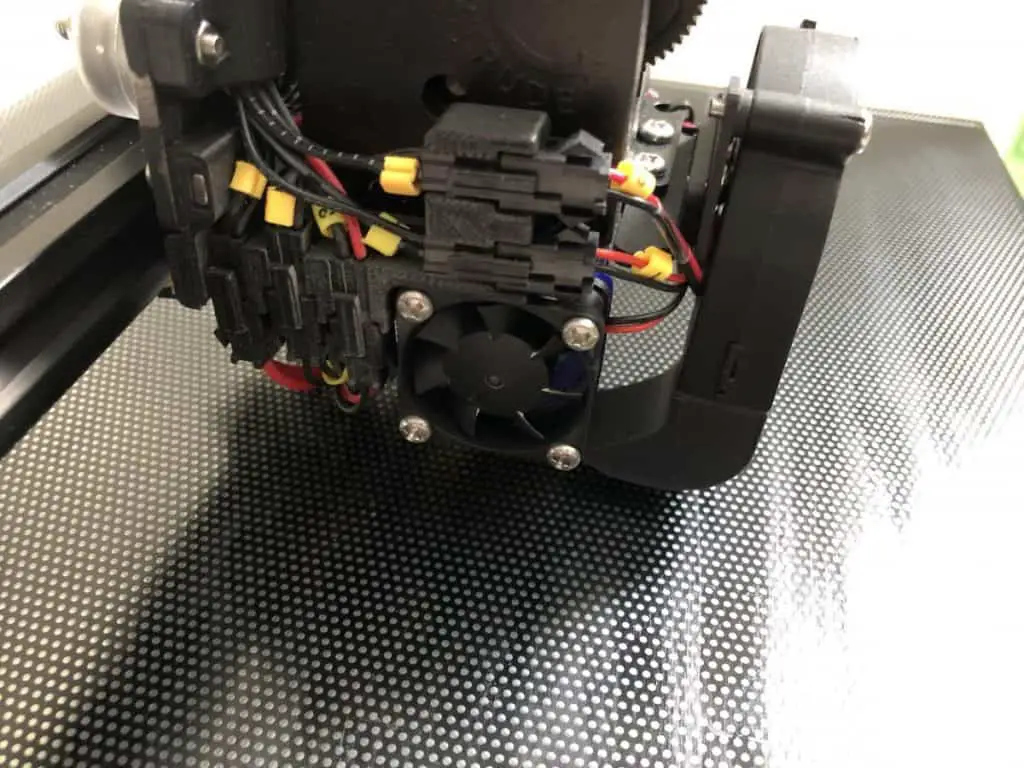
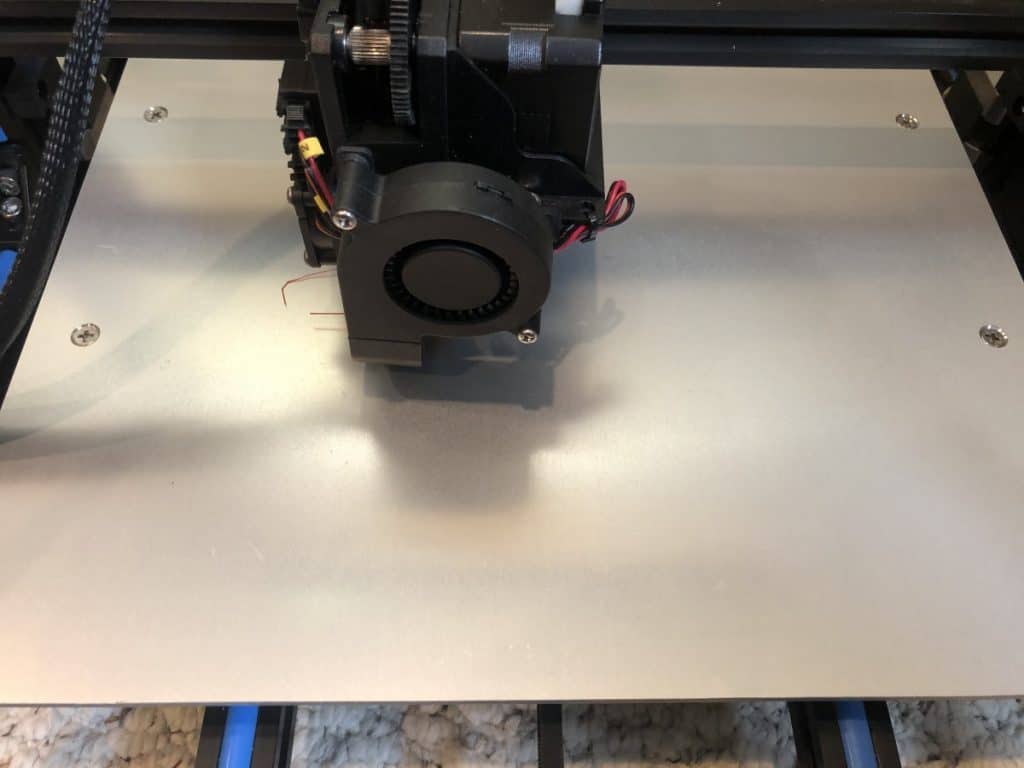
The extruder is the part of the 3d printer that melts the material passed through it and deposits it on to the build plate, or the previous layer, in the pattern defined in the G-code file for the print. The extruder has two main sides to it, the hot end and the cold end. I will go over each of these in more detail below. Its also important to note that some 3d printers can have multiple or multi-color extruders, while these can change the capabilities of the printer significantly the same fundamentals still apply.
Cold End
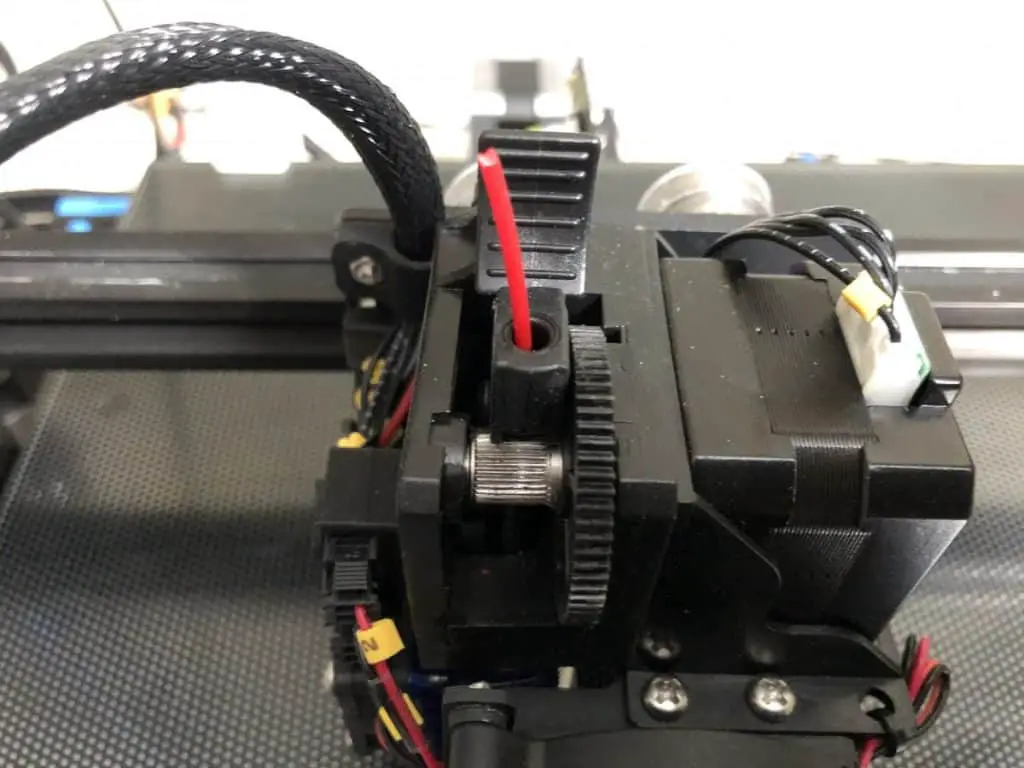
The top a direct drive extruder is the cold end and its where the filament input is. It is responsible for feeding the filament into the hot end where it’s then heated to the melting point and applied to the print. This can also be located on the side of the printer if a Dowden tube system is used.
The cold end works by pushing filament through it using a motor with tooth gearing to grab onto the filament and push it out. The filament is loaded using a spring-loaded idler that keeps pressure on it.
Hot End
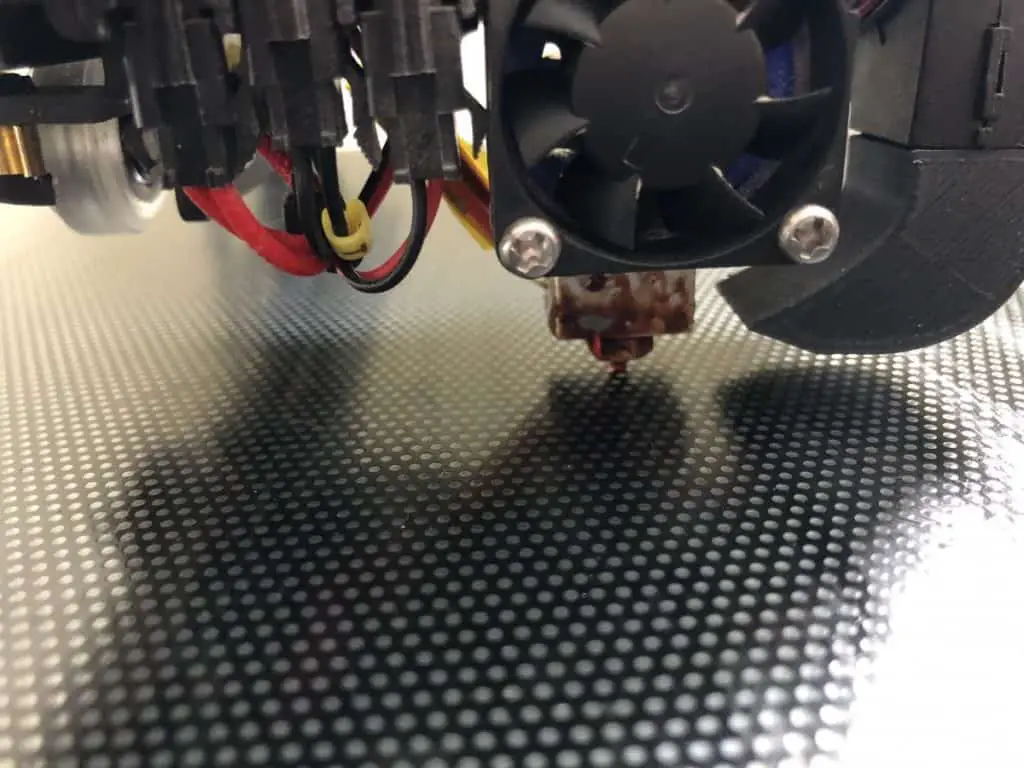
The hot end of the extruder is responsible for melting the filament as it passes through it. At its core, the hot end is a heat block, small fan, heating element, thermostat, and nozzle. It’s responsible for reaching and maintaining the defined temperature so that the cold end can push a consistent amount of filament through it and onto the print.
You can get different nozzle sizes to control the amount of filament being passed through it and the layer resolution but the most common size is 0.4mm.
Filament Sensor
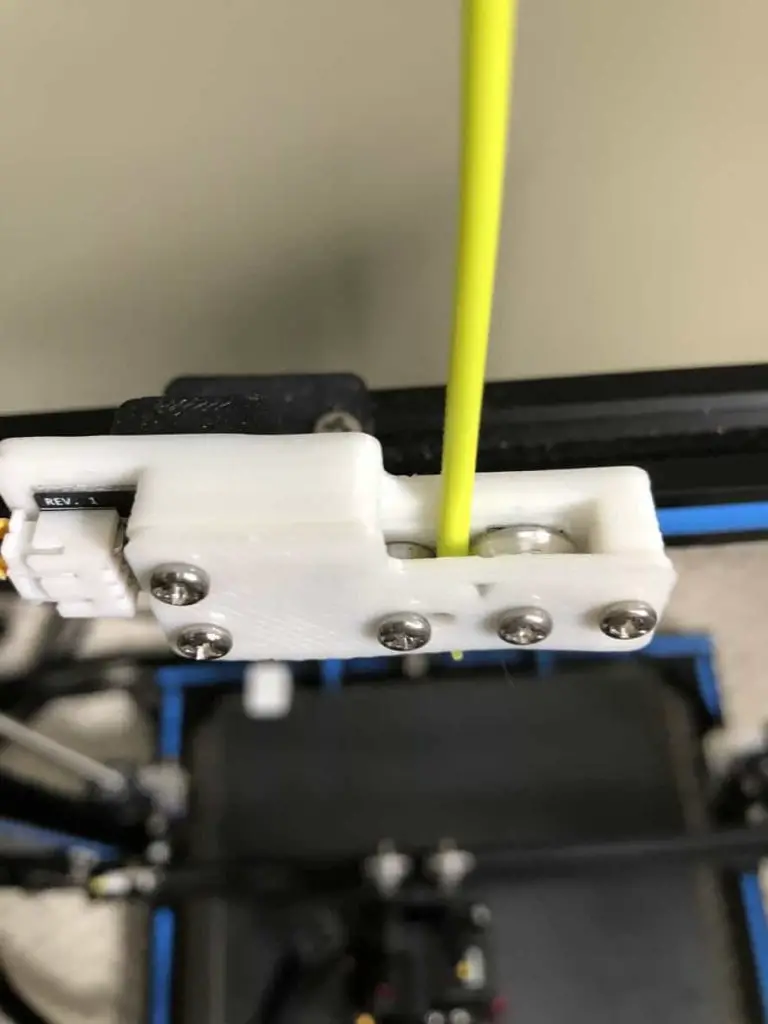
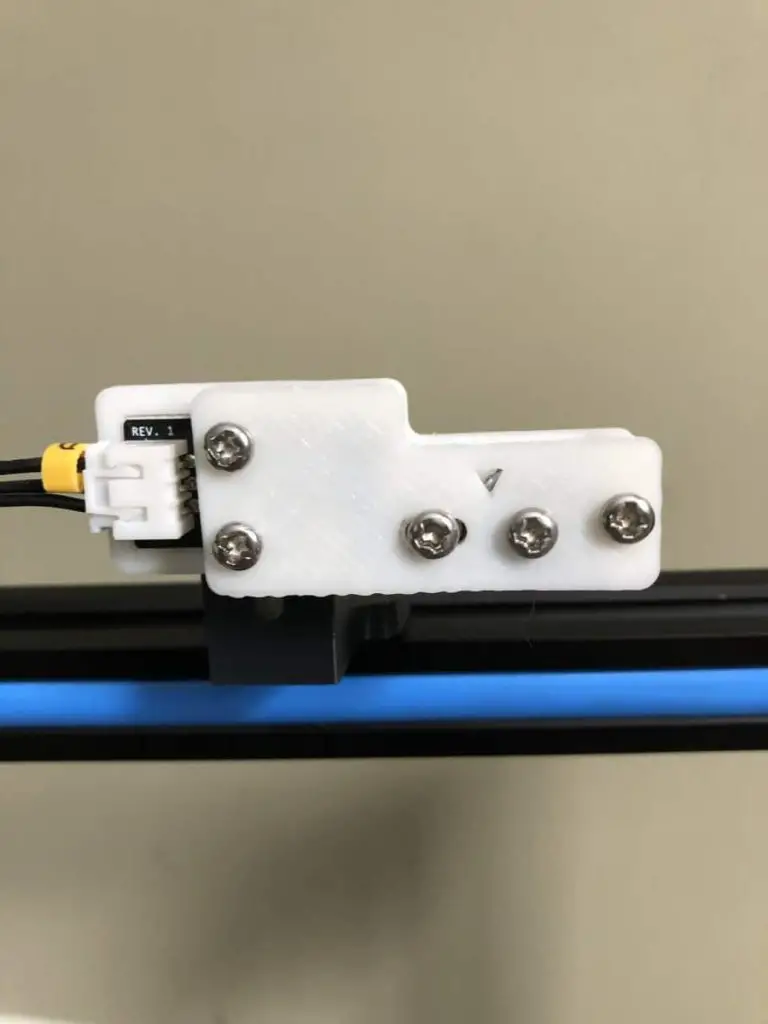
A filament sensor is meant to stop your printer when you run out of filament at a point that is far enough away from the extruder (typically on top of the gantry) that you can change the filament and continue the print without any issues. If you don’t have a filament sensor the printer will continue to move through its motions even if it runs out of filament. If you don’t catch this in time it will result in the print failing because you can’t continue it at the point that it ran out.
Most printers on the market come with a filament sensor but if you have one, or are looking to get one, that doesn’t you can typically add them on as an after-market modification. I recommend you use the filament sensor if you already have it but its not a critical component of a 3d printer.
Gantry
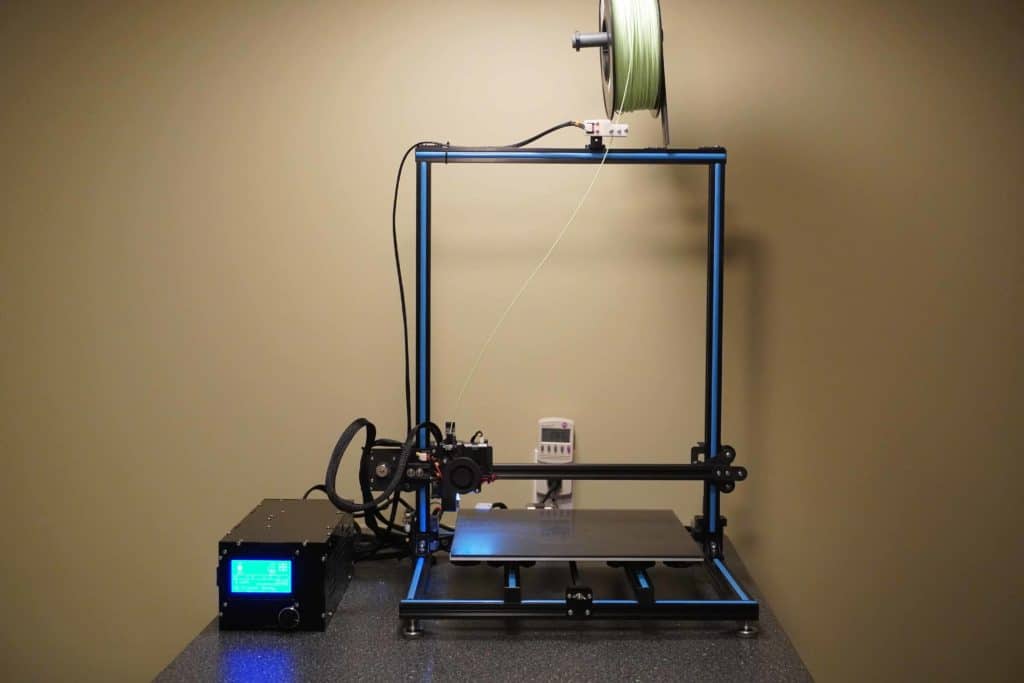
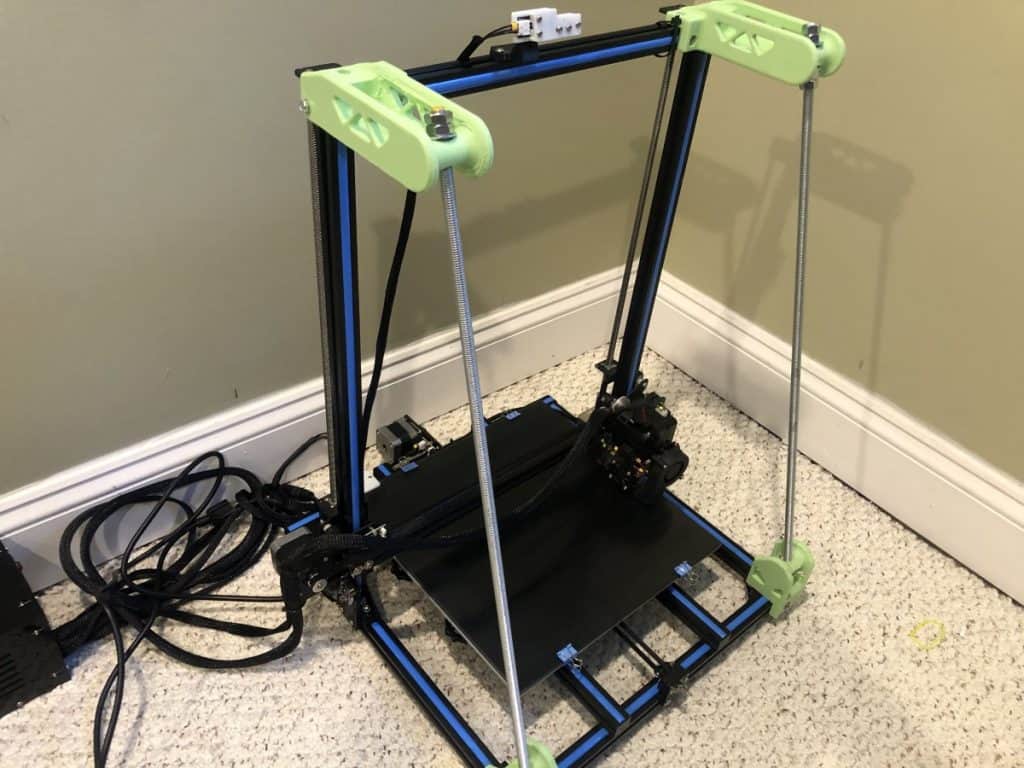
The gantry is the frame that supports the printer head on the X-axis and moves up and down on the Y-axis using the lead screws that are attached to the stepper motors. It’s important that the printer be stable enough to not allow the movement from the gantry to affect the actual print.
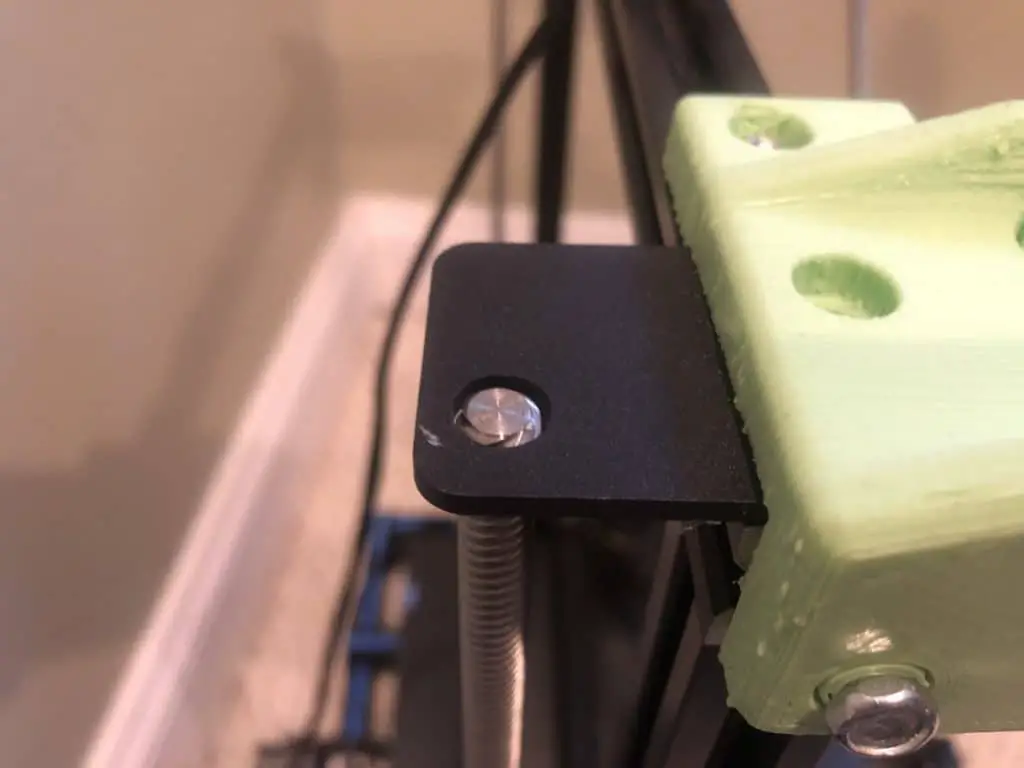
Some of the cheaper frames (shown below) are not rigid enough and cause excessive unwanted movement, especially if the filament is attached to the frame. In this example, I reinforced the from with 24” bolts which helped a lot. If the frame is well built this extra reinforcement is not needed.
Heating Element
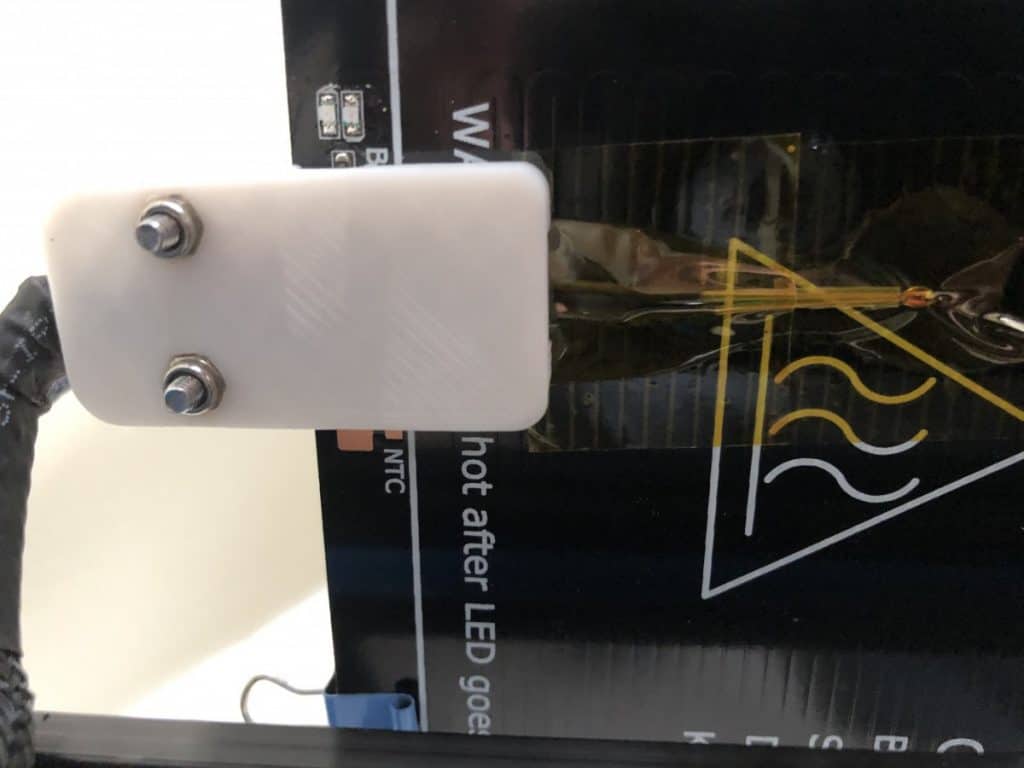
The heating element is what heats up a heated build plate. It typically comes in two parts, the heating element itself and a thermostat. Both parts are required to keep the build plate at the desired temperature. If the thermostat is bad, or off, the build plate may not actually be at the temperature you set it to, which may or may not have an impact on anything depending on how far off the temperature actually is (+/- 10% won’t hurt most filaments).
One thing to note here is that if the connection to the thermostat is loose the controller will throw an error and stop the print abruptly. If this happens you cannot resume the print and will end up having to restart it.
Lead Screws
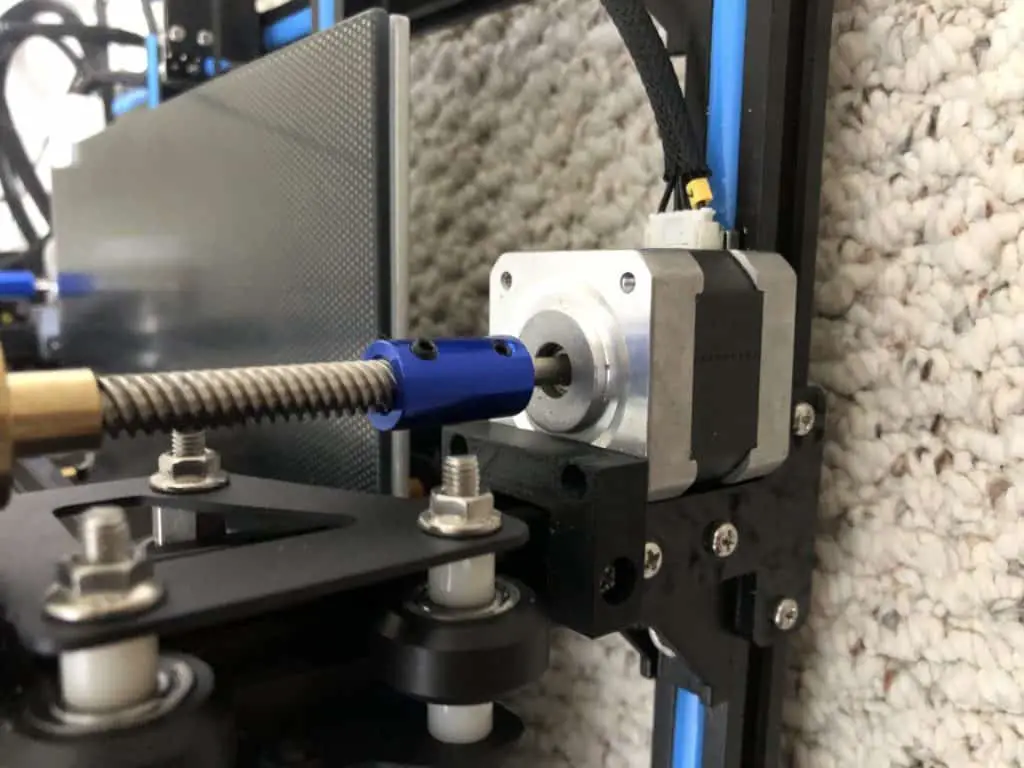
The lead screws are connected to the Z-axis stepper motors and control the height of the printer head on that axis. You want to make sure that they are secure at the top and bottom to avoid any unnecessary movements. You will also want to make sure that the height of the Z-axis bar is an equal distance from the base on both sides. The manual for the printer should provide direction on how to make this adjustment.
Stepper Motors
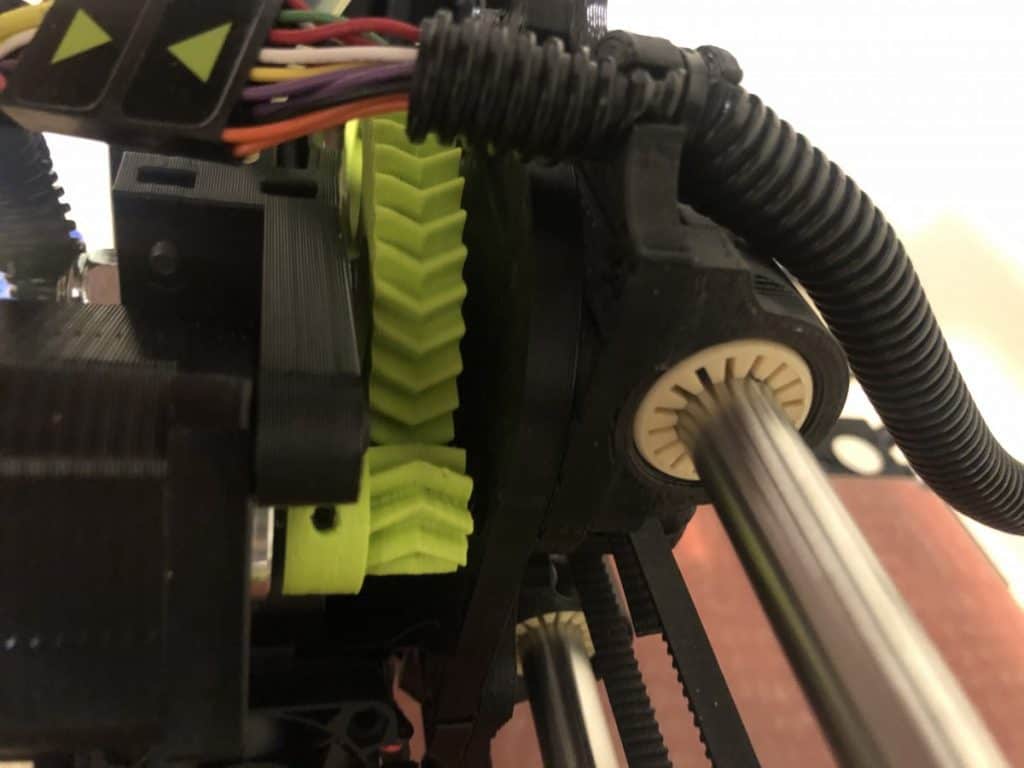
The stepper motors play a vital role in the 3d printer as they make everything move. There are typically four stepper motors on most printers, two that control the Z-axis, one for the X-axis, and one for the Y-axis. The motors have a pully that the drive belts wrap around which is what actually controls the movement of the build plate and extruder.
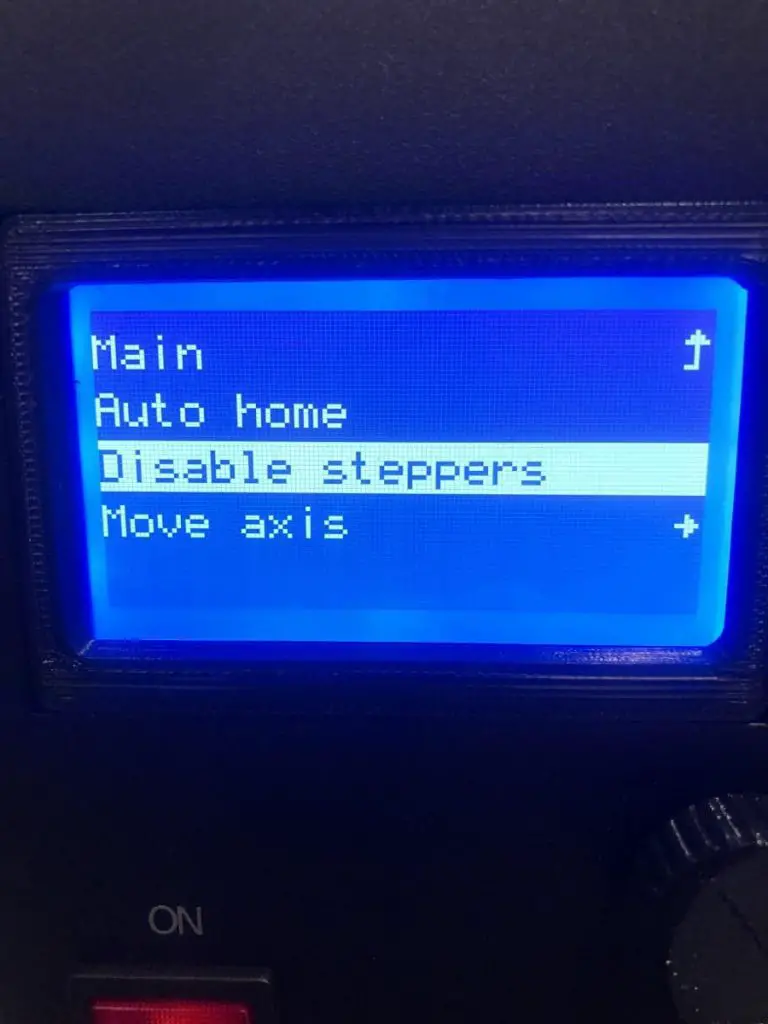
Stepper motors can get damaged by forcing unnecessary movements of the components they control. If you are typing to troubleshoot the movement of the build plate or extruder make sure you disengage them, this can be don’t in the control box.
Tracks
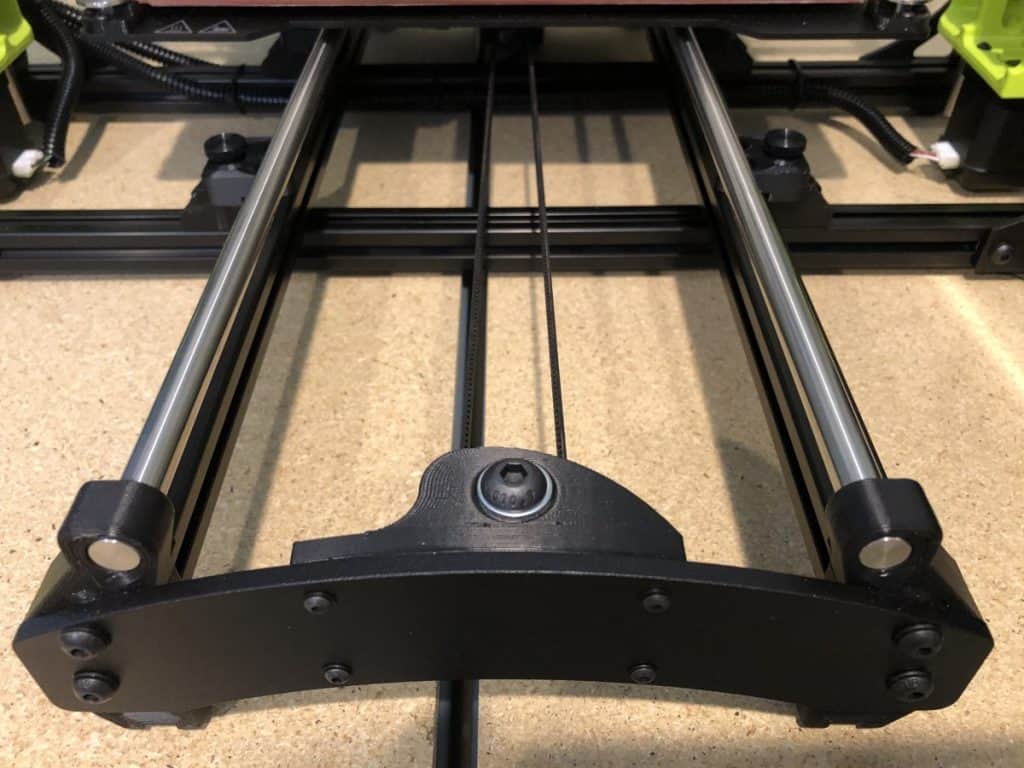
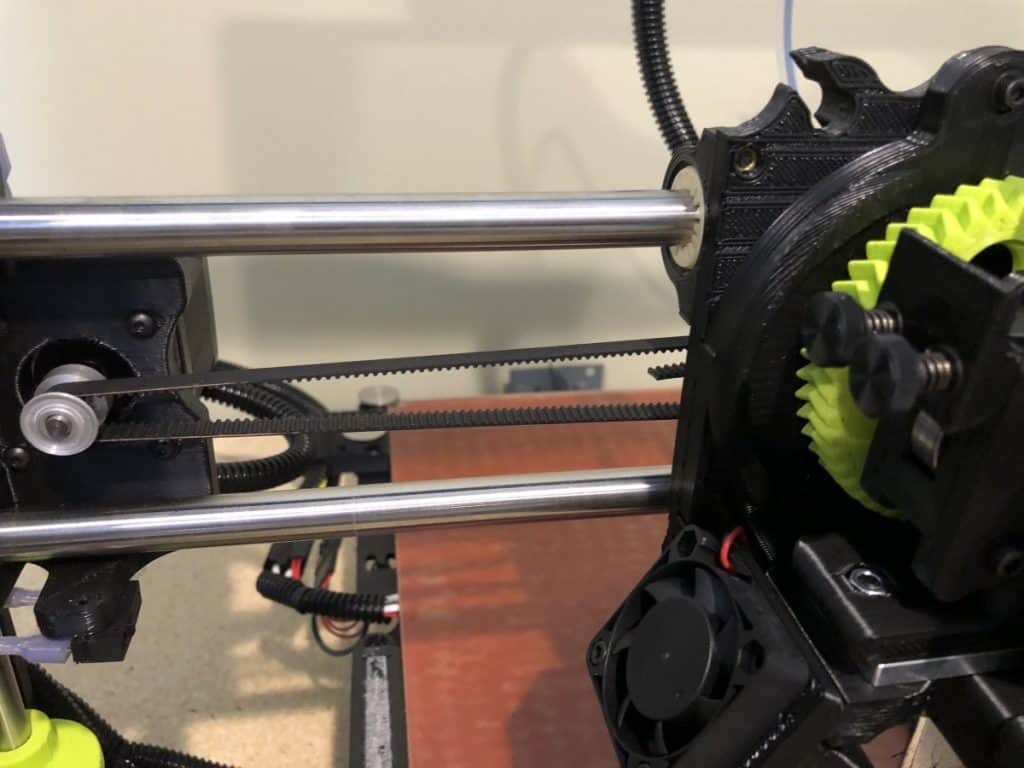
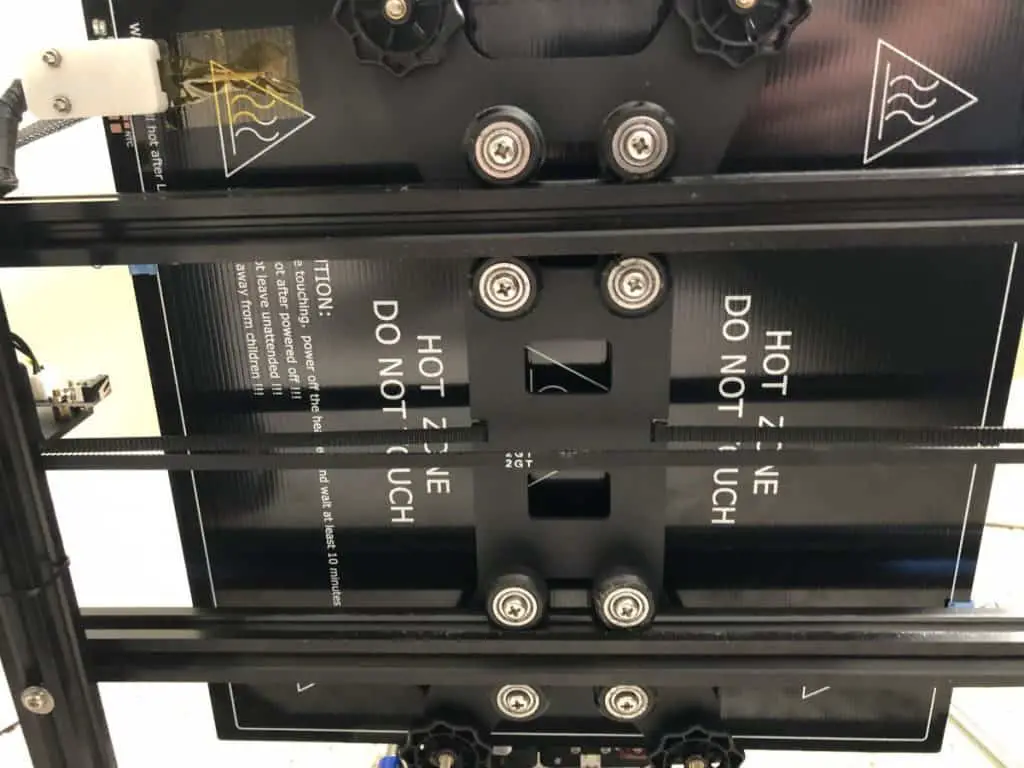
All moving parts on a printer need a way to actually move and this is typically done using a track that allows the movement. These tracks can vary in size and shape but are typically standard 20/20 aluminum extrusion or round rods (See examples below).
The tracks play an important part in the printer operation because they allow the components to smoothly move as needed along each axis. Without them, the printer would simply not function. It’s important that the tracks are not damaged in any way as it will cause unwanted minor movements that will have a negative impact on printed objects.
Wheels
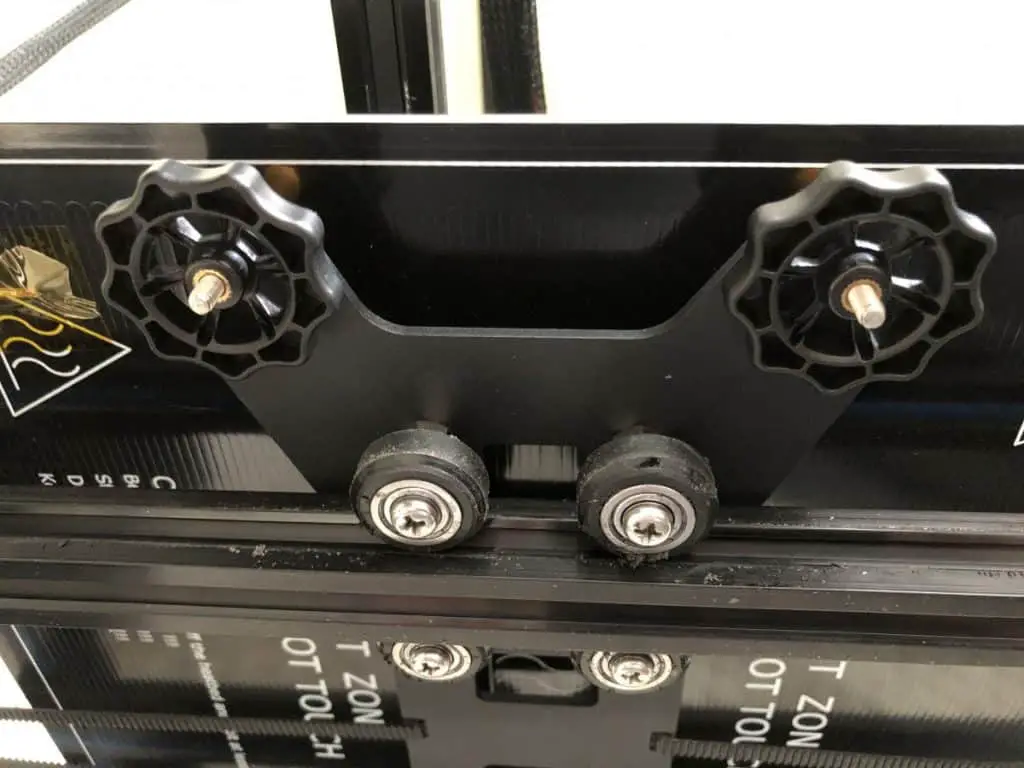
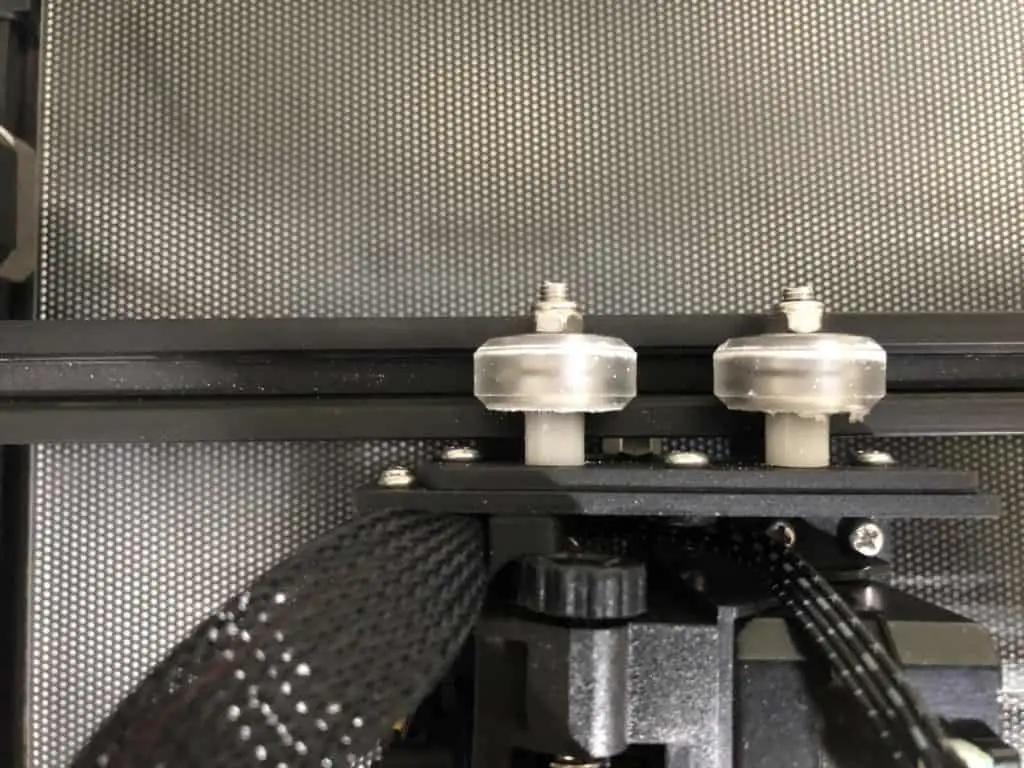
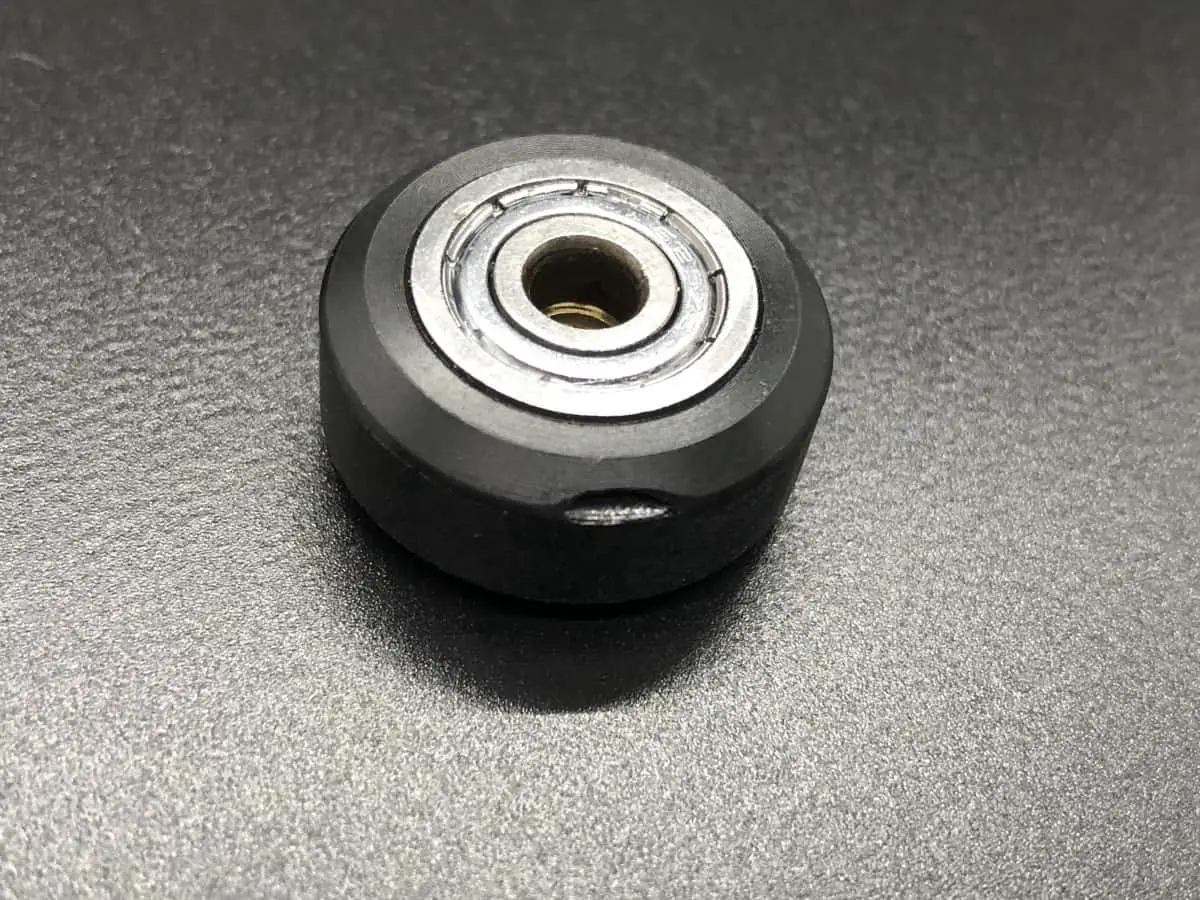
Wheels are commonly used to help the frame for the Z-axis, extruder, and build plate move smoothly on their axis. If the 3d printer is built out of aluminum extrusion the wheels are going to be standard POM V slotted wheels that can be replaced for cheap if needed.
If you are using any extreme excessive ghosting or jumping in prints the first thing I would for is a damaged wheel. I had one wheel that came damaged on a brand new 3d printer and it took me a week to figure out what the problem was. Tip never assume new parts are good, check out the picture below as an example.
Recap
A 3d printer is made up of over a dozen different components but they are not as complicated as they look. This article went over each of the main components that make up a 3d printer and what its purpose is. If you know what each part is and the role they play in a printer you will be much better equipped to troubleshoot any issues that come up with your printer and trust me there will be issues.
Make sure you check out our YouTube channel, and if you would like any additional details or have any questions, please leave a comment below. If you liked this article and want to read others click here.

