Starting a new hobby can be fun and nerve-racking at the same time. There is typically so much to learn that it can be overwhelming at times. Fortunately, the 3d printing hobby has many great communities & sites that can help you out.
One of the first things people tend to want to do after printing the test prints from the SD card is to find more things to print. The most common source for free 3d objects is Thingiverse. So with that said, I’m going to show you how to print an object that you find on Thingiverse.
Here are the steps to print a 3d object from Thingiverse.
- Download STL File for the Object
- Slice the STL File
- Copy Sliced File (G-Code) to an SD Card
- Print Object From the SD Card
*This process assumes that you have Cura installed and a profile for your printer. If you don’t, I recommend starting with this video first and download my Cura profiles.
Step-by-Step Print Guide
Requirements
Required Hardware
*Links are to Amazon, and for the products I use.
Required Software
- Cura *Or another slicer
Additional Recommendations
There are a couple of things that I would recommend you do before kicking off any prints that are meant for anything besides testing.
- Download and import my Cura profiles: I have the profiles I use available for download. They should be a good starting point for anything you may need/want to do.
- Print a Temperature Tower: This would be one of the first things I print. It’s used to help you choose the correct temperature for the filament that you are using.
- Calibrate your e-steps: This doesn’t have to be done now, but I recommend doing it at some point to make sure you are extruding the right amount of filament.
Step-by-Step Guide
Download STL File for the Object
The first thing we want to do is go to Thingiverse and choose something that you want to print. If your just getting started, I would recommend starting with a Temperatur Tower to get the right printing temperature for the filament you are using.
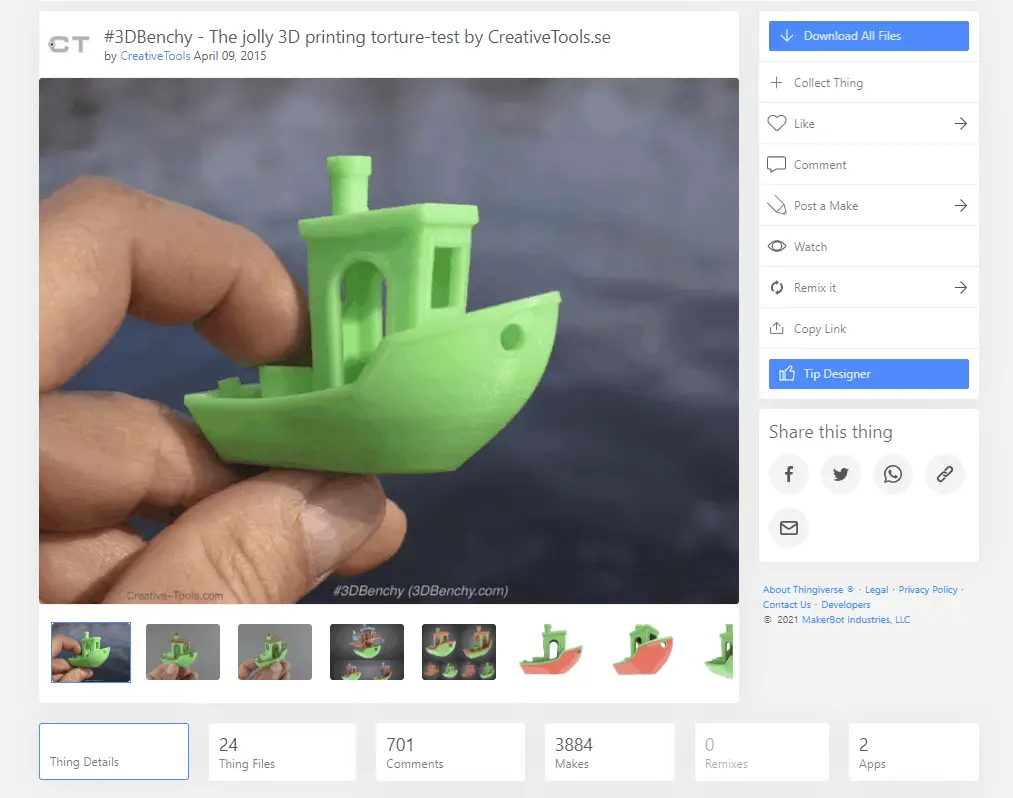
That said, this is something you can do later, so choose something that you want to print that doesn’t look too complex. I recommend starting with something that won’t take too long to print and doesn’t have many overhangs or multiple parts. A really good starter print is the Benchy, so we will use that as an example in this article.
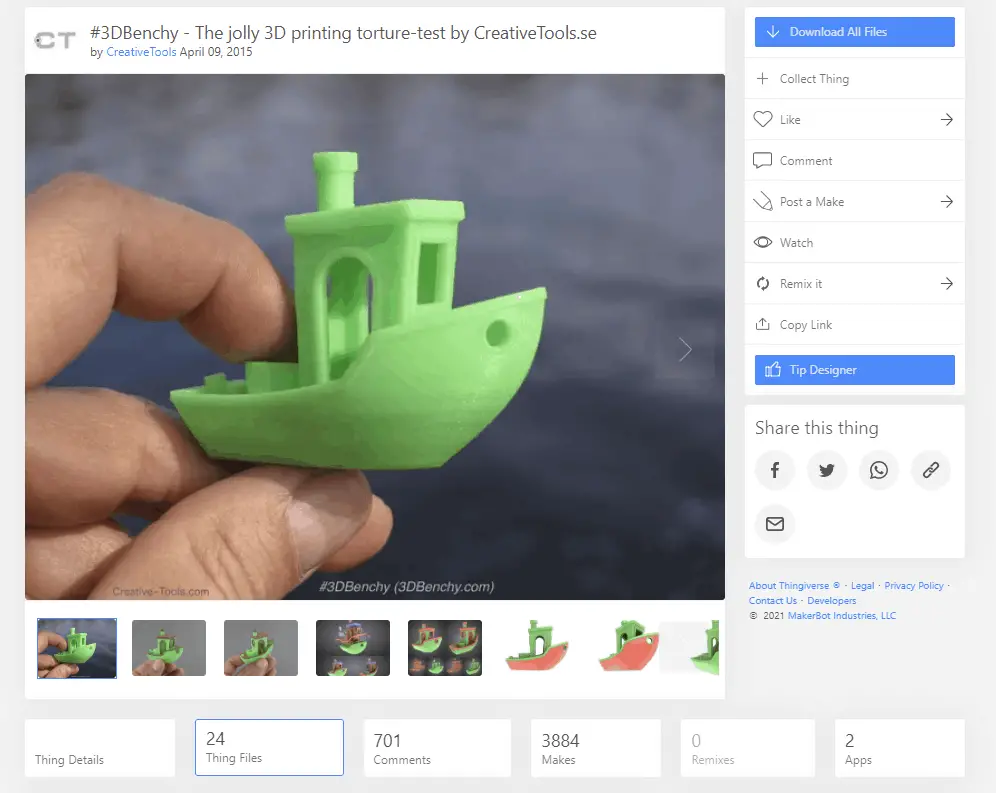
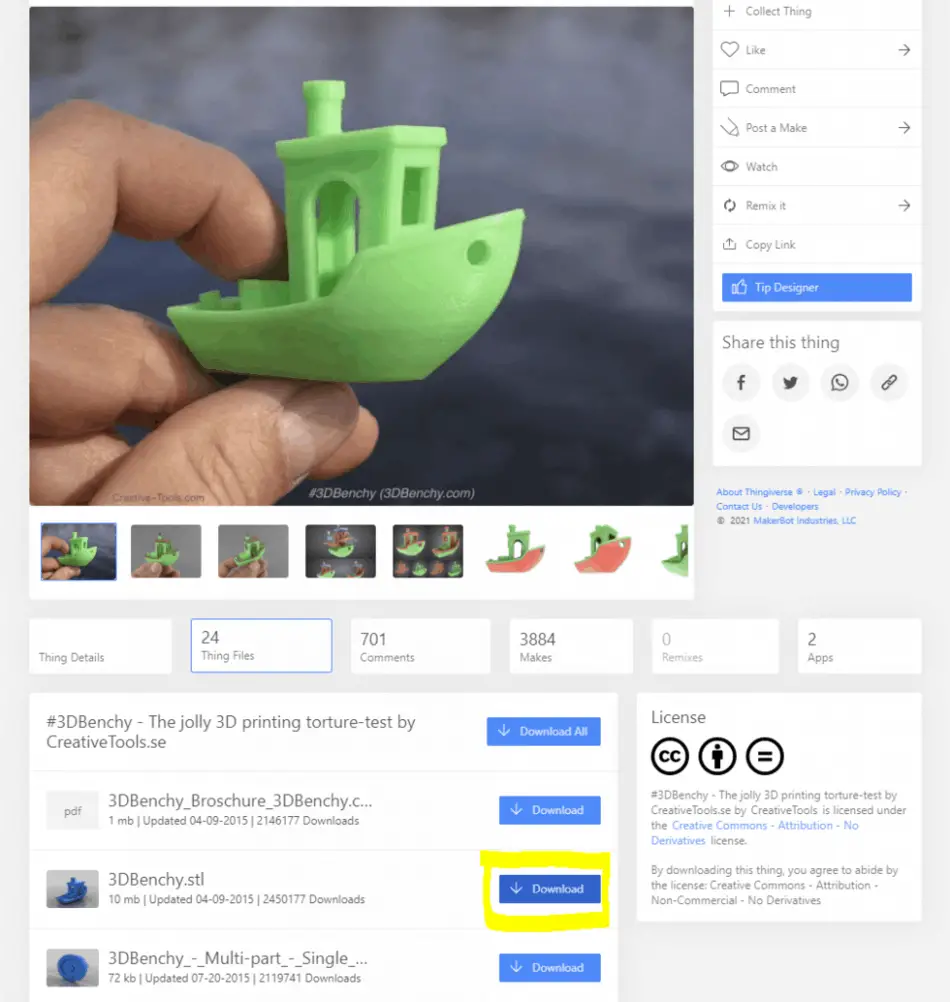
Download the STL File
Now we want to download the STL file for the Benchy. Go to https://www.thingiverse.com/thing:763622, then go to “Thing Files” and download the “3DBenchy.STL”. Make sure you make a note of where you download the file to. Most of the time, it will go to the Downloads folder, but that’s not always the case so its important that you make a note of where it gets downloaded to.
Slice the STL File
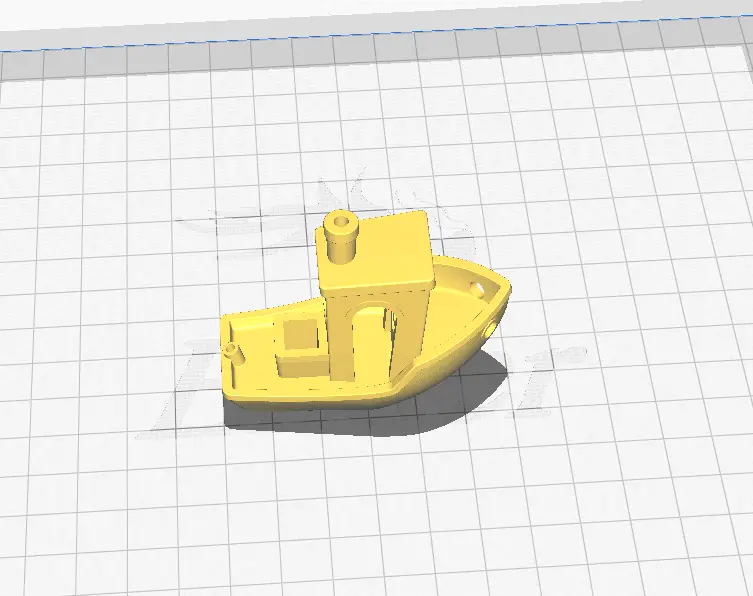
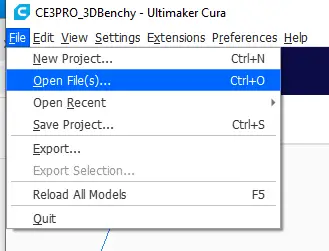
Now that we have the file that we want to print, we need to slice it. To do this we will need to import it into Cura. This can be done in one of two ways.
- Drag the STL file into Cura
- Go to File -> Open file -> and then select the STL file you are working with
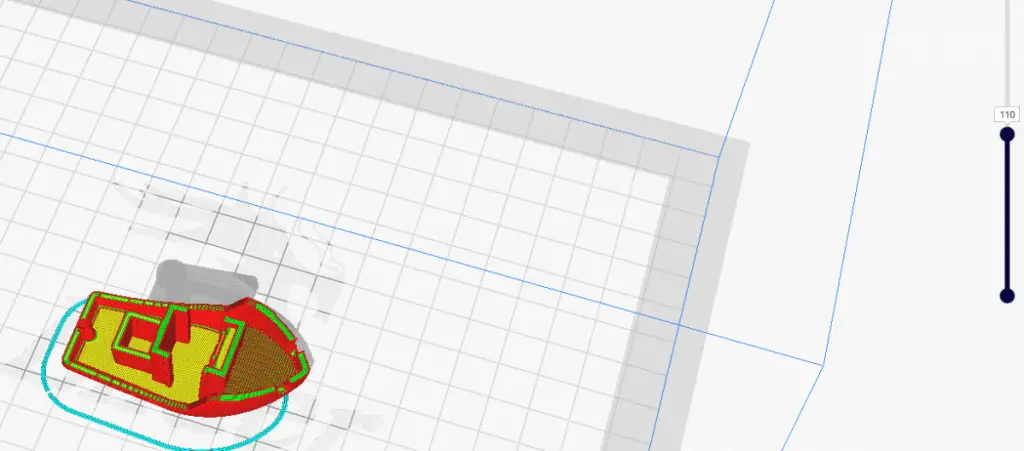
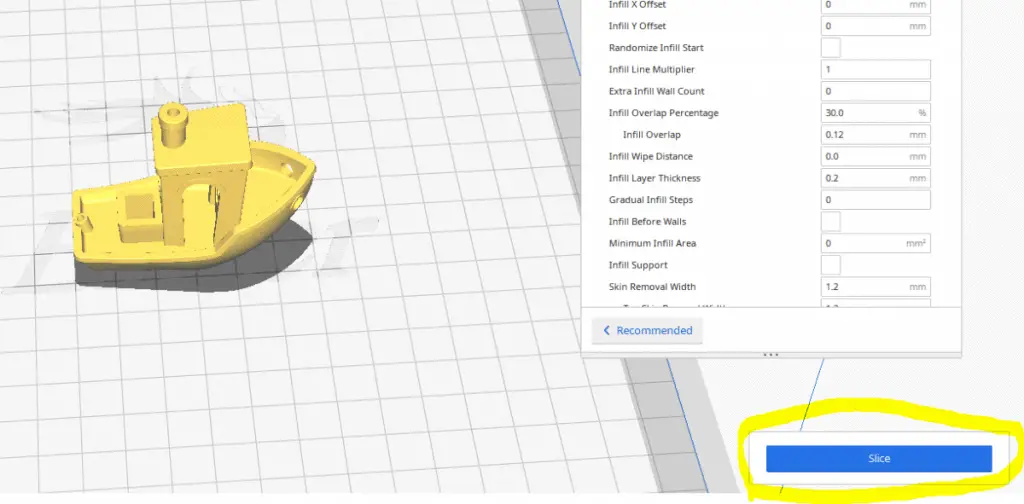
Once the object(s) are in Cura, you will want to select the profile you want to print with, review the settings (specifically around temperate and supports), then click slice. Once that done, I recommend you check the slice under the preview section to make sure everything looks right and that no layers print in mid-air (I’ve seen this happen many times, especially with figures, where parts start printing in mid-air and not attached to anything).
Copy Sliced File (G-Code) to an SD Card
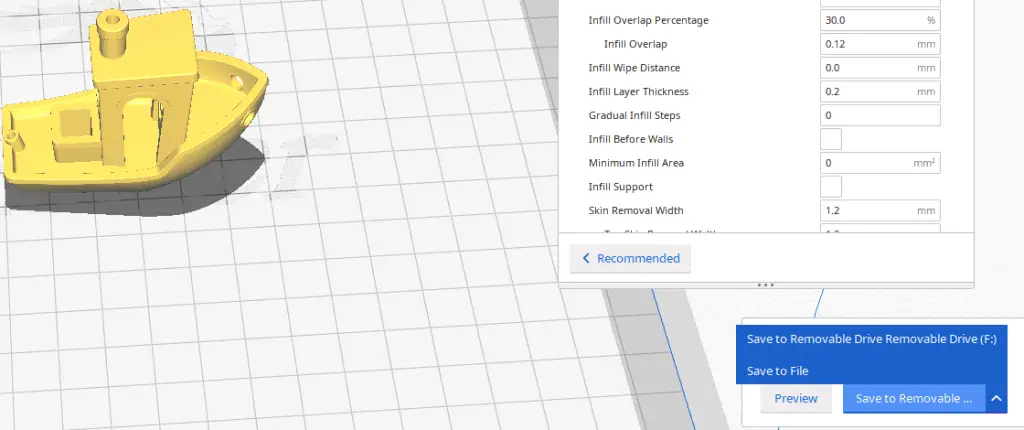
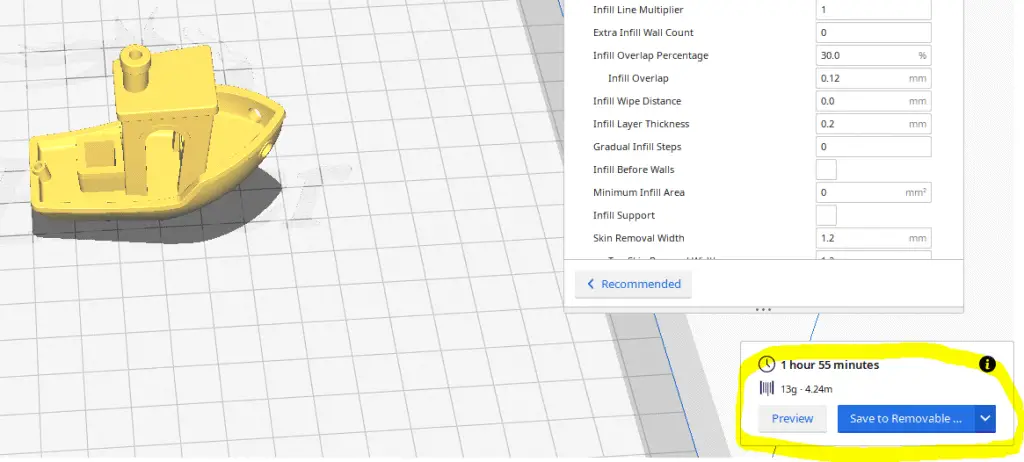
Once you reviewed everything, you will want to save the file to your SD card. This can be done by having Cura save to removable drive if you only have one. If you have more than one, you will want to switch it to save to file, then save the file to the SD card you want to use.
Here are examples of both options in Cura.
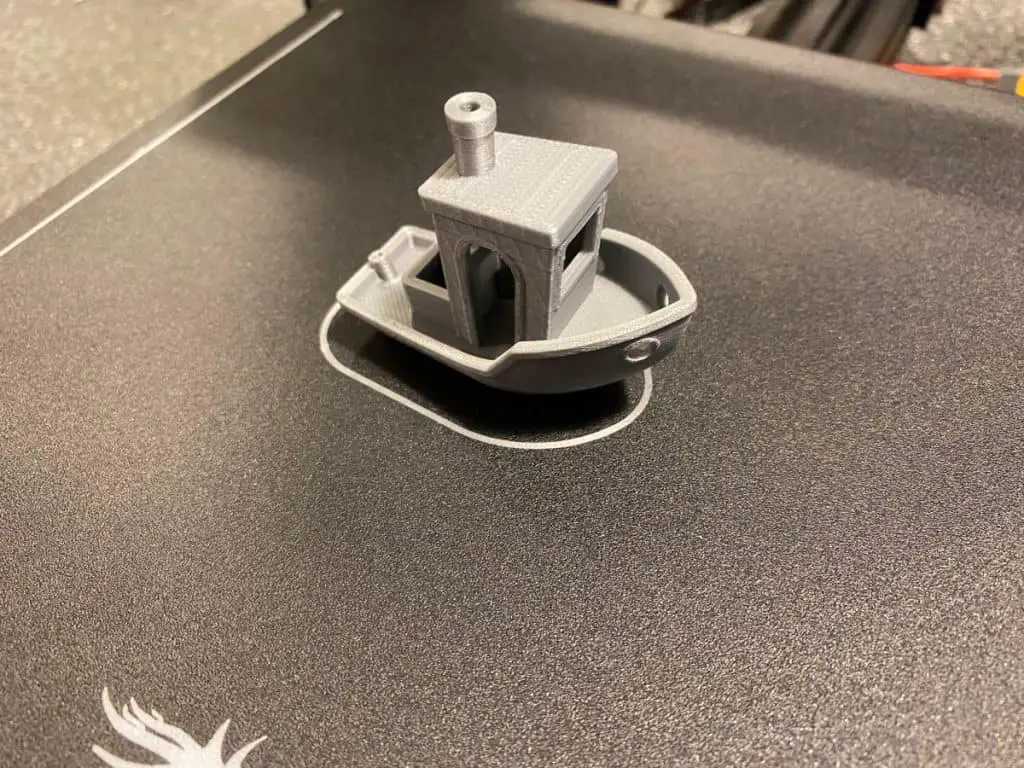
Print Object From the SD Card
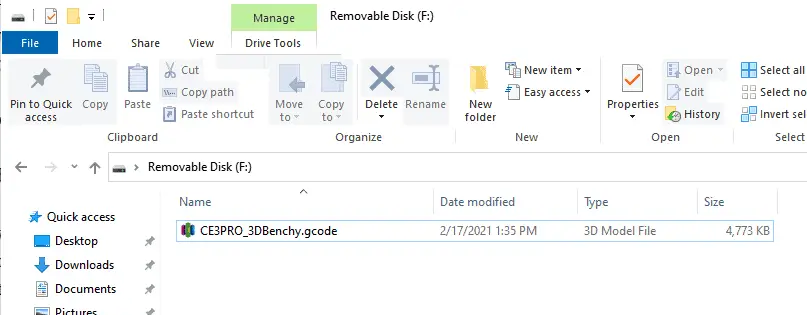
Once the g-code file is on the SD card, you will want to put it in the printer then kick off the print. The SD port can be found by the USB port and is typically on the front of the printer somewhere. On the Ender 3, its on the front left of the printer.
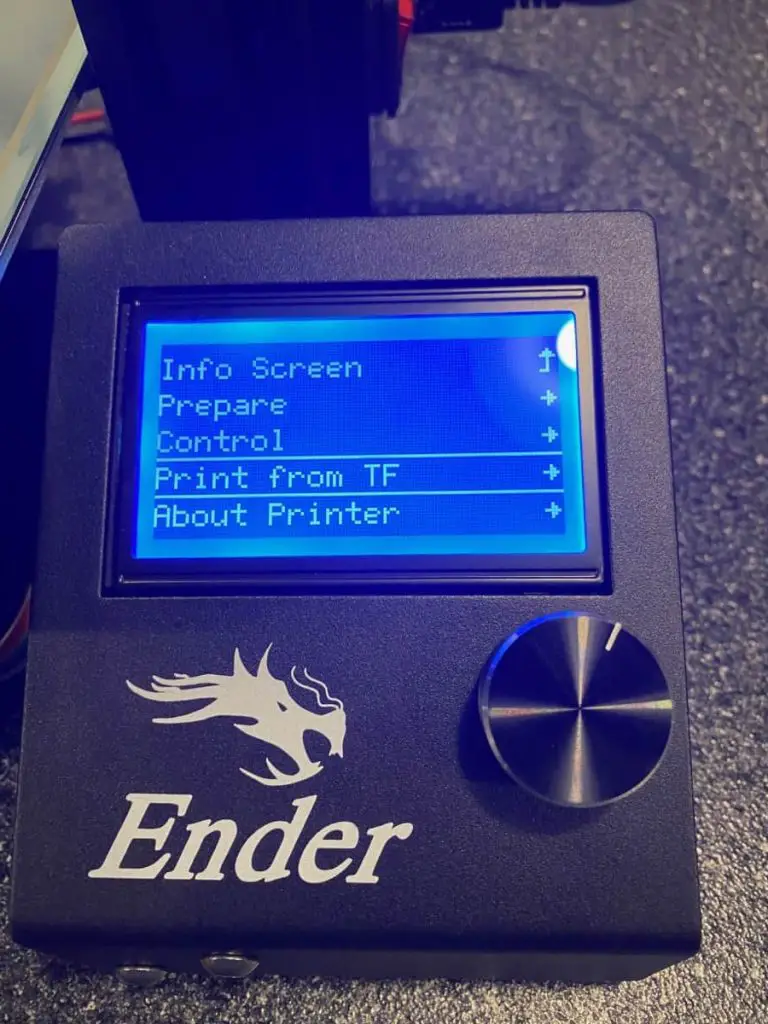
Once the card is entered, you will want to go into the menu and select “Print From TF” then select the file that you want to print.
*You want to make sure the build surface is level and you have any adhesion you intent to use applied before kicking off the print.
Related Questions
Where else can I get STL files from? – There are many other sites that have STLs available. Some sites offer them for free and others charge for them. Here are four alternatives to Thingiverse.
When should supports be used? – You should consider using supports anytime you have a large overhang or bridge. They will help to keep the print true to its actual shape. Failing to do so could lead to the print failing or looking awful. The downside to using supports is that you will have to remove them after the print, which can sometimes be painful. I also recommend that you use tree supports in most cases. They typically use less filament and come off easier.
Recap
Printing files that you get from sites like Thingiverse isn’t difficult, but it’s easy to miss steps if you have never done it before. There are also some steps that should be done before starting to print any objects for anything besides testing. I covered the full process from start to finish at a high level here, but there is a lot more to learn if you want to get excellent prints.
Make sure you check out our YouTube channel, and if you would like any additional details or have any questions, please leave a comment below or join us on Discord. If you liked this article and want to read others click here.