A 3d printer is a powerful tool, but it has limitations and requires calibration and maintenance, especially if you make modifications to the printer. One of the most overlook tasks is calibrating the e-steps as most people don’t know what they are or how to calibrate them. The printer manufacture uses a generic value that tends to work well with a given printer that is new, but it’s not always accurate. It can change over time, especially if you change out or upgrade components.
Here is the list of steps you need to follow to calibrate the E-steps on a 3d printer.
- Load/Prime Filament
- Mark Filament 120mm From the Extruder
- Run 100mm of Filament Through the Extruder
- Measure/Record the Distance From the Mark to the Extruder
- Repeat This Process Two Additional Times to Get an Average
- Record the Current E-step Value
- Calculate the New E-step Value
- Set the New E-step Value
Please keep reading to learn how to calibrate the e-steps on a 3d printer and why it’s essential to do.
Step-by-Step Guide to Calibrating the E-steps on a 3D Printer
Required Tools
*Links are to Amazon and for the products I use.
Step-by-Step Guide
1. Load/Prime Filament
To get the most accurate results, you want to make sure your filament is loaded and primed. To do this, you would heat the hotend to the temperature you typically print at, load the filament, then purge the filament until it’s coming out evenly.
2. Mark Filament 120mm From the Extruder
Next, you want to make a clearly visible mark on the filament 120mm from the extruder. The reason for using 120mm instead of the 100mm that we will be running through the extruder is to account for over extruding.
If the extruder is under extruding, you would be able to get the extruder’s distance to the mark on the filament because it would still be visible. If the extruder is over extruding and the mark was at 100mm, the mark would end up in the extruder, and you won’t be able to get the distance.
3. Run 100mm of Filament Through the Extruder
Once you have the filament marked, you can begin to push 100mm of filament through the extruder. You will want to do this from the control panel on the printer using small increments until you get to 100mm.
If you just tell it to extrude 100mm at once, it tries to push the filament through too fast, causing filament grinding and bad results. I tend to go in 5-10mm increments until I get to the 100mm mark.
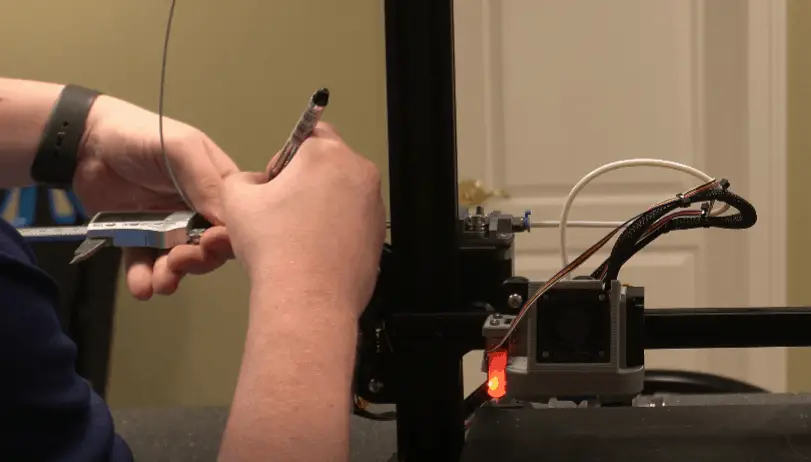
4. Measure/Record the Distance From the Mark to the Extruder
Now you want to measure the distance from the extruder to the line on the filament and record that; we will use it in a formula later on. Make sure you take your time and get a good reading as it will impact the results.
5. Repeat This Process Two Additional Times to Get an Average
This step is optional, but I would recommend doing it. I tend to get slightly different results each time I run the test. It could be from reading the mark at a different level, pushing the filament through a little too fast, or several other reasons, but the results end up being slightly different. As a result, I like to do it three times and use the average of them.
Here are the results of the test I ran.
| Test Number | Result |
|---|---|
| 1 | 27.02mm |
| 2 | 28.35mm |
| 3 | 27.92mm |
Based on the results above, the average is 27.76mm. That is the value we will use in the rest of the article.
6. Record the Current E-step Value
Now we need to get the current E-step value. I will show you how to get it from the standard and a touch screen interface.
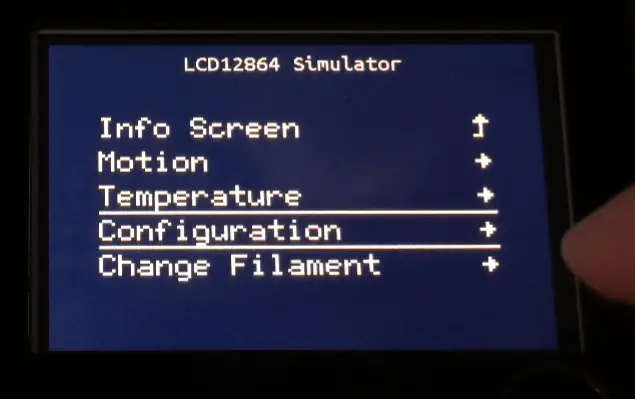
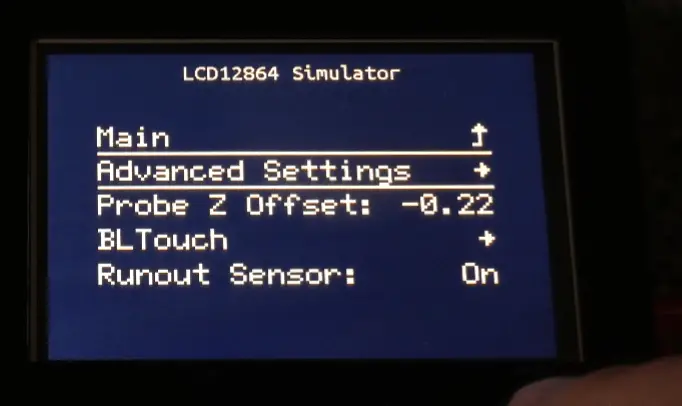
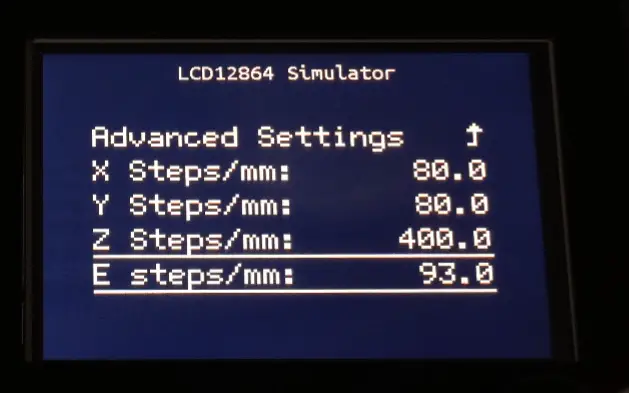
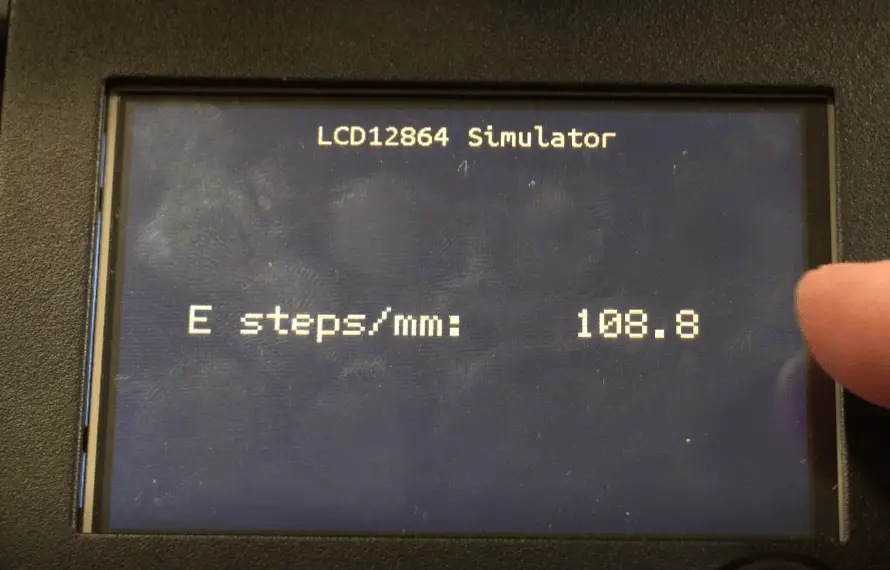
Standard Display
- Open Menu
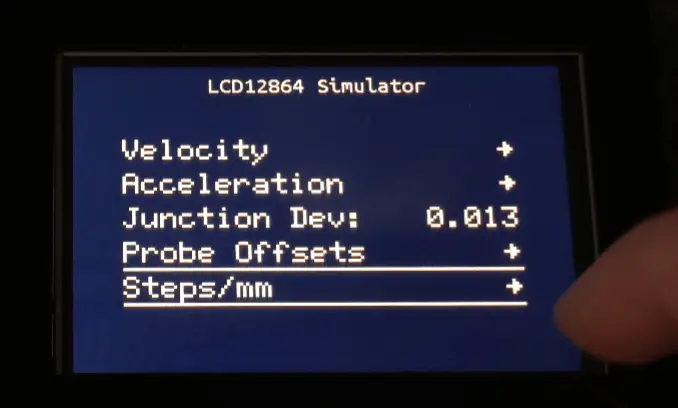
- Go to Configuration –> Advanced Settings –> Steps/mm
- Record the value from E steps/mm

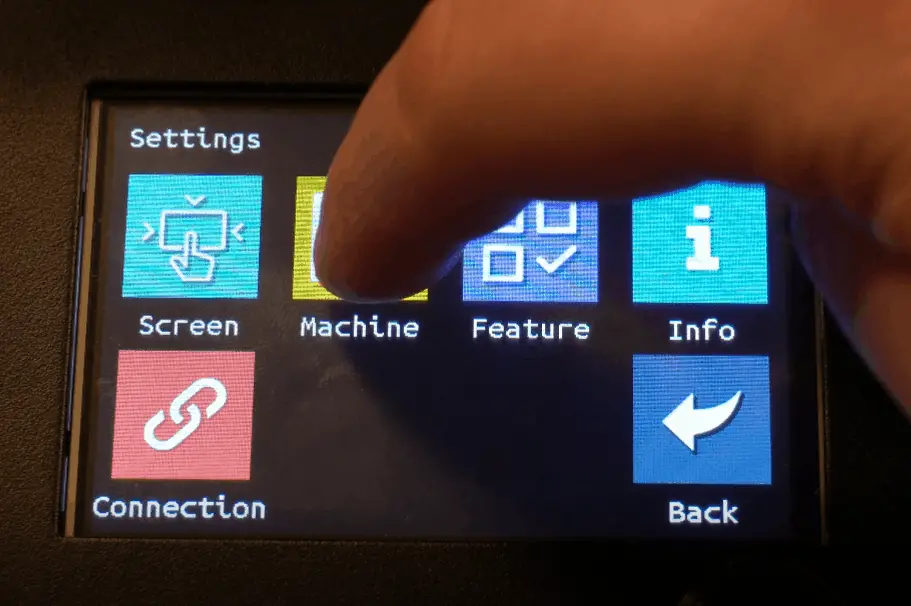
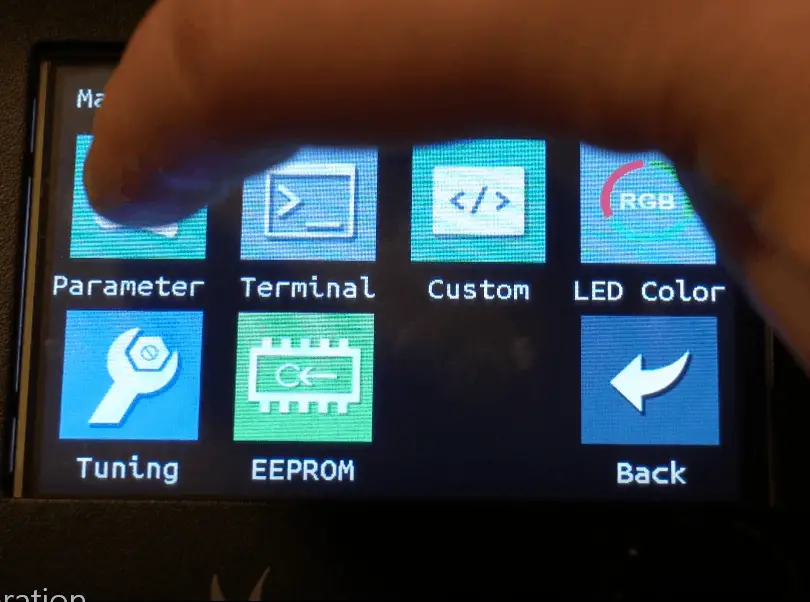
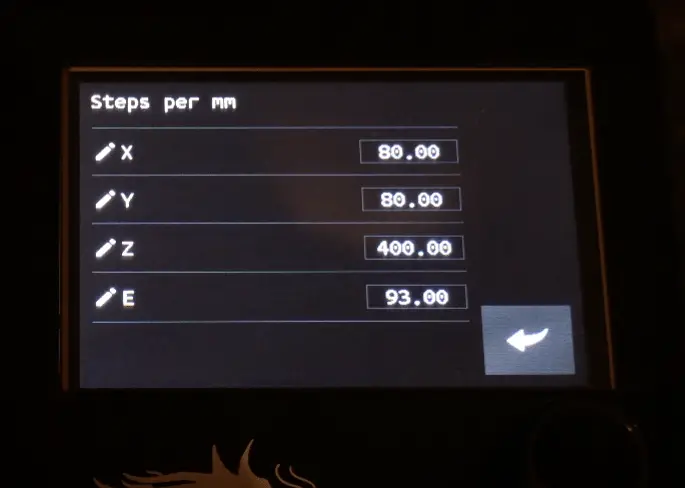
Touch Screen (TFT35 – On Amazon)
- Open Menu
- Go to Settings –> Machine –> Parameter –> Steps per mm
- Record the value from E


Many of the Creality 3d printers, including the Ender 3 available on Amazon, ship with a default E-step value of 93. We will use that value in the formula below.
*Some firmware may have the menus structured differently.
7. Calculate the New E-step Value
Next, we need to use the data we just gathered to calculate the new E-step value.
Formula
(E/(120-D))*100 = New E-step Value
Example
(93/(120-27.76))*100=100.82 or
(93/92.24)*100=100.82
- D = Averaged distance measured (Step 5)
- E = Existing E-step value (Step 6)
8. Set the New E-step Value
Now that we have the new E-step value, we need to enter it into the 3d printer. Here is how you would do that from both interface types.
Standard Display
- Open Menu
- Go to Configuration –> Advanced Settings –> Steps/mm –> E steps/mm
- Set the new E-step value from step 7
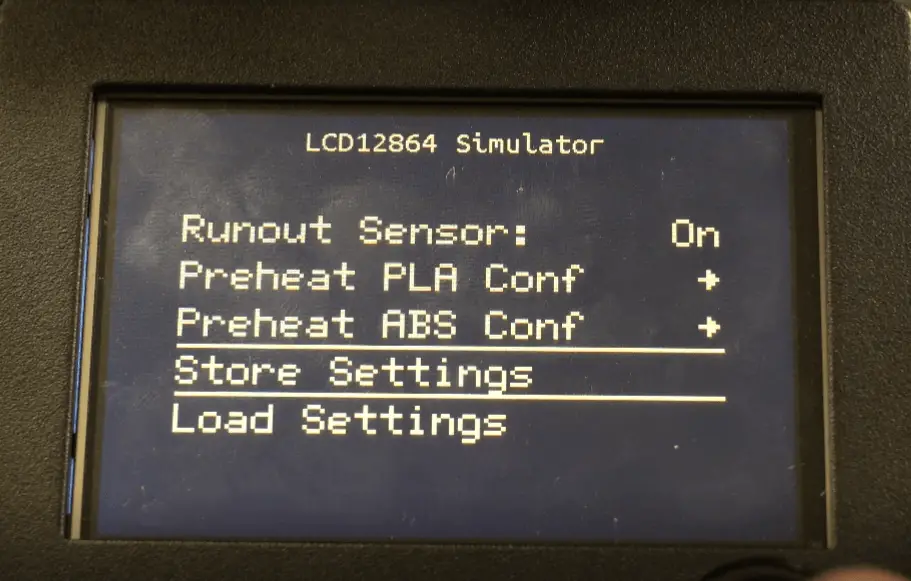
- Go to Configuration and click on Store Settings
Touch Screen (TFT35 – On Amazon)
- Open Menu
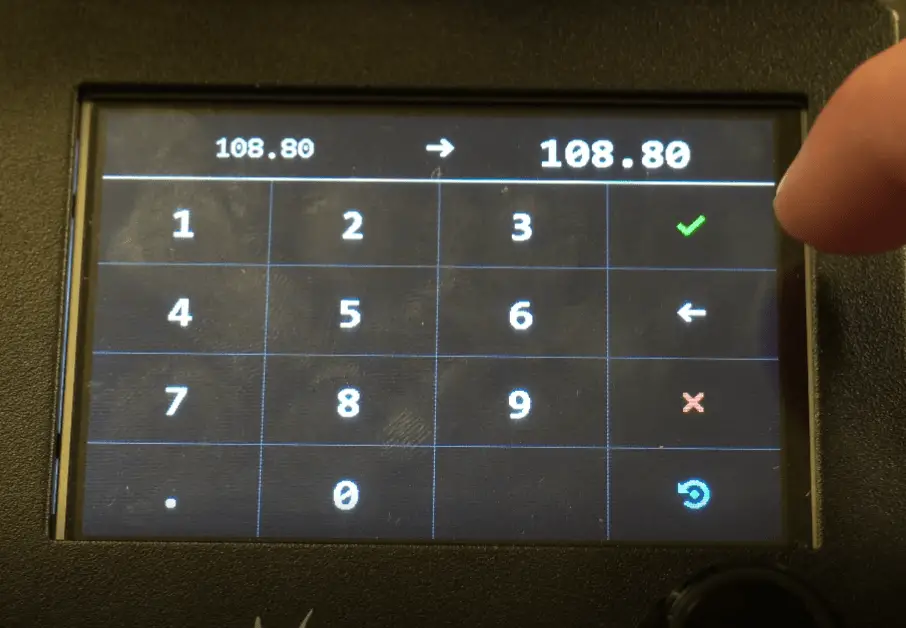
- Go to Settings –> Machine –> Parameter –> Steps per mm –> E
- Set the new E-step value from step 7
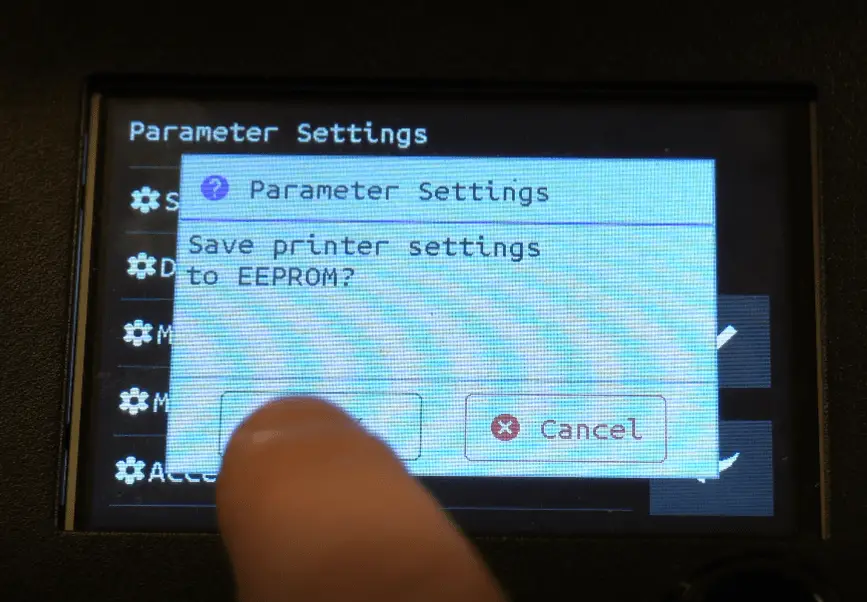
- You will be prompted to save printer settings when you return to the main menu, make sure you hit ok.
Lastly, if you rerun the filament test (Steps 2-4), your result should be 20mm (or around that mark).
*Some firmware may have the menus structured differently.
*Make sure you save your settings, or they will be erased when you power off your printer.
What are E-steps
An E-step is short for an extruder step, which is the number of steps a stepper motor has to move to extrude a specific filament amount. In most cases, assuming you are using Marlin firmware, this amount is 100mm. That means that in the example we just walked through, the stepper motor has to turn 100.82 times to extrude 100mm of filament.
Why are E-steps Important
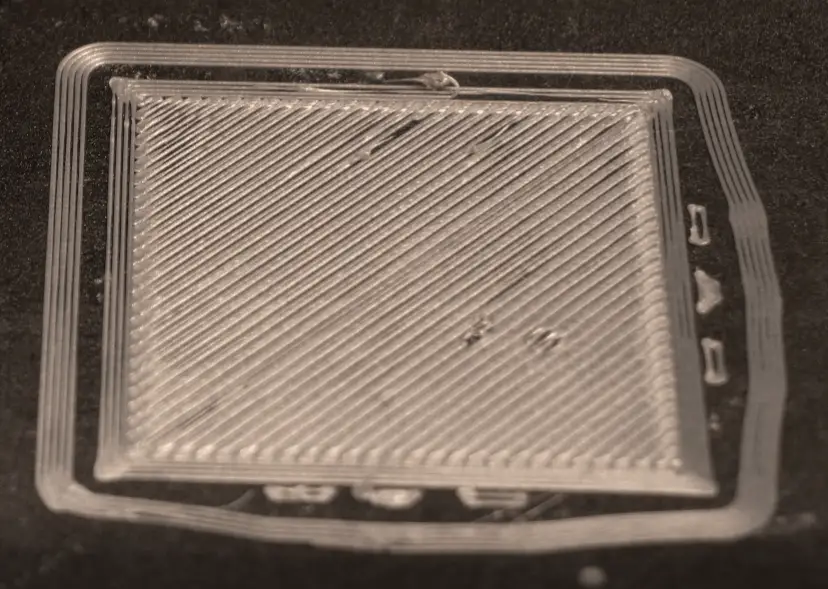
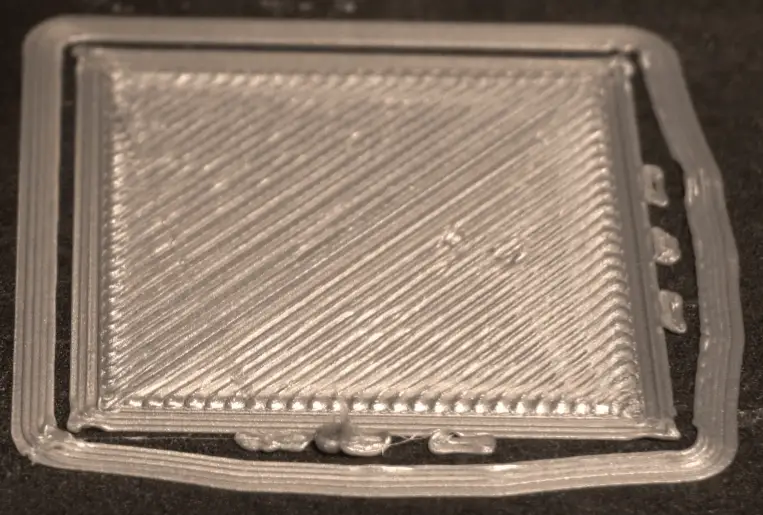
E-steps are important because the printer needs to know how much filament its being sent through the extruder for prints to come out right. If the printer thinks it is using 100mm of filament, but it’s under extruding and actually only using 90mm, the print will have a lot of gaps in it. On the other hand, if it’s over extruding, there will be a lot of excess filament that has to go somewhere, which leads to rough layers, blobs, and zits. Example pictures are below.
When should E-steps be Recalibrated
Knowing when to calibrate/recalibrate the E-steps on a printer is half the battle. Here are my recommendations on when to calibrate them and why.
When you first get the printer: Most manufacturers set a standard E-step value based on their testing of a given model. The problem with that is each printer can be a little different, so I don’t trust the default values. For this reason, I calibrate the E-steps on any printer I get, new or used.
If you make any modification around the extruder or hotend: Making changes to the extruder or hotend will impact the flow rate in some way or another (even if the vendor says it’s a drop-in replacement), which will impact the E-steps. This is especially true if you are swapping out the hotend with an all-metal one like the popular Micro Swiss one on Amazon.
On a regular cadence that makes sense based on your usage: I would say I’m an average 3d printer user when it comes to how often I’m printing things. With that said, I like to make sure I calibrate the E-steps on my printers once every six months. I think this is a good starting point. If you don’t see any changes or see significant changes, you can adjust the cadence as you see fit.
Final Thoughts
Calibrating the E-steps on a 3d printer is an essential part of the printer’s ongoing maintenance and doesn’t take really long to complete. The process should be able to be completed in under 10 minutes from start to finish, and not doing it can have a huge negative impact on your prints.
Make sure you check out our YouTube channel, and if you would like any additional details or have any questions, please leave a comment below. If you liked this article and want to read others click here.