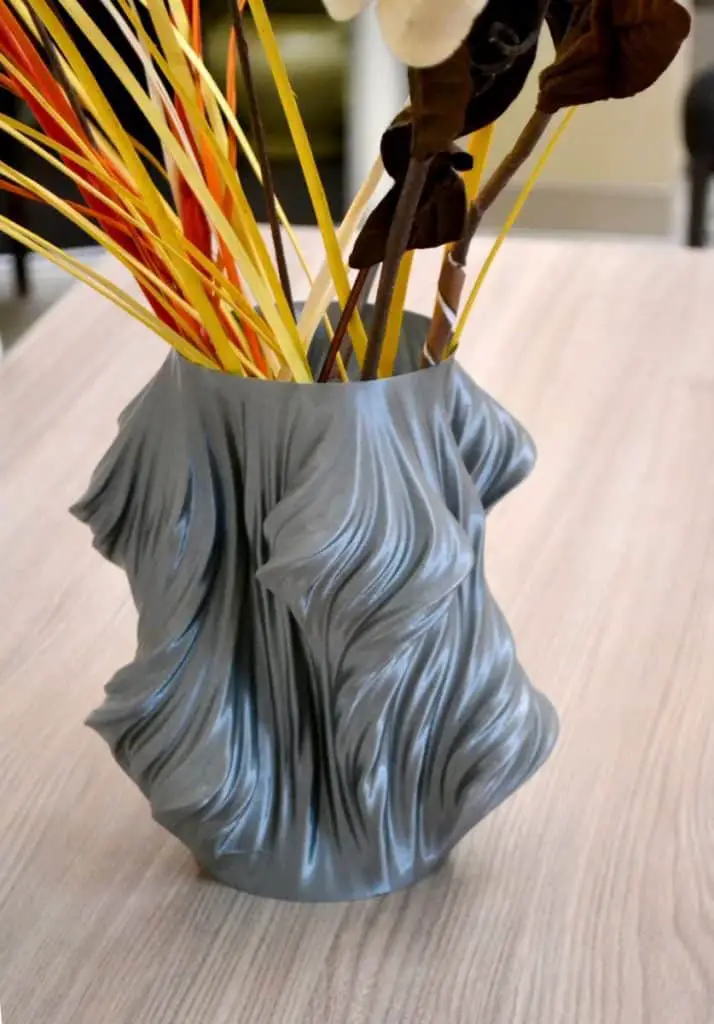
Waterproofing a vase for flowers can be as easy as adding extra perimeters in the slicer or lining the inside of the vase with candle wax. However, if you want to know more about making waterproof containers for consumables, the solutions are entirely different.
Make a 3D printed vase waterproof by printing at least 4 walls/perimeters. Increasing extrusion, infill density, layer height, and nozzle size can all help to waterproof a part by making it more solid and less porous. For containers that hold food, use PP or PETG for health and functional reasons.
ABS is an excellent material to use for flower vases because it requires fewer layers than PLA to become watertight. As little as two walls/perimeters of ABS can hold water, but I recommend using at least four in most cases for extra strength.
What Is Vase Mode In Cura?
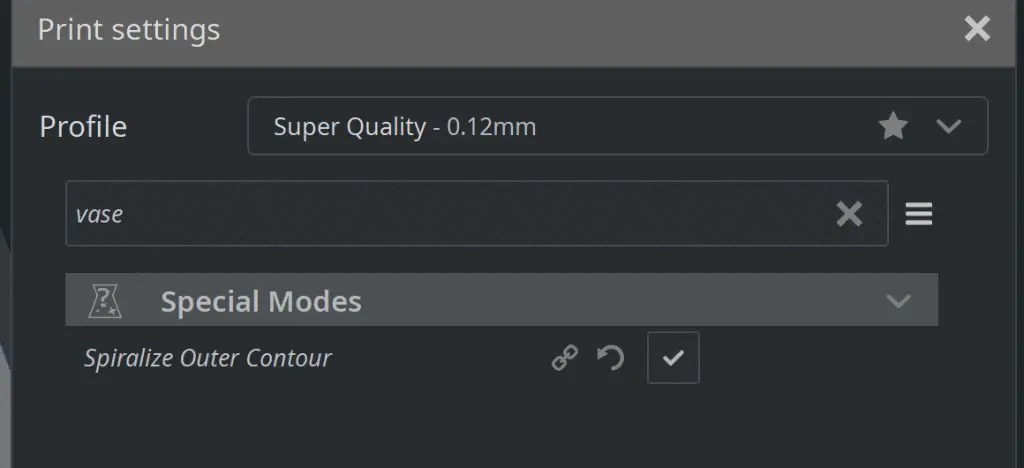
Vase mode or Spiralize Outer Contour is a setting that instructs the printer to print a solid bottom and one wall from the bottom upwards while traveling in a spiral pattern. This means that the nozzle does not need to retract between layers because it’s constantly moving upwards on the Z-axis. This creates a tight seal but leaves you with limited design options.
This type of mode prints very quickly and uses little material, but if the vase is complex in its design, you can’t use this mode because of the way it works.
So vase mode / Spiralize Outer Contour doesn’t allow for any complex geometry. For those, you’ll need to adjust some of the following settings.
Increase The Extrusion
Increase the extrusion multiplier to around 105 to 110% to fill any gaps between layers. You can do this to fill minor gaps within the walls but if you increase the infill density to 100%, rather leave the extrusion at 100%.
If the over-extrusion ruins the appearance of the vase, you might fix it up with some post-processing like sanding or acetone treatment. I go over these methods in more detail and cover extrusion settings in this article.
Turn Up The Heat
Along with increasing the extrusion, you’ll have to turn up the temperature for the extra plastic to be melted. This also helps to keep the previous layers hot while the current layer is added which increases adhesion between layers. But I wouldn’t go much hotter than 230 degrees or you may start having structural problems with the part.
Add Perimeters
Add perimeters to reduce the chance of gaps. If you’ve been printing with 3 to 4 walls, you could try 6 walls and test the seal. This is my recommendation when using PLA, PETG, PA, HIPS, and PVB.
If you’re using ABS, ASA, CPE, PC, or TPEE you can get waterproof containers with as little as 2 perimeters, but I would suggest going to around 4 just to be safe.

Adjust Infill
Increase the infill density to create a more solid, waterproof container. This is the only instance where I advise going up to 100% on the infill density. If you do this, don’t increase the extrusion to over 100% or the part might end up with a major print failure.
The main area of a leaking vase is through the gaps between layers, so you’ll need to use a completely dense infill to block the water off. Use a rectangular infill at 100% because other infill patterns might still leave gaps even when set to max.

Increase The Layer Height
When you increase the layer height, you’re increasing the amount of plastic that’s extruded. This creates a larger surface area to adhere to on every layer, making it more waterproof than thinner layers.
However, there are some people that have reported perfectly waterproof parts while using a layer height of around 0.15mm with a nozzle size of 0.4mm. As long as the infill density of the walls is 100% and you print at least 4 to 6 walls, you shouldn’t have a problem.
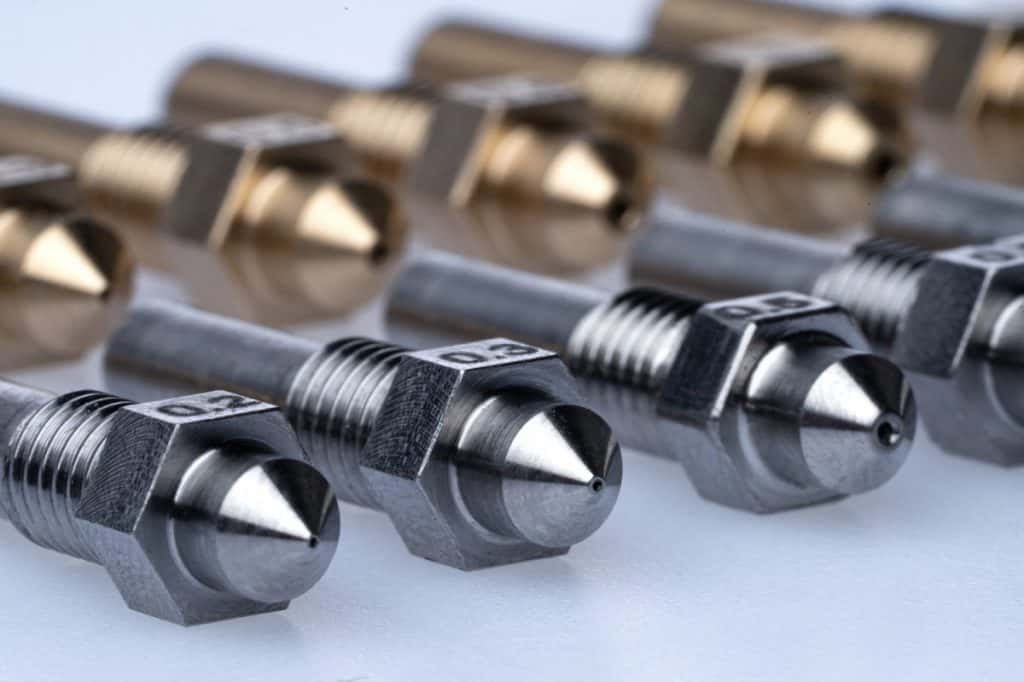
Use A Bigger Nozzle
For the same reasons that a thicker layer height increases adhesion between layers, a bigger nozzle does the same. Thicker lines can be extruded, allowing plenty of surface area between layers, increasing adhesion.
Of course, a bigger nozzle will also save your time because printing thicker layers will reduce the print time dramatically. No matter which nozzle you use, a strong layer height is normally around 50% of the nozzle width. So 0.2mm with a 0.4mm nozzle.
Print With PETG
PETG is known for its waterproof properties and food safety standards. In some cases, you can make a waterproof container with only 4 perimeters using PETG, but that will depend on the geometry of the part and how much water it holds. The more water, the more pressure there will be. But PETG will also leak in between the layers if you don’t create enough walls and infill to seal it.
Acetone Smoothing
Sometimes the gaps between the layers are so small that you can close them by melting the surface of the part with acetone. Just be careful not to dissolve the entire vase. I have more info about acetone smoothing in this article.
Coat It With Epoxy
Brush a coat of epoxy over the part to seal cracks between the layers and make the surface very smooth. You can use epoxy like these on amazon. You’ll need a pair of gloves and a brush to apply the epoxy.
Add A Layer Of Candle Wax
Epoxy and acetone are expensive if you’re on a tight budget, so here’s a very cheap solution for waterproofing a vase. Melt some cheap candles in a pot on the stove and pour the liquid wax into the vase. Turn the vase so that the wax inside leaves a layer behind. This is perfect for flower vases, but not much else.
Warnings For Waterproofing Parts
Food safety
If you’re printing anything, that’s meant to hold liquid for consumption, you need to use a material that’s safe to hold food. PP and PETG (available on Amazon) can be used to print parts that hold food.
The temperature of the liquid
Containers for holding hot drinks should be made with PETG for the food safety standards and for the higher temperatures it can withstand.
Does PLA Plastic Dissolve In Water?
PLA breaks down when exposed to water for too long. This is because it’s made with natural ingredients and is biodegradable. It will also deform if exposed to boiling temperatures, so it’s not suitable for coffee cups.
However, PLA should last a few years holding water with no problems if you insulate it in the ways we’ve discussed throughout this article. If you don’t insulate it with a barrier like epoxy or wax, it may start leaking at any time. It’s also important to keep it out of direct sunlight or it will become brittle and may even form some gaps where water could leak through.
Related Articles
- How to Print a File from Thingiverse (The Easy Way!)
- Are Higher Resolution 3D Prints Stronger?
- What Is 3D Printer Resolution?
- Create a Temperature Tower Using Cura – The Easy Way
- Cura Profiles
Conclusion
Adding additional perimeters and increasing the infill density of the vase are the two most important factors to implement. I recommend also using the post-processing techniques like acetone or epoxy smoothing to bond the layers effectively. Lining the vase with candle wax is a cheap and easy solution that might not require you to go to the shop.
Remember to use the right types of plastic for holding consumables and hot liquids. Even though PLA is technically safe to use with foods, it doesn’t fare well with hot temperatures and has tiny holes where bacteria can grow over time. So it’s better to go with PETG and PP being the two most popular choices.
Make sure you check out our YouTube channel, and if you would like any additional details or have any questions, please leave a comment below or join us on Discord. If you liked this article and want to read others click here.