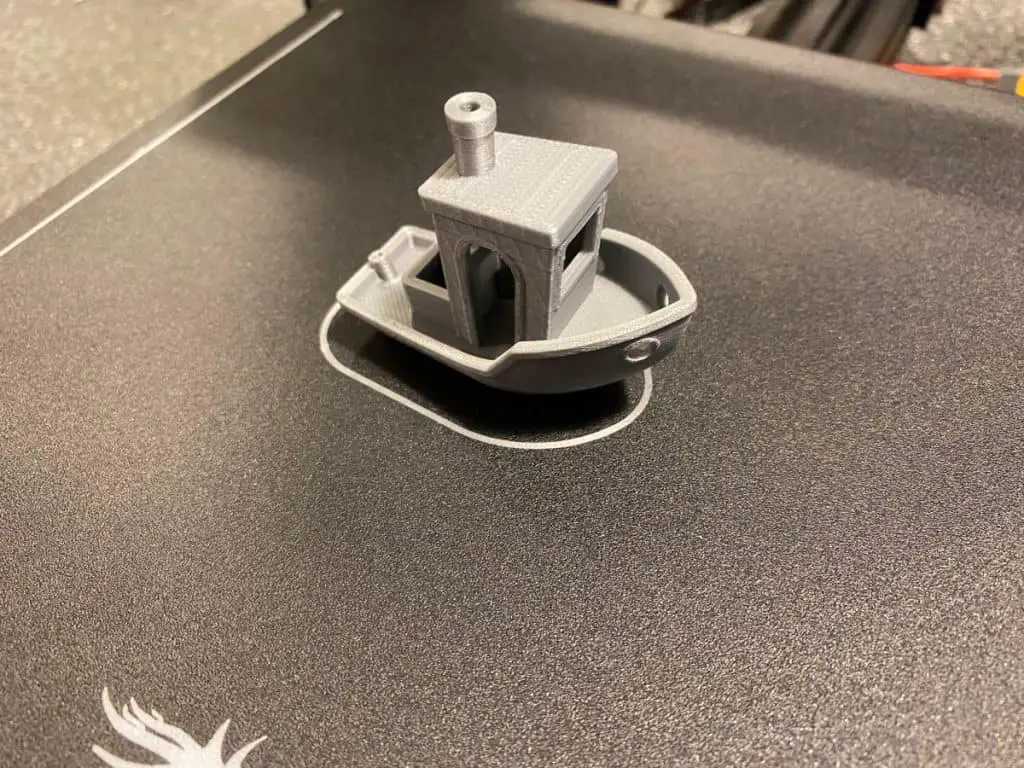
This is a common defect in 3D printing, also known as Z-scaring, Z-seam, and zits. There are many causes of blobbing and most times you can get rid of them by fine-tuning your slicer settings. Here’s what causes blobbing on 3D prints and how to prevent them.
Over-extrusion, high temperatures, and incorrect retraction settings are some common causes of blobbing on 3D prints. Over-extrusion occurs when pressure builds up inside the nozzle and is released at the end of a layer. Blobbing can also occur at the start of a layer if the retraction is too high.
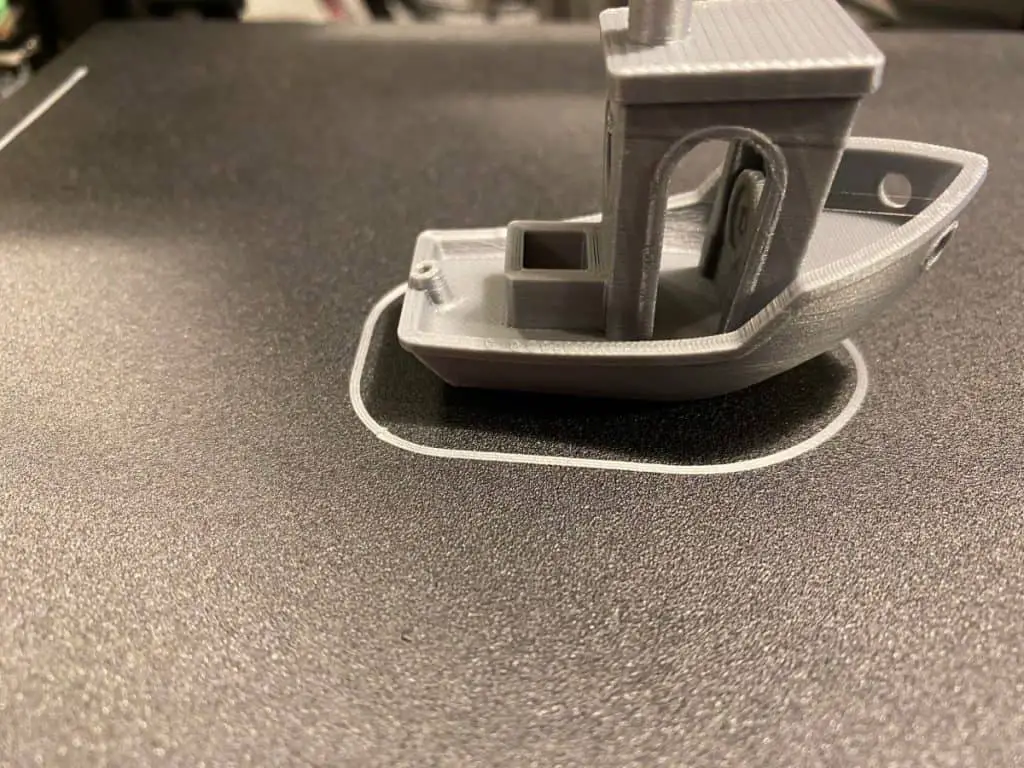
It’s important to identify the reason for blobbing on your prints in order to apply the right solution. Blobs on your 3D prints don’t only make them look visually unappealing, they can also ruin the functionality of parts when they need to have high dimensional accuracy. If you’re printing anything that needs to fit into or over another part, these blobs will cause problems for you.
Joining two pieces of plastic together without any noticeable seam can be very difficult, even with all the correct settings. So after going through all the right ways to avoid blobbing, I’ll go through my favorite ways to clean up the part if blobs and other blemishes still occur. But first, a look at the main causes of blobbing.
Over-extrusion
Over-extrusion means that too much filament is being pushed out of the nozzle. It can happen at the beginning or end of a layer. Depending on when the blob occurs, you will need to increase or decrease the retraction as per the advice further below.
Over-extrusion also occurs when the flow rate is too high, so I’ll go over how to adjust that as well.
A dirty or worn nozzle may also cause blobs because the filament struggles to get through. When the melted plastic gets through the nozzle, it does so inconsistently, creating blobs or zits.
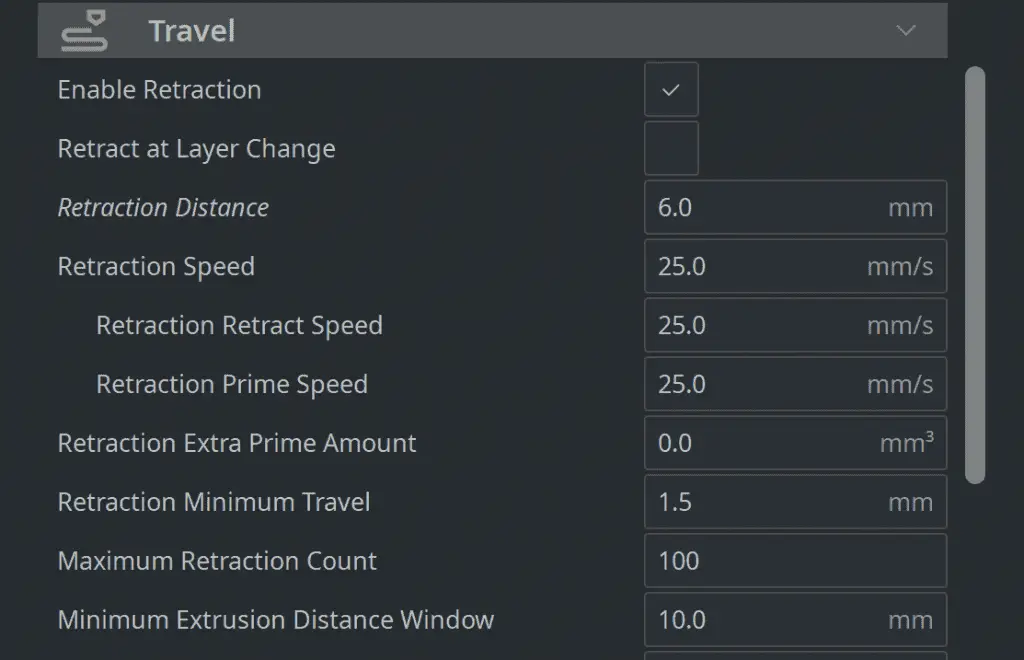
Retraction settings
If the blobs occur at the beginning of a layer, decrease your retraction distance incrementally until you get a smooth seam.
If the blobs appear to form at the end of the layers, increase the retraction distance incrementally until the blobs disappear.
E-step calibration
Over-extrusion occurs when too much filament gets fed through the extruder. This is controlled through the E-step calibration. It’s important to make sure the printer is feeding exactly the right amount of material through the nozzle according to what the software expects.
E-step calibration involves making sure the printer feeds through the correct amount of filament according to the instructions you give it. For example, if you instruct the printer to extrude 100mm of filament and then find that it’s actually extruding 105mm, it’s over-extruding and should be adjusted in the E-step settings.
I wrote an article about calibrating E-steps which will take you through the process step-by-step.
Clean the nozzle
A clogged or worn nozzle can cause blobs on your prints because clogs cause pressure build-ups and worn nozzles allow too much filament through.
There are a few ways to clean a printer nozzle. If you think the nozzle is clogged, have a look at this video I made on how to clean it out. Using the right size needle is a trusted method for removing any unwanted plastic inside.
Nozzles can also wear down quickly, especially if you’re using the stock nozzle on a low-range printer. In this case, you’ll have to look at some replacement nozzles. If you’re printing with abrasive materials like glow in the dark or wood-filled filaments, I suggest you use hardened steel nozzles like these on amazon.com. They’ll last a lot longer than cheaper brass nozzles.
Too Much Heat
If the printer’s running too hot, it will lead to plastic oozing out the nozzle when it’s not supposed to. Decrease the printing temperature by 5 degrees at a time to see if there’s any improvement. The optimal printing temperature for PLA is between 180°C and 210°C, so I wouldn’t go below 180 or you’ll end up with other issues.
If the ambient temperature in the room is too high, it will make the printer overheat as well. Installing an air conditioner or even just a couple of fans to cool the room down may help to solve blobbing issues.
There are also extruder fans like these on amazon.com that will help to cool the plastic down as it exits the nozzle.
High Print Speed
High print speeds can cause blobbing and other defects because the extruder moves around too fast for the plastic to settle properly. Decrease the print speed by 5 to 10 mm/s, monitor the results, and repeat the process until you notice an improvement.
Settings That Decrease Blobbing
Coasting
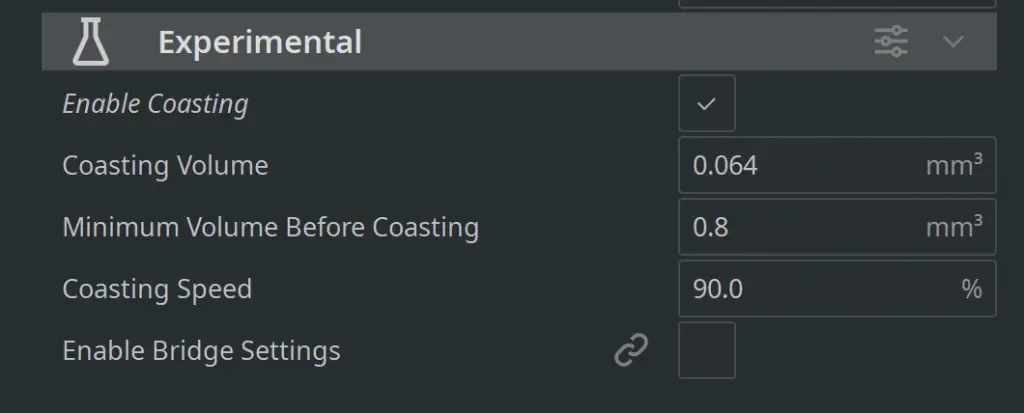
Blobs that appear at the end of print layers can be eliminated by enabling “Coasting” in the print settings. This setting will instruct the extruder to stop feeding plastic through just before it gets to the end of the print line. The pressure inside the extruder will push the last bit of filament required to finish the line.
You’ll have to experiment with the coasting value to get a perfect seam. If you set this value too high, you might end up with holes in the Z-seam so keep monitoring the results.
Outer before inner wall
This setting tells the printer to print the inner wall last, and since blobs usually occur at the end of a layer, this will help to hide them away inside the model.
Wipe
The wipe setting tells the printer to move the nozzle over already printed areas to even out the surface. So if there are blobs, the nozzle can run over them and flatten them out, making the Z-seam smoother.
Ironing
The Ironing setting will instruct the printer to move across the top surface of the part to flatten it out into a uniform pattern. This helps to eliminate blobs that may appear on the surface.
When using this feature, increase the ironing speed to make sure the nozzle can run over the surface while it’s still warm. Otherwise, the ironing may only be effective on the perimeter of the surface.

Hide The Z-seam
If you can’t get the model done without any defects on the seam, hide it at the back of the model by changing the start and endpoints. You can do this in Cura’s settings under “Z seam alignment” and “seam corner preference”.

Post Processing
If there’s no time to tweak the settings and reprint the model, you’ll need to get rid of the blobs by using the following methods.
Sanding
Wet sanding paper works best to smooth out blobs because it’s gentle enough not to ruin the surface. Use sanding blocks on flat surfaces so that you don’t sand grooves into the part. Here’s a link to sanding block files on thingiverse.com that will help you get into many areas of your print.
This is a better method to use if you’re working with PLA. If you’re working with ABS, you could try the acetone method below.
Acetone
Acetone doesn’t work too well on PLA. Some people claim to get decent results, but I only suggest this method for ABS. ABS prints can be dunked into acetone for a short time to smooth and shine it up. You can also expose the print to acetone vapor for a longer time, but you will have to keep your eyes on it to avoid melting the entire thing.
Related Articles
- 3D Printing Blobs and Zits: Tips to Avoid Them
- How Often Do I Need To Calibrate My 3D Printer?
- 3D Printer E-step Calibration (Step-by-Step Guide)
- What is 3D Printer Shell Thickness?
Conclusion
Blobs can usually be eliminated by calibrating the extruder, decreasing the print speed or print temperature, or adjusting retraction settings. If you’ve tried all of that and still have blobs, experiment with the settings that I’ve listed that decrease blobs.
If you don’t have time for all that, quickly sand the blobs off with wet sandpaper. If you’re printing with ABS, use acetone to smooth out the surface.
Make sure you check out our YouTube channel, and if you would like any additional details or have any questions, please leave a comment below. If you liked this article and want to read others click here.