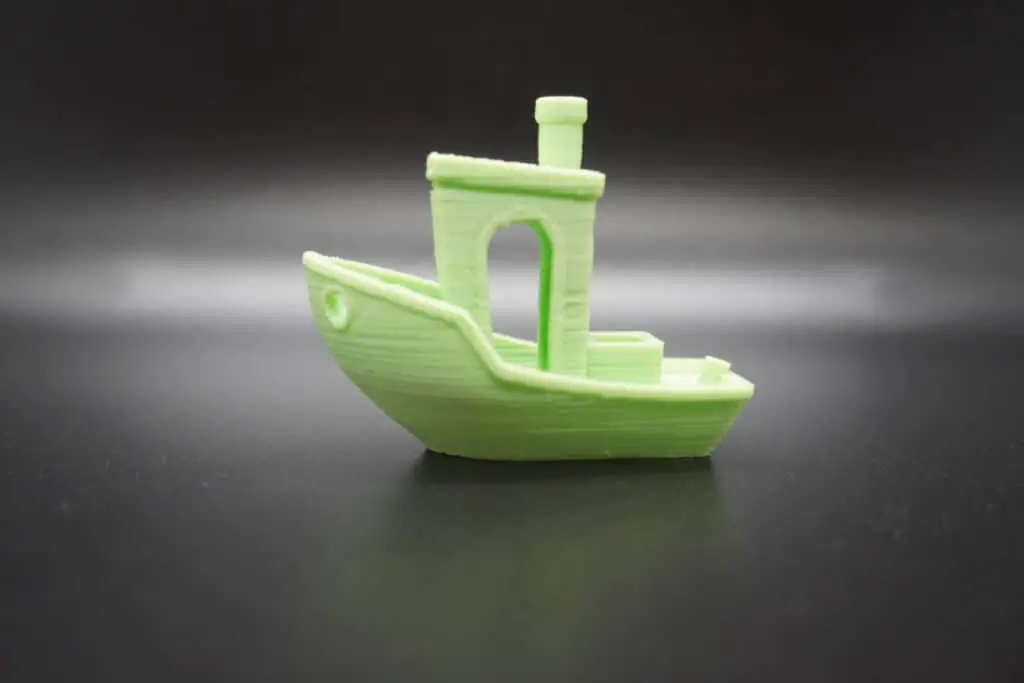
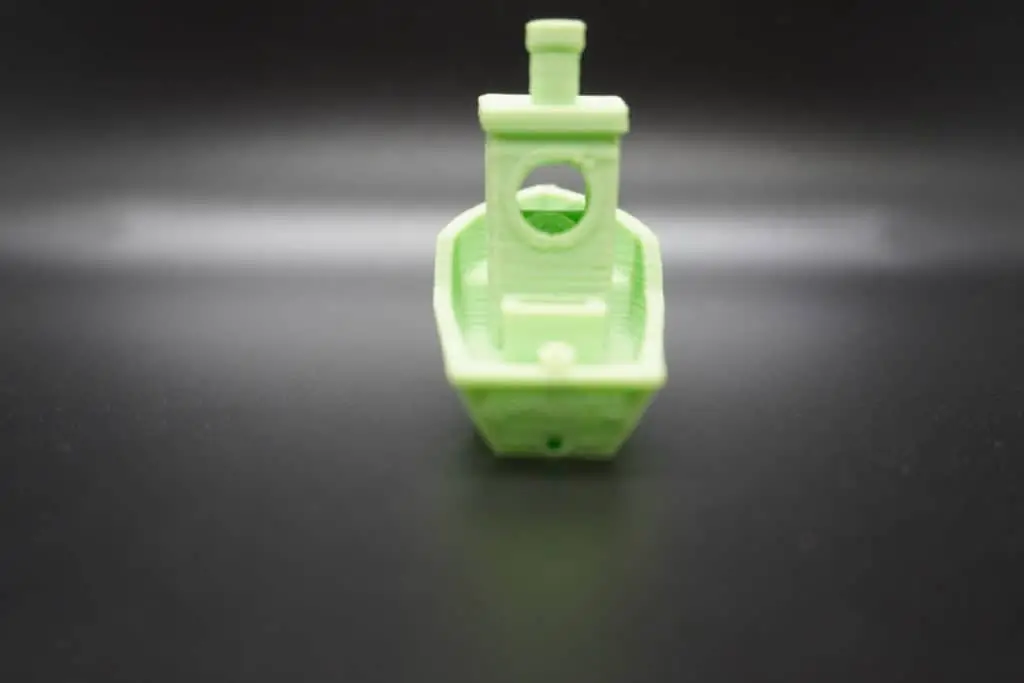
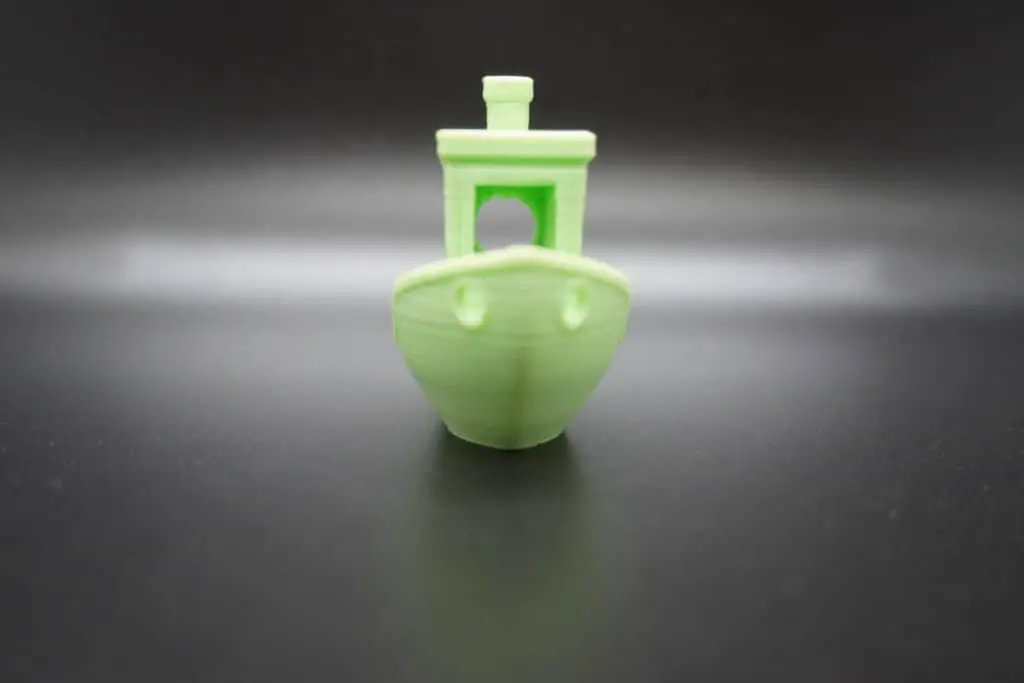
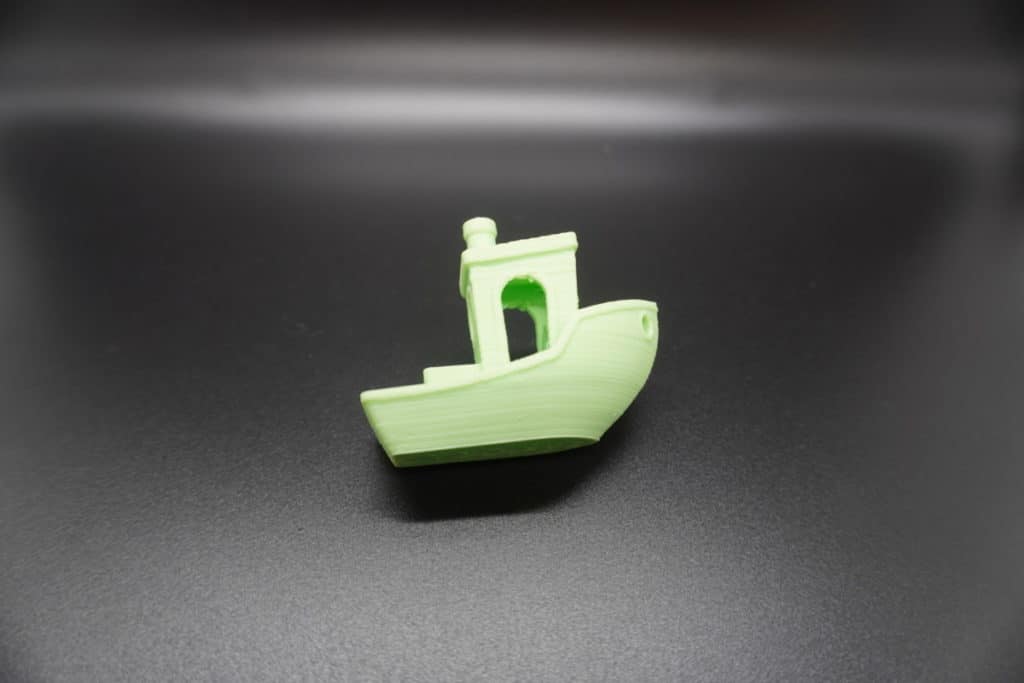
These defects aren’t common compared to a few years ago, but they still occur sometimes. Here’s how they happen, ways to prevent them, and how to remove them if they still land up on the model.
Blobs and zits occur when the extruder pushes extra filament out in spots where it slows down or stops. Primarily at the beginning and end of print-layers, we call this the z-seam or z-scaring. To avoid it, increase the retraction, lower the nozzle temperature, and equalize all print speeds.
But these types of defects can also occur between layers. Sometimes the software lags a bit, which causes the nozzle to move slowly or pause for a moment. You can test this by loading the project onto a memory card and printing without your PC. If the problem persists, it’s not the software and you should experiment with other solutions below.
Built up pressure in the extruder will cause blobs as well. I’ll show you how to decrease the pressure by adjusting print temperatures and speeds.
Blobs and zits that form at the beginning of a layer are less common, but more difficult to deal with compared to end-layer blobs, but I’ll go through solutions for those as well.
Bypass printing software
Newer printers don’t suffer from this problem as much as older ones. The speed fluctuations I’m referring to are the ones that occur while the printer is moving around from point to point. Sometimes the software lags and causes the extruder to pause for a very brief moment.
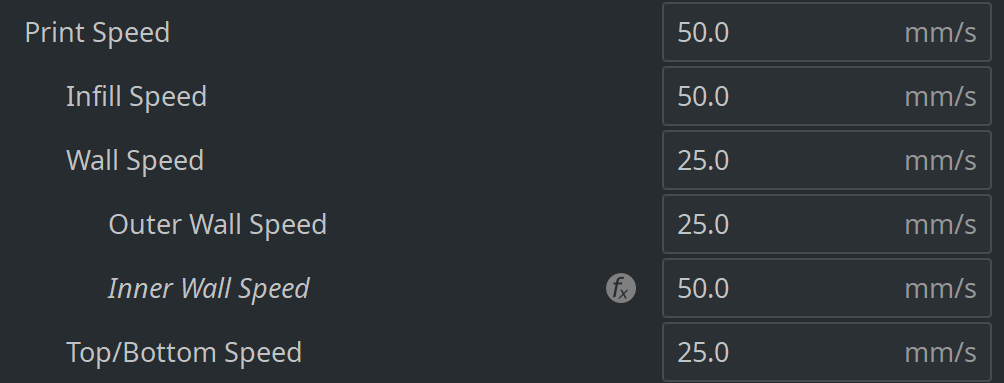
Equalize all print speed values
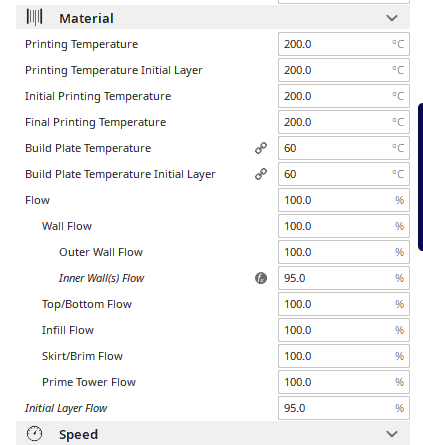
By default, some parts of a print are done at higher speeds than others. High-speed printing can cause pressure in the extruder, which pushes out extra filament, causing the model’s zits.
Set all the printing speeds to be the same to see if it resolves the problem. Lowering the print speed will also allow you to reduce the print temperature which will further reduce extruder pressure.
Lower the extruder temperature
The viscosity of the filament decreases as the temperature rises. (It gets runny) Of course, that’s how we’re able to print in the first place, but that’s also what creates blobs from oozing if it’s too runny.
With PLA, 210°C is usually a good temperature to print with. You can reduce the temperature to 200°C and test for blobs. You can go all the way down to about 180°C but I wouldn’t go further than that or your printer will struggle to extrude effectively.
Print a skirt or brim
This only applies if the blobs occur at the start of the first layer. When a 3D printer prepares to print and heats up, it can build unwanted pressure in the extruder.
If you set the software to print a brim, it will have a chance to warm up properly and avoid defects in the first layer of your model.
Adjust the retraction
Retraction is a setting that tells the extruder to pull the filament back at the right time to avoid over-extrusion. The retraction setting may already be active with default values depending on how you set everything up at the start.
In most cases, the default values should be sufficient, but on some models, you need to increase the values incrementally and observe the print each time.
A retraction distance of 1 to 5 mm should be sufficient. The default value for an Ender 3 is 5mm and you can probably leave that one as is.
Retraction speed should be at least 20mm/s to around 100mm/s. If the retraction speed is 45mm/s, increase it by about 20% (54mm/s) and observe the model closely as it’s being printed.
If adjusting the retraction by 20% doesn’t solve the problem after 3 increments, reverse the changes you made and move on to the next suggestion. It’s best not to go over 100mm/s with most printers.
It’s important not to increase the retraction speed too much or the extruder might have difficulty extruding at the beginning of the next extrusion path.
Enable coasting
Coasting is a setting that tells the printer to stop extruding as it gets to the last part of an extrusion path. By doing this, the last bit of melted filament can ooze out and be used for the end of the print path.
You’ll have to adjust the three values inside coasting to get a perfect result.
Coasting Volume – The volume of the melted plastic that oozes out. This value should be close to the diameter of the nozzle cubed. For example: 0.4mm nozzle X 0.4 X 0.4 = 0.064mm³
Minimum Volume Before Coasting – This value determines the shortest path the extruder can take before using the coasting feature. This is important because short paths wont build up much pressure in the extruder and won’t need coasting. The longer the path, the more pressure builds in the nozzle. Minimum Volume Before Coasting should always be larger than the coasting volume, around 0.8mm³ if you have a 0.4mm nozzle diameter.
Coasting Speed – The speed at which the extruder moves compared to the extrusion path. This should be a bit less, 80 – 90%, because it takes longer for the nozzle to ooze plastic out compared to extruding it out.
How To Hide Blobs and Zits
Sometimes it can be very difficult to prevent these imperfections, especially if they’re occurring at the start of a print layer. In this case, set the printer to start new layers on the backside of the model. This keeps the front nice and smooth and hides the z-seam behind where you can sand it down.
How To Remove Blobs And Zits
The best way to remove these defects is to sand them down. Use fine grit wet sanding paper to sand the blobs down carefully. Be careful not to sand the model features. These sanding sticks on thingiverse.com are good to get into tiny areas of a model.
Related Articles
- Cura VS Simplify3D – Which is Right for You?
- Cura Hacks – My Picks!
- Create a Temperature Tower Using Cura – The Easy Way
- Cura Profiles
- What Is The Best Primer For 3d Prints?
- 3D Printer Printing Too Thin – Let’s Fix It!
In Summary
When it comes to eliminating blobs or zits from your 3D printing, there are many factors that come into play. You’ll have to experiment with the print settings as per this article and observe the print as it’s being done.
It’s important not to alter the settings too far out from their original values, but some fine-tuning can render amazing results.
Whenever you work through problems by tweaking settings in the software, it’s always a good idea to revert the changes you’ve made if they didn’t resolve the issue. If you decrease the print speed and the blobs still occur, change it back to the default speed and move onto the next setting. Otherwise, you’ll land up with random values everywhere.
If the blobs are only occurring on one specific model, revert the settings back to what they were before you print a new design. But save the settings you’ve found in case you come across another project with the same problem.
Make sure you check out our YouTube channel, and if you would like any additional details or have any questions, please leave a comment below. If you liked this article and want to read others click here.