The wonderful world of 3D prints has become extremely popular in various industries. Whether you use them for business or recreational activity, it is helpful to bring your ideas to life. However, once you start creating your models, you should start asking yourself how to paint your prints?
This is when priming becomes a crucial step before painting your 3D prints. For pristine results, it is best to choose a primer and paint that are of the same brand and compatible with your plastic. Great brands are Krylon, Montana, and Rust-Oleum.
Priming assists with giving a uniform exterior so that the paint can grasp into. This article will review various primers you can choose and prepare your model for the paint to get the most optimal and smoothest result, transforming your print into a stunning product ready to be displayed.
How to paint 3D prints
The key to turning 3D printed items looking into a professional result is the finishing process. Many starters tend to skip this essential step that makes the painting look flawlessly effortless. Here is a simplified guide on nailing an excellent priming coat and taking your creation to the next level.
Priming
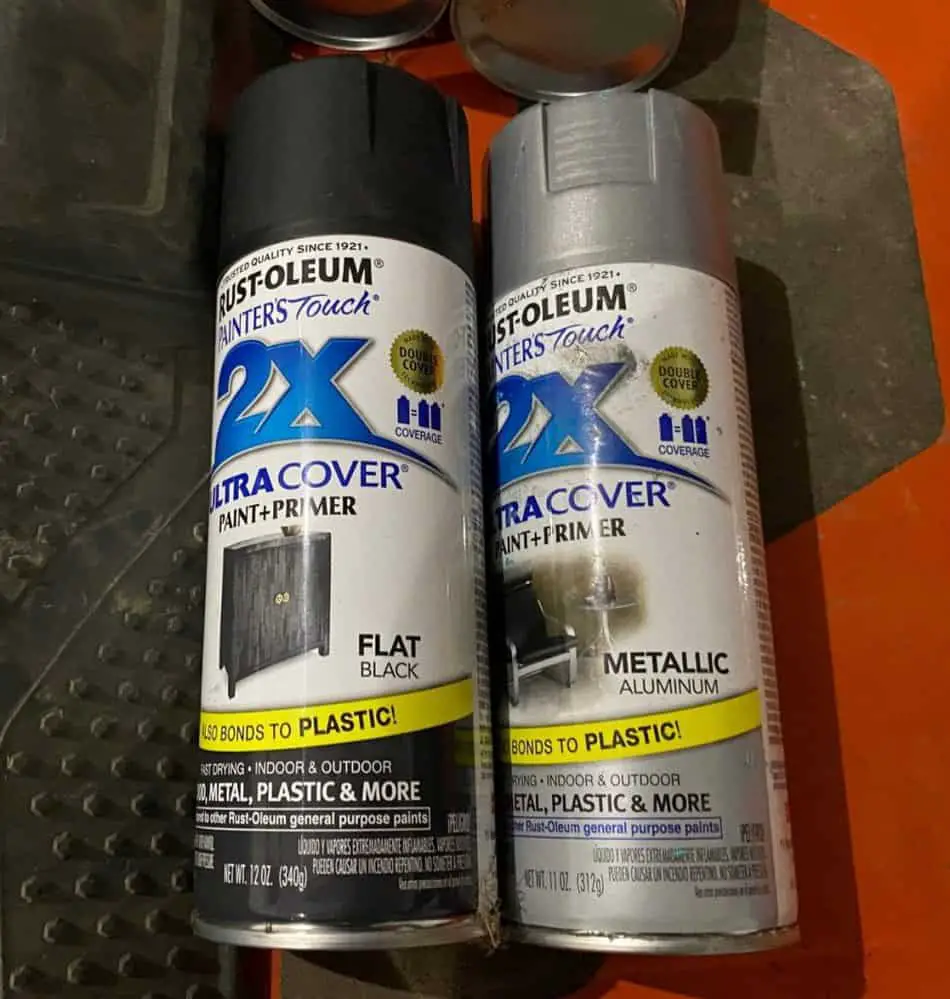
Many well-known brands like Rust-Oleum, Krylon, and Montana (links to Amazon) tend to make fantastic spray paints and primers, often called filler primers. This should be the first coat. Before priming your model, take around three minutes to move the can of the primer in circular motions in order to dissolve the pigments into the solvents within the container.
Beware of shaking the can since this might cause the pigments and solvents to mix into each other, causing bubbles that will show on the surface of the 3D print.
Priming’s main objective is to achieve a pristine look before a paint coat. Since primers tend to be a neutral gray color, this can highlight imperfections in the model and prepare them to be sanded or, perhaps, filled with spot putty. By doing this, the outcome of the painting will look glossy, professional, and spotless.
Finishing
A preliminary step when it comes to painting 3D prints is finishing, which will require smoothing out the surface of the model and making sure there aren’t any flaws or rough characteristics. This would prevent the paint from adhering, and also, it will show once it is fully painted. Things that should be taken into consideration are residues, strings, or small lumps.
Before priming, it is crucial to make sure that the surface is incredibly smooth. This is why the following steps are significant for achieving a professional result.
Remove or wash the residue of the glue used in the printing process.
You can achieve this with some water and by scrubbing the model’s surface lightly in order to make sure it is clean.
Use tweezers or wire cutters of inconsistencies
This will help to get rid of strings or small lumps that may have formed in your 3D print.
Sanding
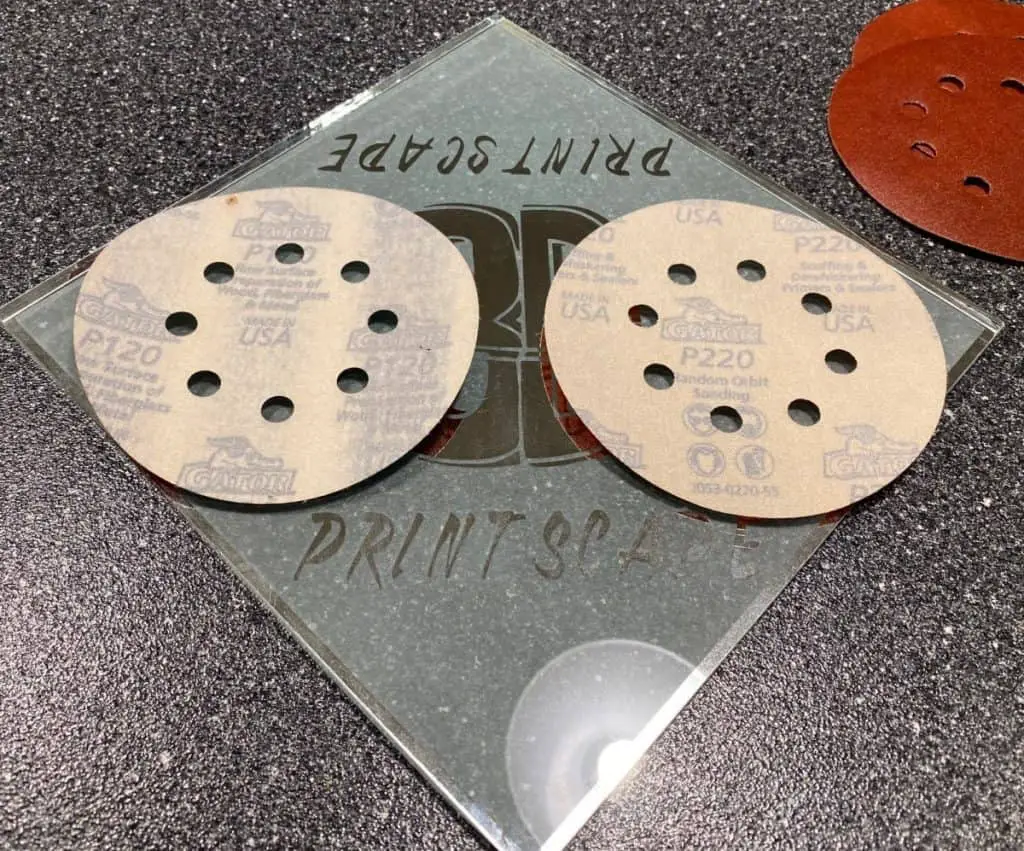
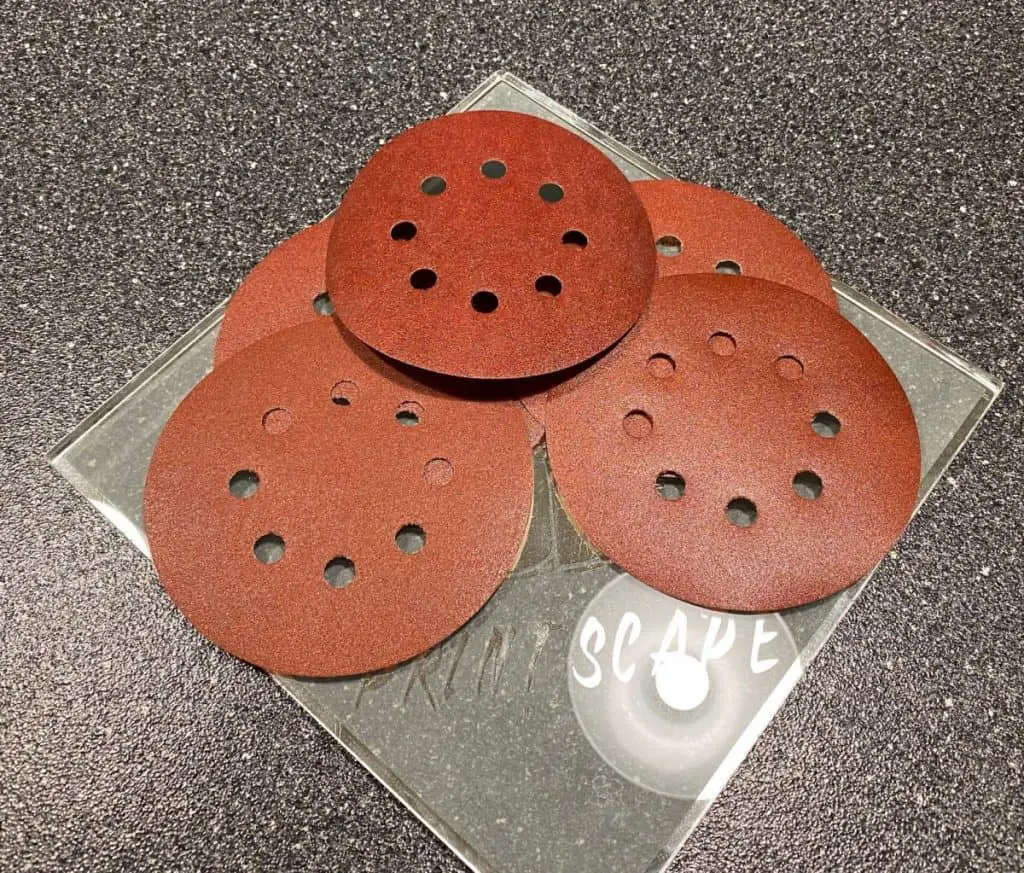
This is a common technique to finish your model, and it works with any 3D print filament. A great tip is wet sanding your parts with 220 grit sandpaper (available on Amazon) which will help clear any scratches and rough patches.
Some people like to work as they go and increase their grit. For example, you can start with 120 grit to focus on the sides yet avoiding corners and finer details. Then, use 200 grit with some water and finish it with a 400 grit dipped in water, which will help remove more minor blemishes or lines and prevent the paper from clogging. It is a great idea to run your fingers through the model to feel how smooth it is and if it is ready for paint.
Spot Putty
Spot Putty (on Amazon) is a fantastic material used for spot repairs, filling holes, and covering sand scratches. Just like many substances, this is, to a certain extent, toxic, which is recommended to wear gloves and a mask due to the smell. It is made up of resin, dyes, and talcum powder. The vapor that comes out of it can be harmful, which is why we emphasize protection, ensure enough ventilation, read the warnings, and use the correct equipment.
The most popular putties are 3M Bondo Glazing and Spot putty and Wood spot putty.
Wood spot putty is also a popular alternative because it dries faster, is easy to use, has stronger adhesion, is easier to clean, and is odorless with little to no hassle when compared to other fillers. It is great with covering seams and layer lines, but it is advised not to overuse it since it might become a struggle when sanding.
Second coat of primer
Now that you finished this step, it is time to add another layer of a primer coat, and it should be performed in rapid short strokes from the beginning to the end of the model. The 3D print might require two coats most of the time to ensure even coverage and improve adherence to the paint.
After this is dry, you can polish and buff the primer coat by using nail buffing sticks to bring up a glossy shine. Once this is successfully achieved, you can start the painting process, which involves three steps: under, top, and clear coating:
- Undercoating will provide a rich, vivid color to your model.
- The top coating helps to enhance the work you’ve already done, and the color will contrast the one on the undercoat, which will add gradients and contrasts.
- Clear coating is also known as a finish coating, and this is the final step of the painting process. It adds the last layer, which enhances the look of the model and it protects it.
Spray-on paints and primers make this job more manageable, and it is best for PLA, ABS, and PETG materials. It provides excellent control, uniformity, a thicker layer, and avoids brush marks.
The most fantastic primers for 3D prints
Apart from knowing the basics of preparing your model for the paint and learning the process of making it look polished and professional, it is also important to choose great primer bands specifically made for this type of print.
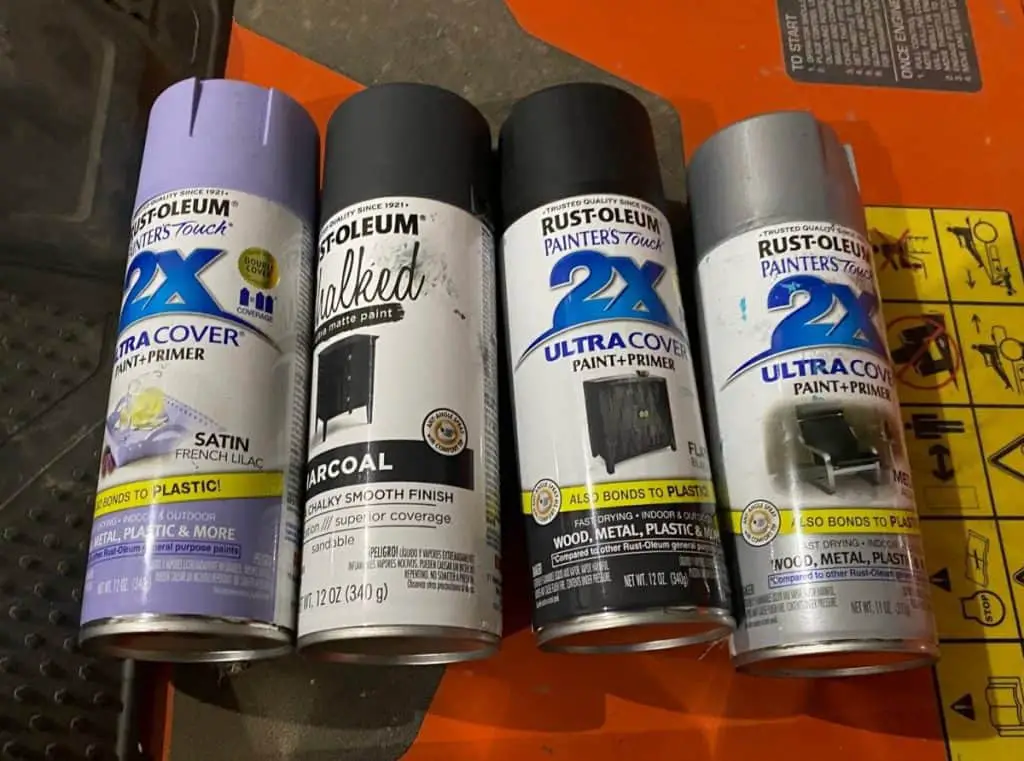
- Many 3D prints enthusiasts highly recommend Rust-Oleum since it achieves a smoother finish when sanded and fills in imperfections quickly. Just like many other spray paints, this primer has chemicals that can be harsh, so it is best to use it in a ventilated, dust-free area with a mask on.
- Krylon primer: this is a high build filler primer that provides strong adhesion for 3D print surfaces made of plastic. It takes eighteen minutes to dry to touch and tack-free around fifteen minutes.
- Montana primer: is the perfect tool for creating a neutral surface to apply even coatings into a plastic surface and prepare them for a flawless application of color coats. It assists with the adhesion and coverage of the paint coat and seals it to reduce the risk of tearing or cracking. It works best with hard plastics like acrylic butadiene styrene (ABS), polyvinyl chloride (PVC), etc.
Related Articles
- Best PLA Glue – The Answer Inside!
- Can You Mix 3D Filament Colors?
- All About 3D Printer Plastic
- Can You Drill Into and Cut 3D Printed Plastic?
Conclusion
As stated earlier in this article, the easiest primers to use are spray-on since they provide more control and an evenly coating over the surface. The end product is a glossy, pristine, professional 3D print if performed right. That is why it is essential to clean the model prior to priming, take your time sanding and taking care of finer details, and once this is all done, then move on to this step.
In spite of spraying the primer into the object, lumps and uneven spots will still be accentuated once it is fully painted. By taking your time to polish the model, you will produce a flawless 3D print.
Based on extensive research done, the most excellent primers for 3D prints that are made of hard plastics (which is the majority) are Krylon, Rust-Oleum, and Montana. These perform best in this field.
Make sure you check out our YouTube channel, and if you would like any additional details or have any questions, please leave a comment below or join us on Discord. If you liked this article and want to read others click here.