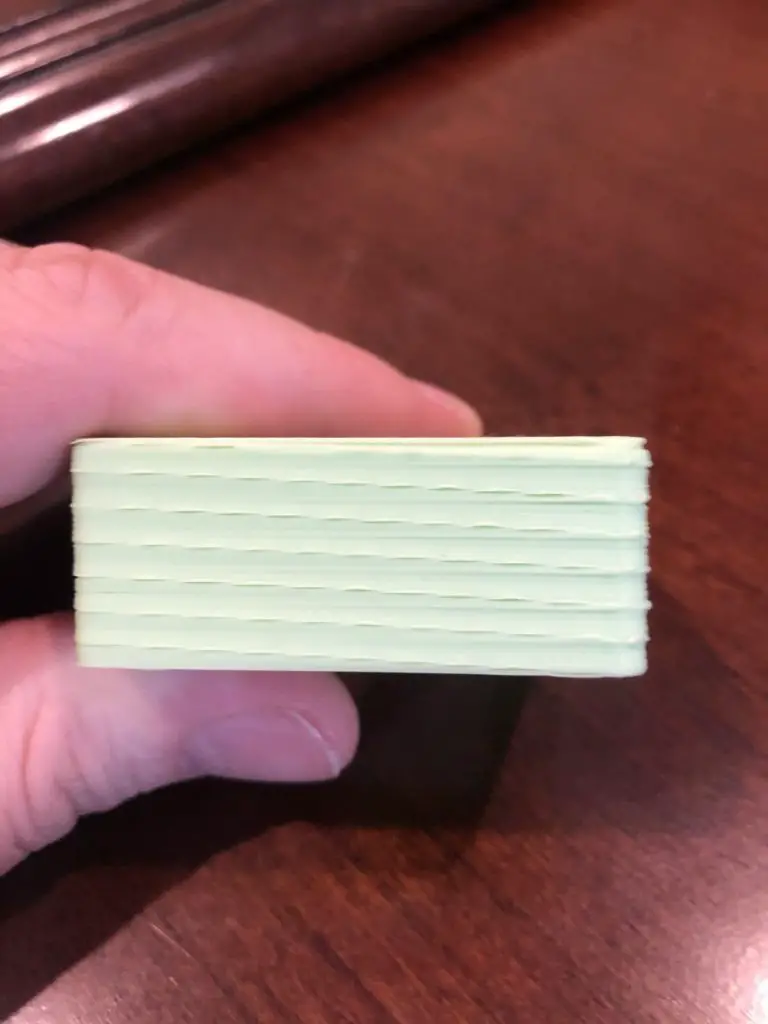
3D-printed layer lines ruin the whole look of any 3D model. But there are some trusted methods to remove them. Methods that are faster than tinkering with the printer settings and starting the print again. But I’ll also run through the best ways to prevent them from happening in the first place.
Sand the layer lines with a 200-grit size to 3000-grit sandpaper. Use water from 1000 grit upward to polish the part and give it a mirror finish. Fillers work well to close the gaps between the lines, but also need to be sanded after drying. Isopropyl alcohol dissolves PLA and acetone dissolves ABS.
A blow torch or heat gun will also eliminate layer lines. Just be careful not to melt the entire part.
Sanding is the best way to remove layer lines because of the amount of control you have over the process. One downfall is that it takes hours to smooth out certain models and some people find it extremely tedious, as do I, after an hour or two. But I’d still rather sand parts down than use chemical solutions to smooth things out. The other disadvantage is that plastic tends to turn white as you sand it, so you need to perform some extra touch-ups with chemicals or paints.
The problem I find when using chemicals is that I don’t have much control over the process unless I keep my eyes on it. In some cases, you can’t even see the progress when using chemicals, and might remove way more detail than you wanted.
Using heat to melt the lines is very effective with both ABS and PLA because of their high melting temperatures. So you have to heat the model considerably before the lines start to melt, but by that time, other details in the model might start melting away as well.
Smoothing the lines out with fillers that harden works well, especially when you want to add detail to a 3D print or when there are holes to fill.
So let’s go through these options and talk a bit about their pros and cons.
Sand The Lines
Most people use sandpaper to smooth out the surfaces of 3D prints because it’s the most cost-effective and non-toxic method. Just like sanding wood, you need to start with the coarse grit around 80 to 100 to easily remove the layer lines and then make everything smooth by using a grit type between 150 and 300.
If you want the surface to be even smoother, use finer grits with water while you’re sanding. The water reduces the friction and makes it even more smooth and flat. Use grit sizes of 1000, 1500, and 3000 with water to create the smoothest surface possible.
After you’ve worked your way up to the 3000-grit size sandpaper, polish the part with a liquid metal polish to give the surface a mirror appearance.
Avoid low-quality sandpaper as it will dig grooves into your 3D prints. It does this when some of the sand detaches from the paper and all the friction is focused on the few granules that are left, making everything inconsistent.
Sanding Files
Manual sanding tools like files are the best tools to get the most accurate results and to add detail. I suggest using metal files in the beginning and then polishing with sandpaper-type files that are less abrasive. Also, have a wire brush on hand to clean the metal files off from time to time when they get clogged with plastic or filler.
Sanding Sticks
Also known as sanding blocks, sanding sticks work well to distribute the pressure between the sanding paper and the surface of the model. With a variety of shapes to print, you’ll be able to get into small spaces much easier compared to using your fingers.
Power/Electric sanding
You can remove layer lines with the help of a drilling machine, just start at a low-speed setting. A quality drill and sanding bits make everything go a lot faster compared to smoothing things out by hand. The sanding bits come in all shapes and sizes to get into the most awkward spaces.
If you don’t have access to a drilling machine, you can also use electrical callus removers like these. I suggest using the circular-shaped ones to get into narrow crevices easier.
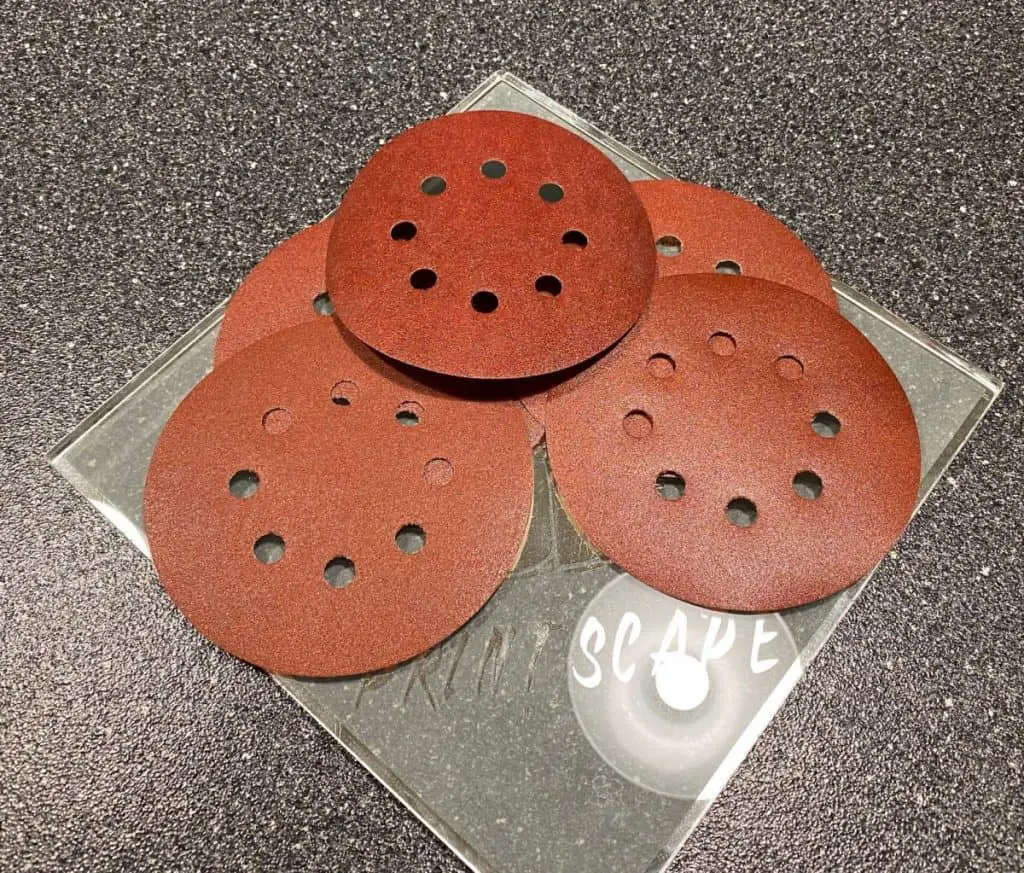
Water sanding paper
Sanding paper that you use with water has a fine grit that runs into the thousands. These work very well for polishing your 3D prints after removing the layer lines. This type of sandpaper works best when you attach these circular pads to a drill.
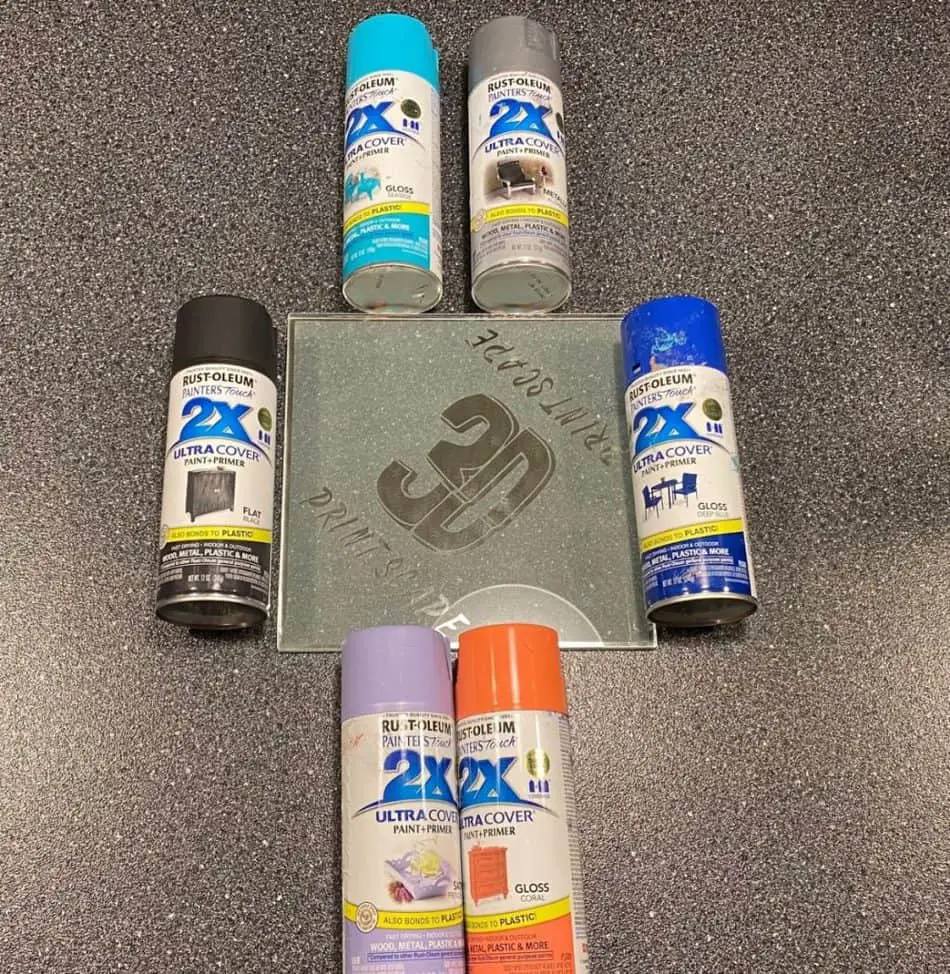
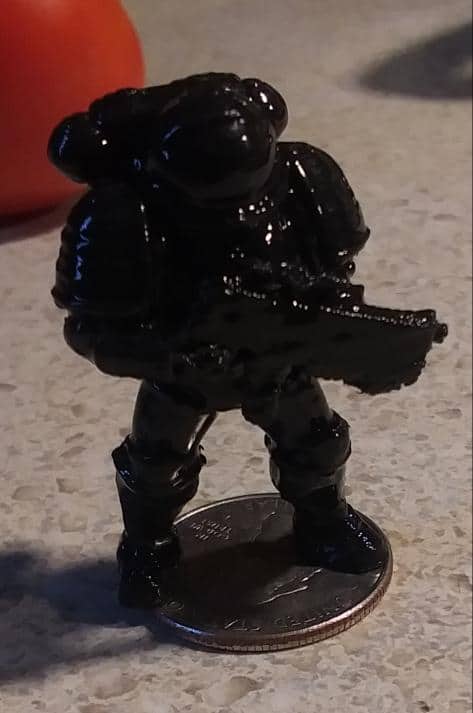
Spray Paint Over The Lines
People often use spray paint to improve the appearance of 3D-printed objects made of PLA (polylactic acid). Before spray painting PLA, you should finish and smooth the part to ensure that the paint sticks correctly. You can use several techniques, such as sanding, using a heated bed, and using acetone, to smooth PLA.
To avoid drips and achieve a smooth finish when spray painting PLA, it is recommended to use a primer and multiple thin coats of paint. It is also important to use proper ventilation and protective gear to avoid inhaling harmful fumes.
There are loads of benefits to spraying a finished model, like affordability, simplicity, and stunning results. Here is another article explaining more about spray painting 3D printed parts.
Melt The Lines
Melting the layer lines away comes with its risks, but it can also be very effective for some people. The results differ quite a lot depending on the tool you use. I prefer the heat gun if I had to use heat but I prefer sanding because of the control I have with it.
Heat gun
A heat gun works well to melt layer lines because you can distribute the hot air over the model without focusing on one area too much. If you need to pinpoint certain areas, experiment with different nozzle attachments to direct the heat.
The heat settings are very useful when smoothing out parts that are small and delicate. It’s also good to use a higher temperature for big objects while holding the gun further away from the model.
Heat guns are safer than blowtorches to work with and don’t require any fuel. It’s much safer to plug a heat gun into a power outlet compared to firing up a blowtorch.
If you being careful, it takes a few minutes to melt layer lines, so be careful not to overheat the entire model.
Blowtorch
If you’re very accurate with a blowtorch, you might have a lot of success in removing layer lines with it. But for most people, trying to avoid melting other details of the model is the main concern.
Using a blowtorch to melt layer lines is a bit easier than with a heat gun because the flame temperature is higher than the air from a heat gun.
You don’t need anything too big. I’d go for a basic blowtorch, try it out and see what you think before investing too much into a fancy one.
Fill The Lines
Sometimes layer lines are a bit thick and can’t be melted away without ruining the surface. Also, if the shell of the print is very thin, you won’t be able to sand much before creating holes. Also, you could have some holes in the shell to begin with, so that’s where fillers come in.
A huge advantage of using a filler on your parts is that you’ll be able to sand tiny details into it with sanding files and blocks. Just add the filler, allow it to harden, and then sand it down to exactly what you want.
Most people use a filler to smooth out seams and close gaps because it works so well. There are some very cheap fillers available, as well as some premium options.
Here are some of the most trusted fillers on the market.
Apoxie Sculpt
This modeling compound comes in two separate containers because it starts to harden after you mix them. The massive benefit to this type of filler is that there’s 0% shrinkage, unlike fillers that you mix with water. It’s also durable, non-flammable, and waterproof.
Simply mix the two compounds until you’ve created a new color. Then smear it over the layer lines until the area is smooth. Leave it to harden and sand it down to your desire.
Here’s the current pricing for this Apoxie Sculpt filler on amazon.com.
Bondo Glazing and Spot Putty
This is a premixed filler that hardens after 30 minutes. The toothpaste-style tube makes it easy to apply the perfect amount to specific areas. Use sandpaper or sanding files to smooth it out and repeat the process if you take too much away.
Bond It Ready Mixed Filler
Bond It is the ultimate solution if you’re looking to get a lot for a low price. It comes in a big 750g container at a far lower price compared to other options. This makes it the ideal filler to remove layer lines on large models.
The downfall is that it takes around 8 hours to harden and even longer if it’s a thick layer. You also need to coat it with a good sealant to stop paint from seeping in.
Humbrol
Here’s a filler that’s more appropriate for very small applications. That’s why it’s used in arts and crafts so much and is perfect for small 3D prints as well. It takes 24 hours to fully harden, but some people prefer that because they have more time to sculpt. It’s a quality filler that doesn’t shrink much while drying.
Dissolve The Lines
Depending on the material you’re using, you can dissolve layer lines with different chemicals.
Dissolving PLA Layer Lines
PLA is a bio-based thermoplastic and therefore needs different types of chemicals to dissolve it. The most popular chemicals for PLA smoothing are ethyl acetate, menthol ethyl ketone (MEK), and tetrahydrofuran (THF). However, all these chemicals have some dangers to them and you need to wear personal protection equipment when using them.
Dissolving ABS Layer Lines
For dissolving ABS layer lines, acetone works perfectly. It’s extremely effective at dissolving ABS to the point where the vapor alone will do the job. But it’s very toxic. Inhaling the vapor can lead to headaches, nausea, and many other ailing health symptoms. Acetone is also highly flammable, so you need to practice extreme caution if you use it. Wear gloves and a mask and make sure you’re in a well-ventilated area when working with it.
Having said that, the way in which you smooth out ABS with acetone is as follows:
- Shape a bowl out of foil for your model to stand on.
- Place the model on the foil bowl inside a large sealable container.
- Attach tissues to the inside of the bowl by using magnets on both sides of the container.
- Pour some acetone on the tissues and close the lid.
- Remove the model in a well-ventilated area after the layer lines have dissolved.
The process can be anywhere from 15 minutes to a couple of hours, depending on the size of the model and the layer lines thereof.
The foil bowl is important to protect the print from acetone at the bottom of the container. The model will be sticky, so try not to touch it. Rather, pick the foil bowl up along with the model if you can.
Related Articles
- Cura First Layer Settings
- What Is the Best First Layer Height?
- Does Cura Work With Any Printer?
- Cura Speed – Everything You Need to Know!
- Cura Brim Build Plate Adhesion – Everything You Need to Know!
- Cura Hacks – My Picks!
In Summary
Sanding the layer lines away is definitely the first option if the shell is thick enough and if there aren’t any holes on the surface. Sanding files and blocks will help you get into narrow spaces and carve away to create minuscule details.
Melting the lines with a heat gun or blow torch works, but the risk of deforming the model in other areas is high, which could result in you destroying the part and having to start the print all over again.
Fillers are the number one option when the walls of the print are too thin to be sanded. They also work perfectly to close any unwanted holes and to add detail. Premixed options are the easiest and quickest to work with.
Chemicals do all the work and save you loads of time smoothing the model out. One of the biggest advantages of using chemicals to melt layer lines is that you don’t need to do any sanding. But it will take some trial and error before perfecting the skill.
Make sure you check out our YouTube channel, and if you would like any additional details or have any questions, please leave a comment below. If you liked this article and want to read others click here.