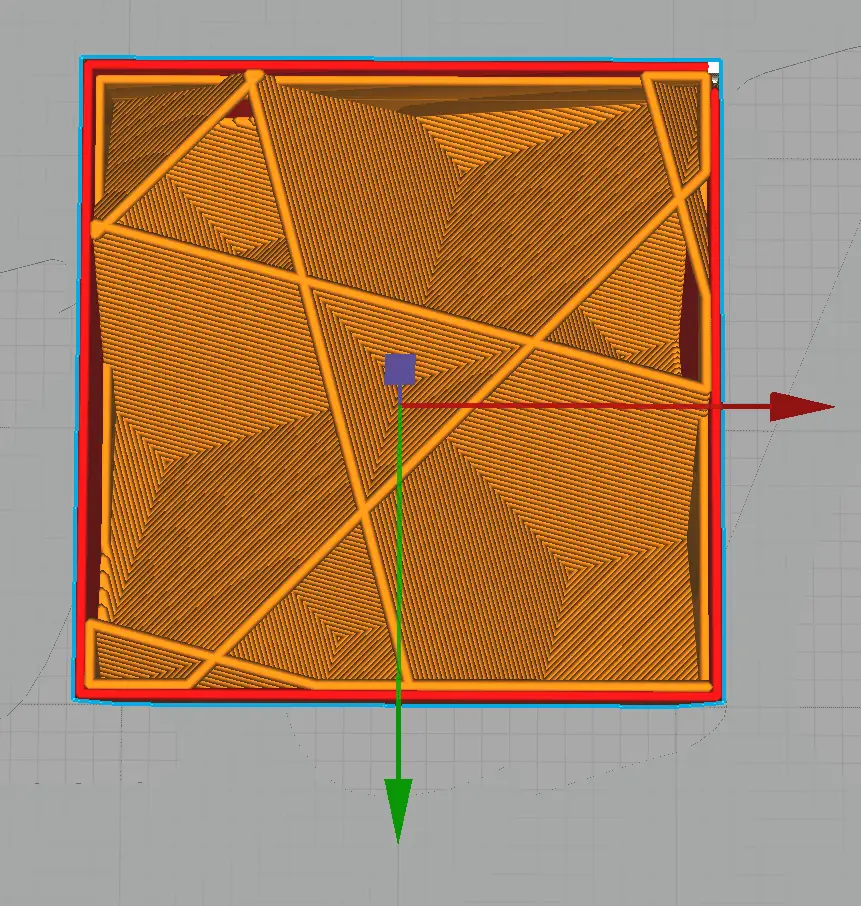
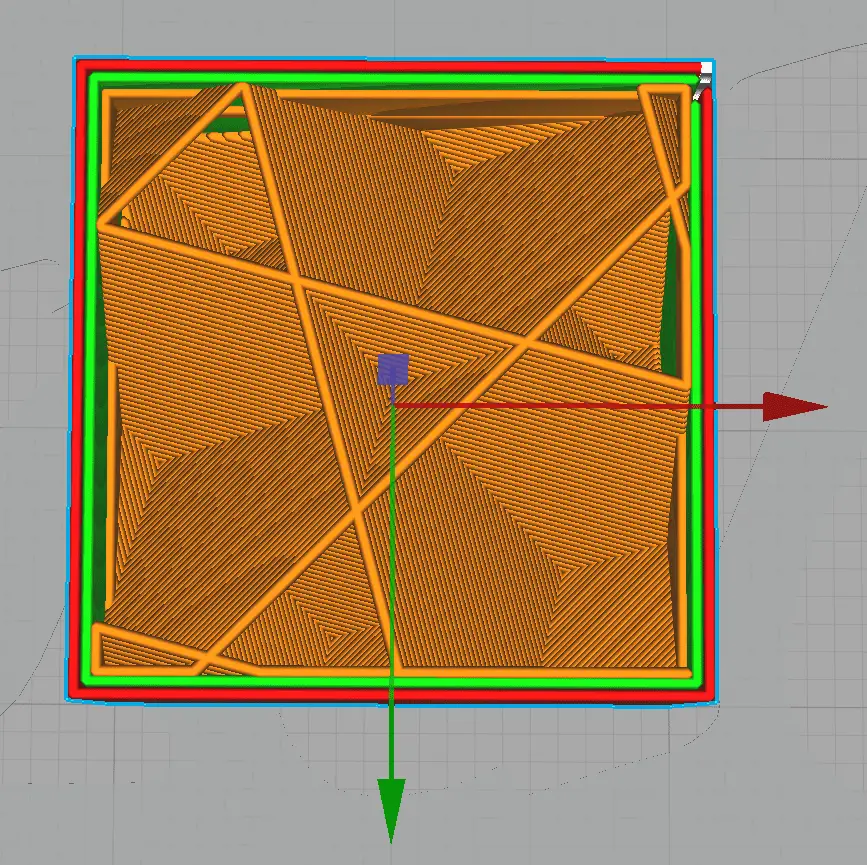
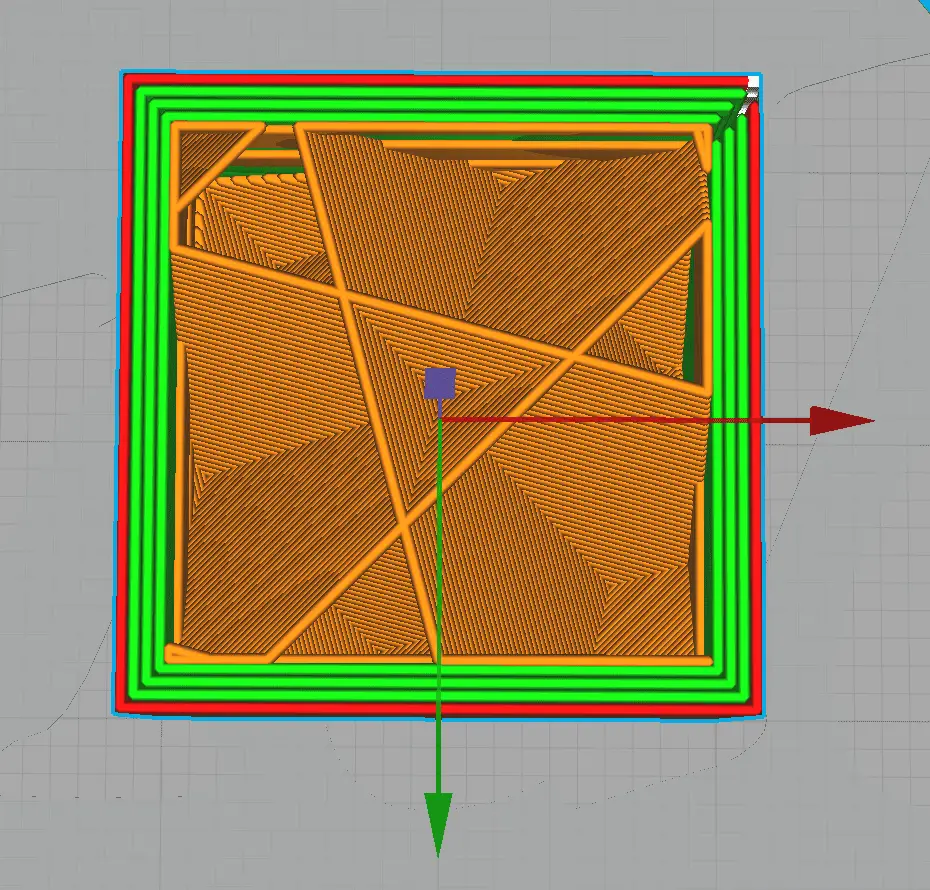
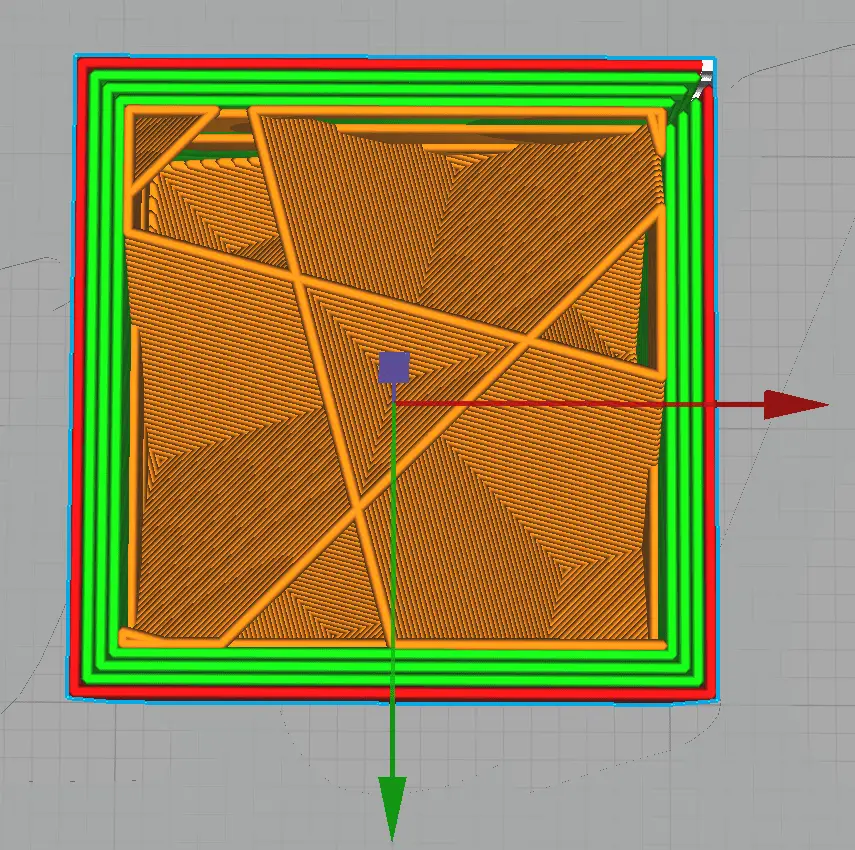
The thickness of the shell greatly determines the strength of the part. In FDM printing, the best shell thickness needs to be a multiple of the line width. The line width is the size of the nozzle bore, 0.4mm for example. So with a nozzle size of 0.4mm, and a shell thickness of 0.8mm, the nozzle will extrude two lines to create the shell. This is one of the most common shell thicknesses with this setup.
Increasing the shell thickness will increase the amount of time and material needed to complete the print but is more efficient in adding strength to a part than increasing the infill density.
What Is A Good Shell Thickness In 3D Printing?
A good shell thickness is usually around 0.8mm to 1.2mm depending on the nozzle size and what you’re printing. A shell thickness of 0.8mm with a 0.4mm nozzle works well for printing most parts that don’t require much functional strength. A shell thickness of twice the nozzle size is usually pretty good For example, 0.8mm with a 0.4mm nozzle or 1.2mm with a 0.6mm nozzle.
The shell thickness needs to be set to a multiple of the nozzle size to avoid gaps within the part. 0.8mm is a multiple of 0.4mm which means the shell will be printed perfectly as the nozzle extrudes two lines next to each other.
However, if you’re using a nozzle size of 0.6mm, a 0.8mm shell will not be possible because the minimum extrusion is 0.6mm, and the next step up from that is 1.2mm. Here are a few examples of appropriate shell thicknesses according to the nozzle size.
| Nozzle Size | Recommended Shell Thickness |
|---|---|
| 0.4mm | 0.4mm / 0.8mm / 1.2mm |
| 0.6mm | 0.6mm / 1.2mm / 1.8mm |
| 0.8mm | 0.8mm / 1.6mm / 2.4mm |
Shell Thickness For Figurines
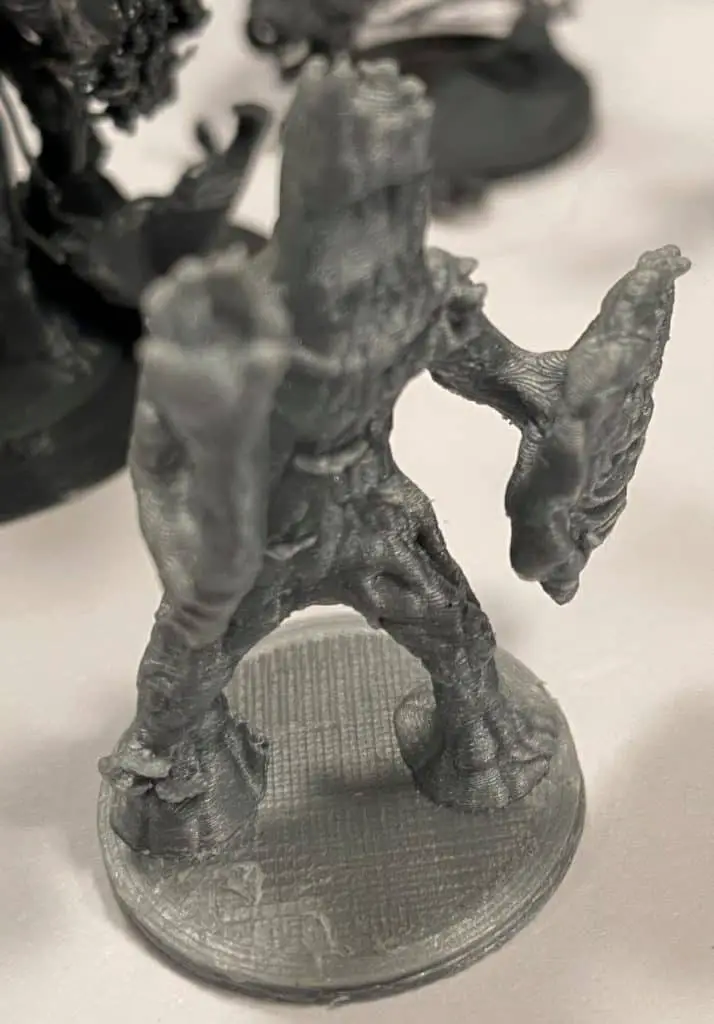
The shell thickness for figurines and other decorative parts only needs to be 0.4mm to 1.2mm. Some of these types of parts don’t even need any infill if you’re printing them with a 2 to 3 layer shell. If the part has a lot of overhangs, you’ll need 10% to 20% infill for support.
Toys and Wearables
3D prints like these do well with a slightly stronger shell of around 1.2mm to 1.6mm thick because toys need to be durable. Wearables like cosplay helmets need to be strong enough so that they don’t break when you put them on and take them off. Along with the wall thickness above, an infill of around 20% should be enough to make these parts strong while still conserving filament, time, and energy.
Functional 3D Parts
Functional parts need to be strong because they normally bear some sort of force. Hinges for doors and brackets for shelving will be much stronger with a shell of around 2mm thick. The infill for these types of parts should be around 50% to 90% for additional strength.
How To Adjust The Shell Thickness
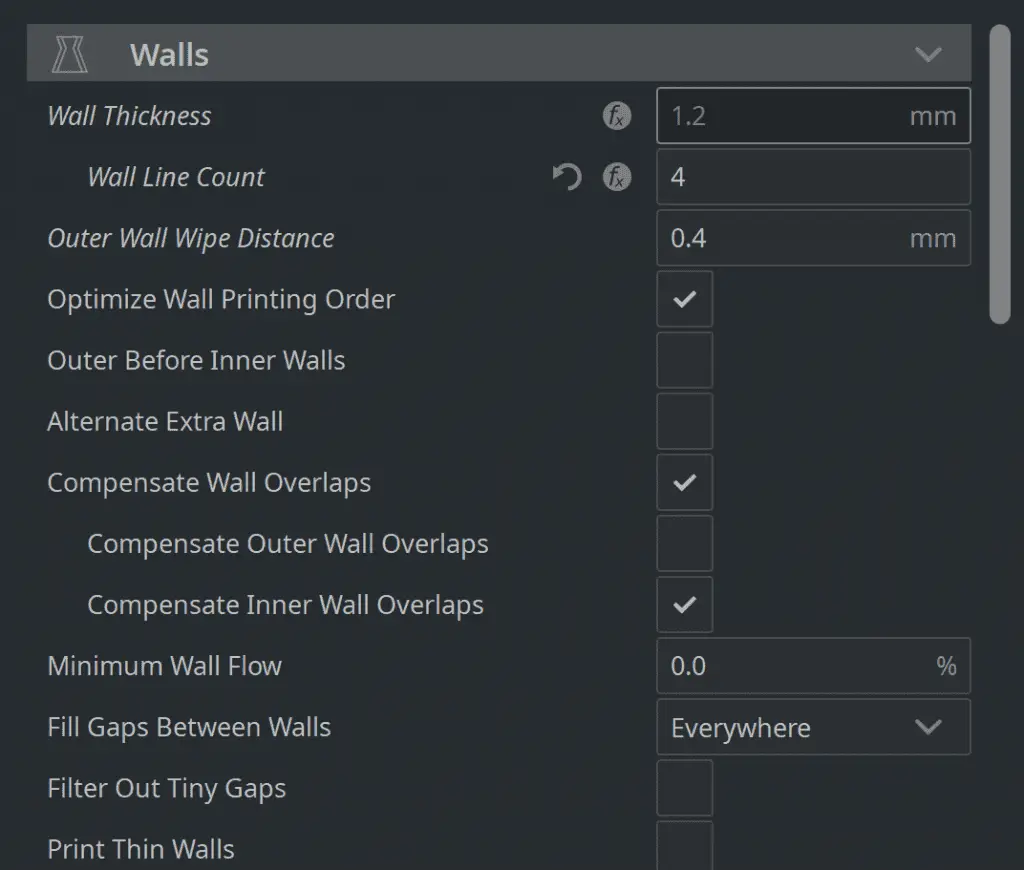
The shell is also known as a wall or perimeter depending on the software you use. I’ll show you how to adjust the wall/shell thickness in Cura. There are also a lot of settings within this section, most of them can be left at default values. Here, we’ll look at some values you may need to adjust when changing the shell thickness.
Adjusting Wall/Shell thickness in Cura
Open the “Print settings” menu and expand the “Shell” section. In this section, you’ll find the following.
Wall thickness: This is the value that should be a multiple of the nozzle’s bore size. Wall thickness only affects the walls in the horizontal direction. A wall thickness of 1.2mm will tell the printer to lay down three lines next to each other to build the horizontal parts of the shell, assuming the nozzle size is 0.4mm.
Wall Line Count: Instead of adjusting the “Wall thickness”, you can adjust the wall line count. So if you choose a wall line count of 4 with a 0.4mm nozzle, you’ll get a shell of 1.6mm thick. When you adjust this setting, the “Wall thickness” will grey out and adjust itself in the background automatically.
Outer Wall Wipe Distance: This adjusts the distance of the travel move inserted after the outer wall. This setting can help to hide the Z seam but I usually leave it at 0mm.
Top Surface Skin Layers: This setting prints additional layers on the top of the model to try and get a higher quality finish. This affects the top of the shell in the vertical direction. One layer should be enough to get the desired effect but I usually leave this at 0.
Top/Bottom Thickness: Use this setting to adjust the shell’s thickness in the verticle direction. You can set this to zero if you want to expose the infill pattern.
Top/Bottom Pattern: You can select the Lines, Concentric, or Zig-Zag patterns to print the top and bottom of the shell. Lines are usually adequate.
Optimize Wall Printing Order: This setting is similar to “Combing” because it also prints the walls with the least amount of retraction and distance possible. This is selected by default and I suggest you keep it that way for most prints. This helps to decrease defects caused by retractions like stringing.
Compensate Wall Overlaps: This will stop the printer from extruding where there are already walls, which helps to reduce over extrusion. Keep this setting on to be able to adjust the inner and outer wall overlaps.
Compensate Outer Wall Overlaps: You can leave this option unchecked because it won’t be needed most of the time.
Compensate Inner Wall Overlaps: Keep this option on to avoid over extrusion inside the part.
What Is The Minimum Shell Thickness For 3D Printing?
The minimum viable shell thickness in FDM printing is equal to the nozzle bore size. So if you’re using a 0.4mm nozzle, you’ll be able to print a 0.4mm thick shell. This type of super-thin shell will only be useful for display purposes because you could break it simply by squeezing it with your hands.
Whenever you’re attempting to print a shell thickness equal to the nozzle bore size, select the “Print Thin Walls” option in the shell settings within Cura. Although this setting is meant for wall thicknesses that are thinner than the nozzle size, it will also help when printing shells of the same thickness as the nozzle bore.
The Best Shell Thickness
I define the best shell thickness as “the perfect balance between strength and material”. With this in mind, the best shell thickness for most 3D prints is 0.8mm to 1.2mm if you’re using a 0.4mm nozzle. This equates to two or three lines to build the walls.
For parts that need a bit more strength, 1.6mm (4 wall lines) should be strong enough with a 20% infill density.
Last, for parts that require maximum strength like door hinges, 2mm shell thickness with a 75% to 90% infill is best. The reason I don’t use 100% infill is that it can cause problems if there’s the slightest bit of over extrusion, so the 10% free space inside the part acts as a buffer to mitigate that.
These are just general guidelines that should give you a good understanding of how thick to make the shell, but there are many factors that influence a print job and you need to experiment to find the optimal results for the part you’re working on.
*Tip: If your walls are not being printed at the right thickness you will need to adjust your flow rate in Cura. I cover that in more detail in this video.
Related Articles
- Strongest Infill Pattern – We Have the Answer!
- Choosing the Right Infill Percentage for the Job
- Best 3D Printing Infill Pattern – Complete Details Inside!
- Do 3D Printers Use a Lot of Power? (The Numbers Inside)
- Create a Temperature Tower Using Cura – The Easy Way
- 3D Printing Blobs and Zits: Tips to Avoid Them
Conclusion
Using the right shell thickness enables you to print parts with just enough filament to make them strong but reliable. Don’t just increase the infill density and change the pattern to add strength, rather, increase the shell thickness as it will add more strength while using less material.
Make sure you check out our YouTube channel, and if you would like any additional details or have any questions, please leave a comment below. If you liked this article and want to read others click here.

