Choosing the right infill density for your prints will not only save you time, but it will also save you money as well. You need to strike a balance between strength, functionality, and cost to achieve efficient prints.
A lower infill density can significantly reduce the print time and material used, but it can also leave you with a print that isn’t functional in terms of strength. Display pieces that don’t need to be strong should have a low infill density or you’ll end up wasting time and material.
So which infill percentage should you choose? Well, it really depends on what you’re printing, here’s how I select densities with examples.
| Print Purpose | Infill Percentage |
|---|---|
| Model or Mini Figure Prints | 10 – 15% |
| Standard Prints | 20 – 30% |
| Functional Prints | 50 – 70% |
| Calibration Prints | Varies based on designer recommendation but typically 100% |
In the rest of this article, I’m going to dive into more details around the time and material difference between infill percentages. I will also go into more about why these are my recommendations.
Print Time and Filament Usage
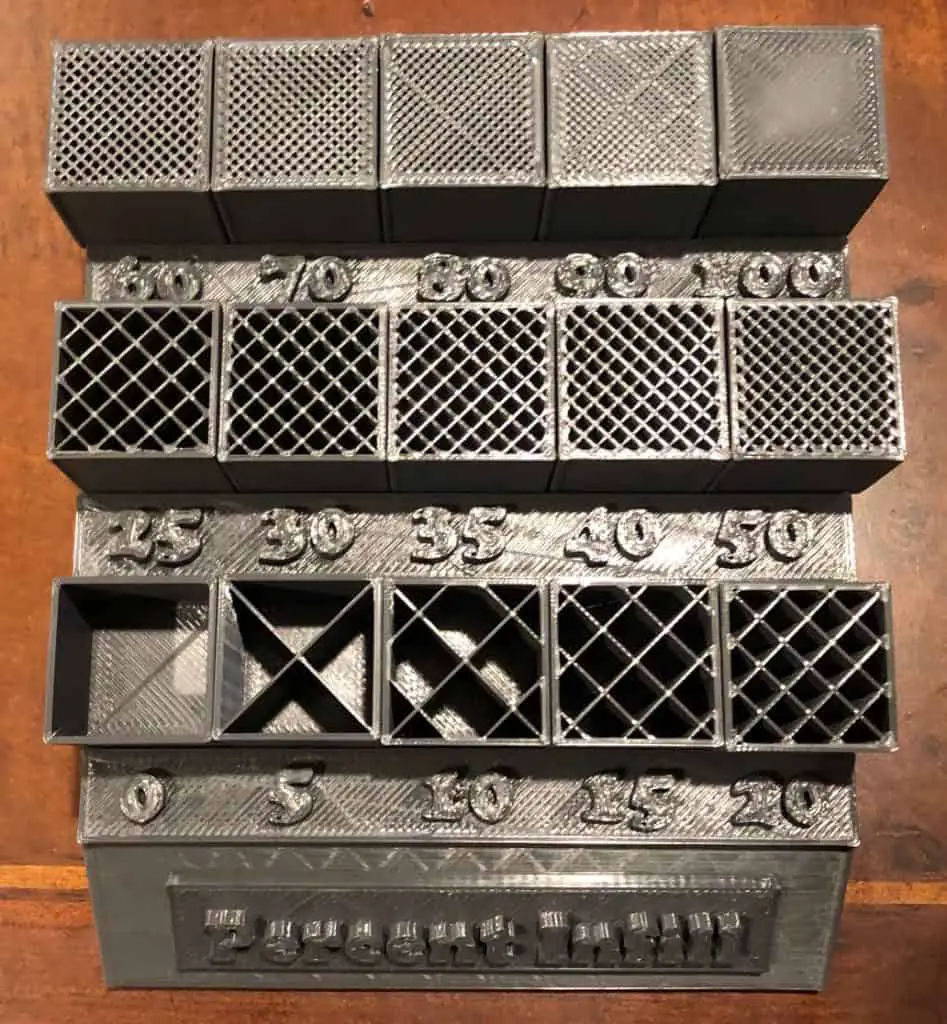
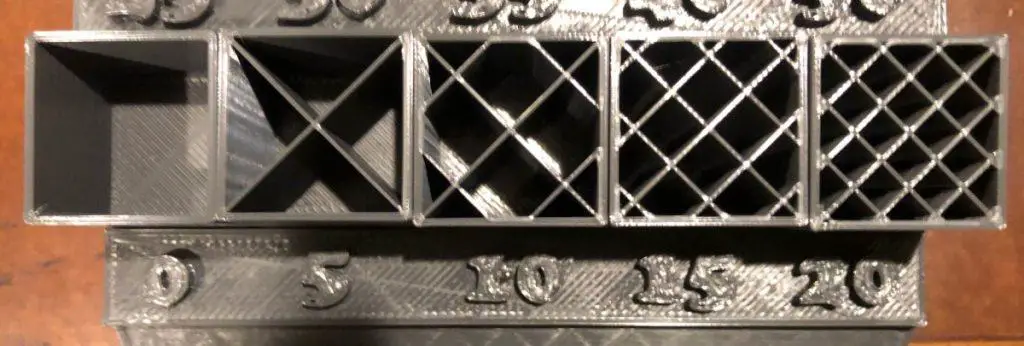
I printed this infill percentage display from Thingiverse. The cubes are 25mm x 25mm, with the top layers not printed so we can see the infill. This table is based on the actual values that I gathered during and after the prints.
| Infill Percentage | Print Weight (Grams) | Print Time (Minutes) | Estimated Cost |
|---|---|---|---|
| 0% | 3.86 | 34 | $0.10 |
| 5% | 4.84 | 35 | $0.12 |
| 10% | 5.62 | 36 | $0.14 |
| 15% | 6.41 | 37 | $0.16 |
| 20% | 7.19 | 38 | $0.17 |
| 25% | 7.86 | 38 | $0.19 |
| 30% | 8.61 | 39 | $0.20 |
| 35% | 9.39 | 39 | $0.22 |
| 40% | 10.18 | 41 | $0.24 |
| 50% | 11.78 | 42 | $0.28 |
| 60% | 13.36 | 45 | $0.31 |
| 70% | 14.94 | 51 | $0.35 |
| 80% | 16.59 | 55 | $0.39 |
| 90% | 18.08 | 61 | $0.42 |
| 100% | 19.54 | 73 | $0.46 |
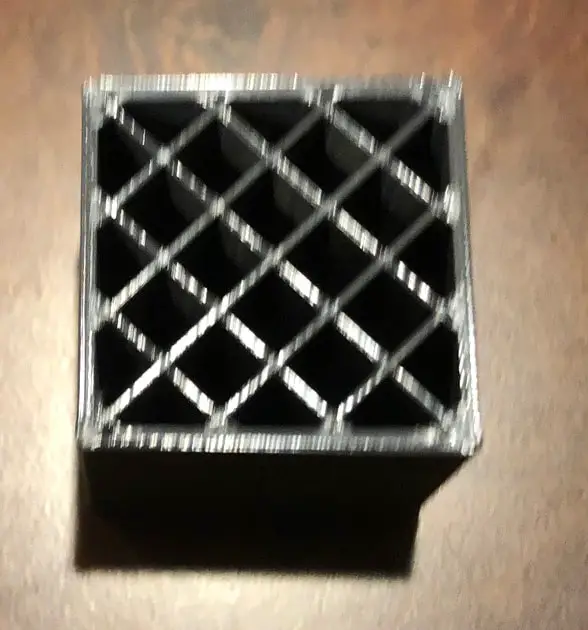
0-20% Infill 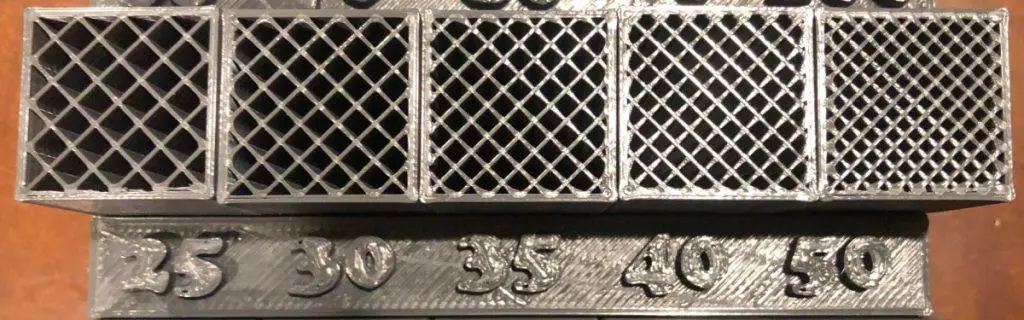
25-50% Infill 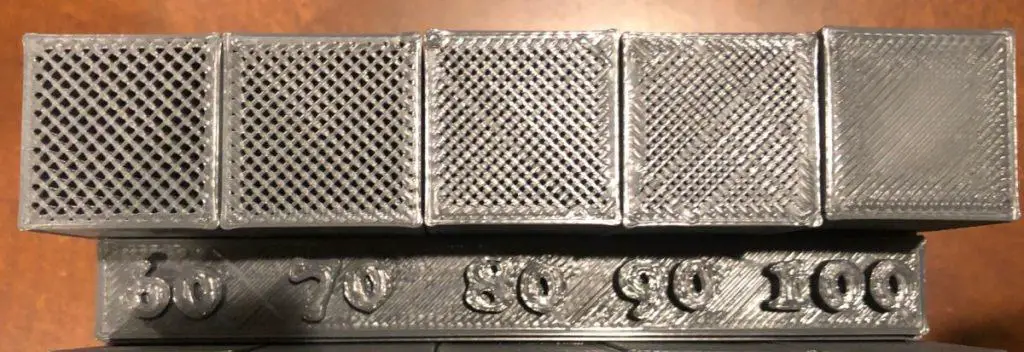
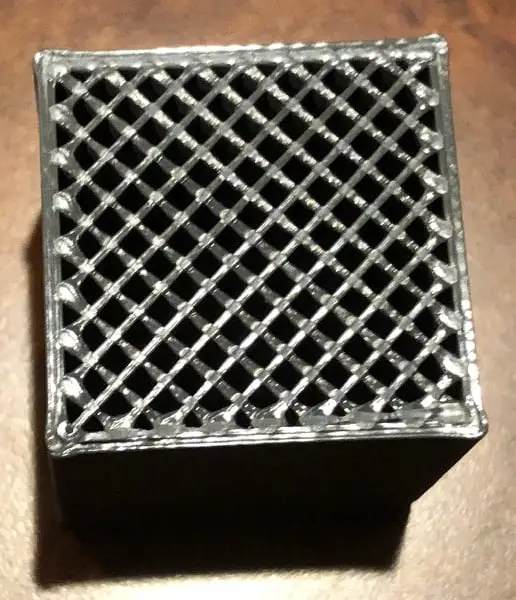
60-100% Infill
I based the costs listed above on the following criteria.
| Power Cost | $0.12 KWH |
| Material Cost | 0.022 per gram |
As you can see from the table above, there is a substantial difference in time and material required between a print with no infill and a solid print. In this case, an extra 15.68 grams of filament was used, and the print took an additional 39 minutes to complete. This also resulted in the cost of filament and electricity being over four times more than 0% infill.
If you are interested in learning more about how I calculated these, check out my “3D Printing Actual Costs with Examples” article. I also have a Youtube video to show you how all the densities look from 0 to 100% infill. Keep in mind that these numbers are based on little 25mm cubes.
Recommended Infill Percentages
Model Prints
If you are printing mini-figures or models that will just be for a display, you can get away with using a lower infill percentage. I print these at 10% but have occasionally gone up to 15% if I know it will get handled more, especially by kids. These prints don’t need to be very strong, and 10-15% infill is more than enough. Don’t waste extra filament by trying to make it unnecessarily stronger. It doesn’t really benefit you, and isn’t worth the extra time or material.

10% Infill 
15% Infill
Standard Prints
I define standard prints as prints that will be used frequently but won’t be used for anything load-bearing or structural. Some examples of prints that would fall into this category include birdhouses, masks, toy cars, printer upgrade parts, toys, and other parts that get handled. Most of the objects you print will fall into this category.
I use a 20-30% infill for printing standard parts. Most of the time I’m on the lower end of this range but will occasionally go up to 30% if I feel it’s needed. There is no right answer on the exact infill percentage to use, so go with what you think is right for the object you are printing.
20% Infill 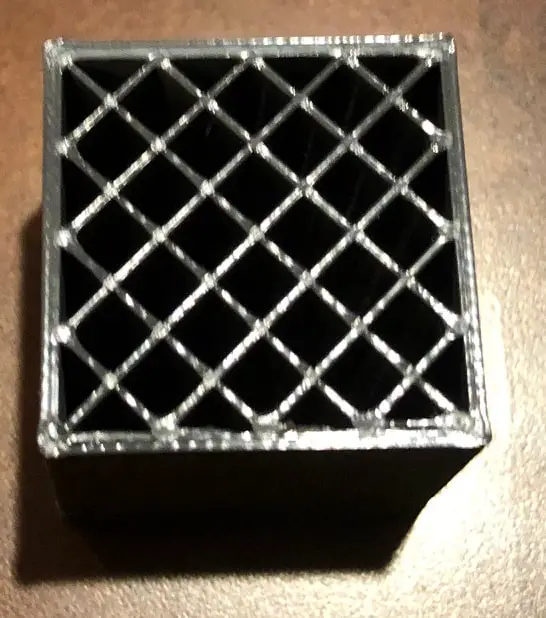
25% Infill 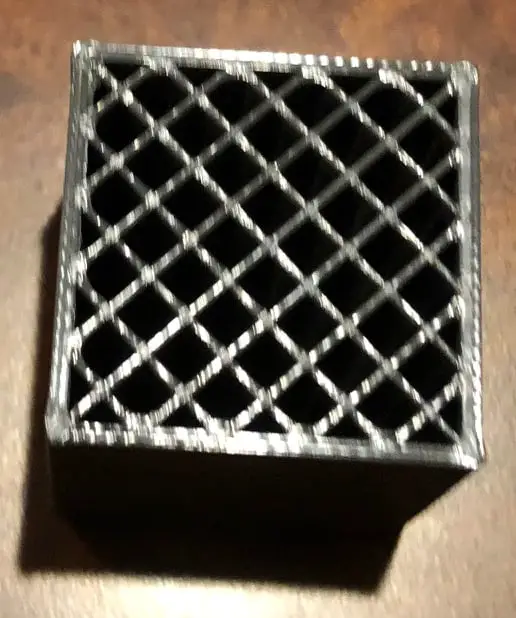
30% Infill
Functional Prints
If I’m printing something that’s functional, like nuts and bolts, I prefer to make it as strong as possible, especially if it’s going to be bearing any weight. I would rather risk wasting a little extra time and money than having the object fail when it’s being used.
Some examples of objects that would fall into this category include custom replacement parts for tools/machines, tools, bookshelf arms, and anything else that will be continually holding weight. I would say that probably only 10% of the things I print would fall into this category.
If the object being printed needs strength and falls into this category, most of the time, I’ll just print with a higher infill. I print objects in this category with a 50-70% infill, most of the time leaning towards the 70% side. I realize this increases the cost considerably, but sometimes it’s just needed. Increasing the shell thickness is something else I do to increase part strength, I’ll go over that shortly.
50% Infill 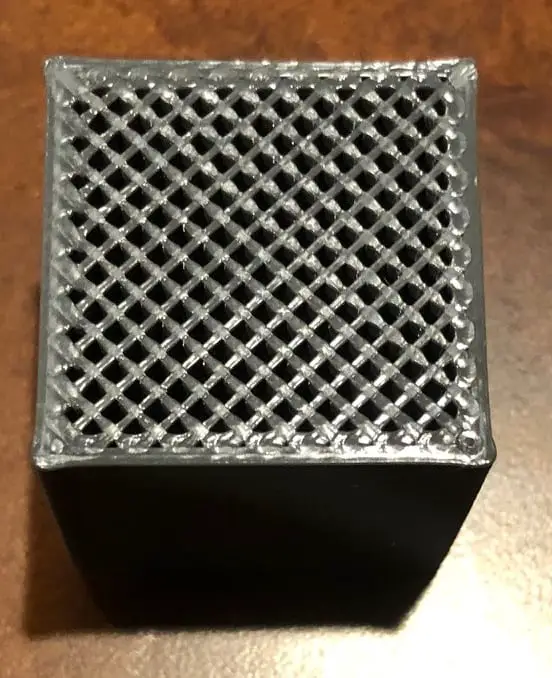
60% Infill 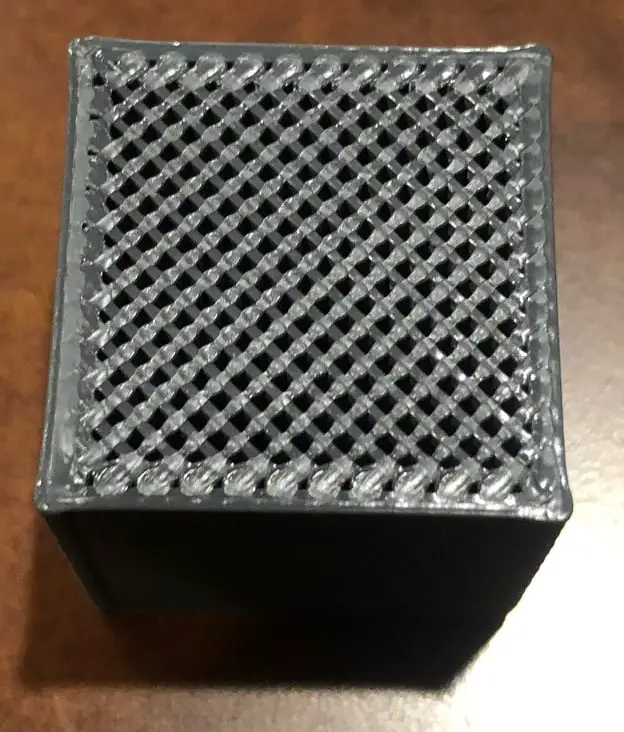
70% Infill
Calibration prints
Calibration prints are used to calibrate your printer and typically have the infill percentage stipulated in the instructions. These prints serve a particular purpose, so I follow the recommendations provided by the designer when specified. If the infill percentage isn’t specified, I treat them as standard prints and use a 20-30% infill.
Here are some example calibration prints that I have used in the past.
- Heat tower (190-240) 5mm steps
- *MICRO* All In One 3D printer test
- XYZ 20mm Calibration Cube
- Remixed Mini Overhang test
- Ultimate test block by Kickstarter
- 3D printer Calibration Matrix
- 3D Calibration Ruler
Shell Thickness Tip
You can increase the shell thickness from the standard two layers to four layers. Doing this will allow you to reduce the infill percentage without sacrificing strength, in many cases, it actually makes the print stronger. That said, this is not something you would need to do all the time, but if you are printing a larger model, it can save you some filament and time.
Here’s an example. I took this Thanos model and reduced the scale to 30% to fit on Ender 3 Pro.
| Infill Percentage | Wall Thickness | Print Time | Filament Used |
|---|---|---|---|
| 10% | 2 Layers | 30 Hr 18 Min | 295g |
| 15% | 2 Layers | 38 Hr 5 Min | 400g |
| 5% | 4 Layers | 30 Hr 24 Min | 254g |
| 10% | 4 Layers | 38 Hr 4 Min | 355g |
*Note: Infill pattern used was grid.
In this example, I would go with the wall thickness of 4 and an infill density of 5%. It adds about 6 minutes to the print time but will reduce the filament used by 41 grams. These savings can really add up if you print a lot of larger parts.
Related Articles
- Choosing the Right Infill Percentage for the Job
- Why Is 3d Printing Slow?
- Do 3D Printers Use a Lot of Power? (The Numbers Inside)
- Create a Temperature Tower Using Cura – The Easy Way
- 3D Printing Blobs and Zits: Tips to Avoid Them
Recap
Understanding which infill percentage to use can save you a lot of time and money. You want to make sure that you strike the right balance between strength, functionality, and cost. In simple terms, a lower infill density produces a weaker part. A higher infill density will result in a stronger model but will waste time and material if the part doesn’t need the extra strength.
Make sure you check out my YouTube channel, and if you’d like any additional details or have questions, please leave a comment below. For more 3D printing articles click here.