Usually, objects roll in one direction once they’re in motion, even spheres choose a path of optimal movement and follow that path in a straight line. But in 1969, Colin Roberts discovered a shape that would change the way we perceive rolling objects. He named the shape, sphericon.
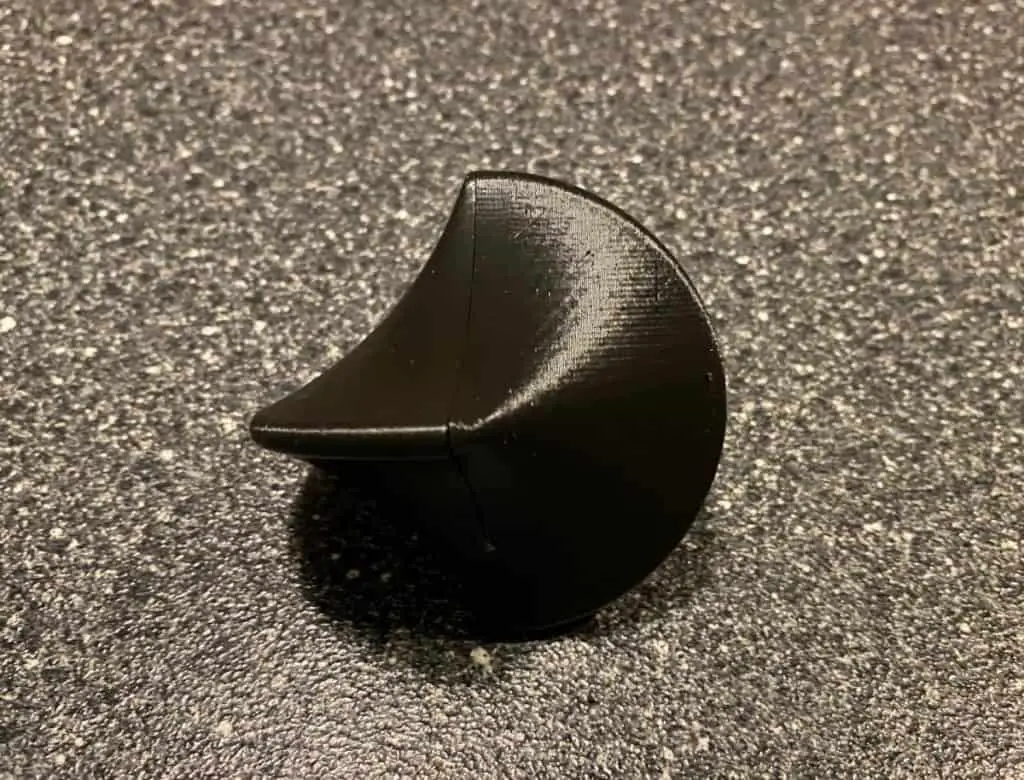
A sphericon is a solid object with a fixed center of mass and a one continuous surface. Instead of rolling in one direction, sphericons roll in a zig-zag motion. David Hirsch patented the shape in 1979 and described it as having a meandering motion. It’s created by rotating one side of a bicone 90°.
A sphericon consists of two congruent semi circular edges and four vertices that define a square. Sphericons are homogeneous, meaning that the shape has a uniform composition and the density of the object is the same in every area.
The continuous surface is what the sphericon rolls on, but because the surface runs around the entire shape in a certain direction, the sphericon rolls in that direction of that surface, and not in a straight line.
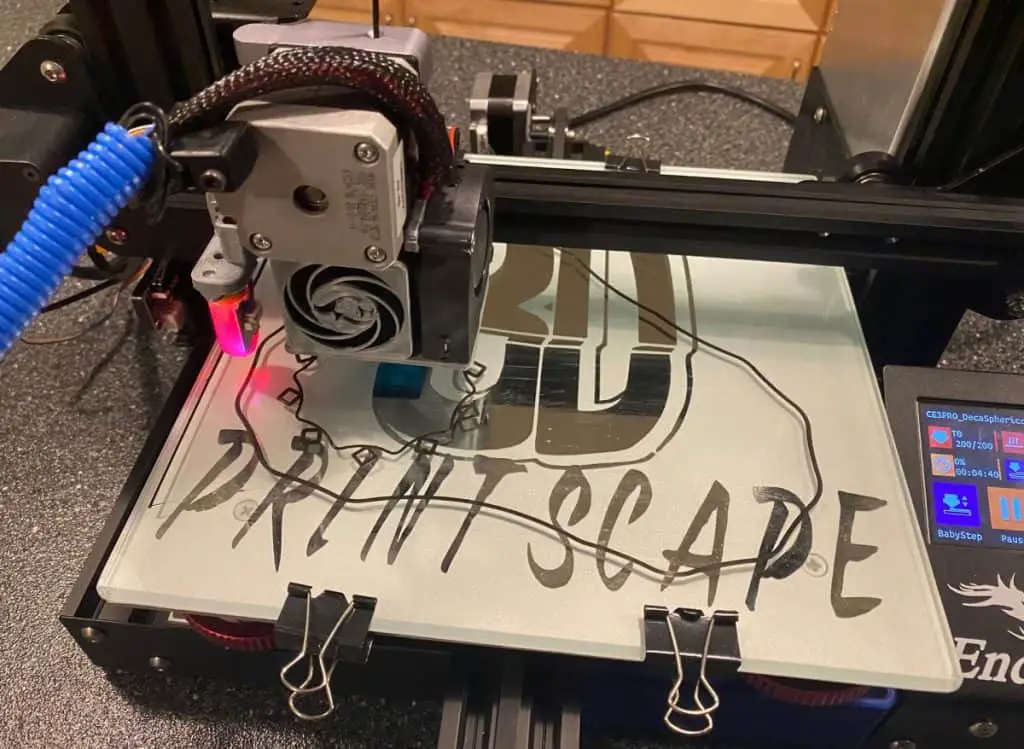
With 3D printers being increasingly popular over the last few years, people are making their own sphericons, hexasphericons, and other shapes that have their own unique behaviors. The “Gömböc” is a peculiar shape with its own special ability, which we’ll cover later on.
How Do You Make A Sphericon?
This is the most basic way in which you can make a sphericon with a 3D printer:
- Print two cones.
- Glue them together.
- Split the bicone you’ve created in half from tip to tip.
- Rotate one of the halves 90° and glue it back to the other half.
That’s it, it’s a simple process that doesn’t take much time. The shape will roll with a meandering motion from left to right, zig-zagging across any sloped surface.
What Are The Geometric Properties Of A Sphericon?
The formula for the surface area of a sphericon is:
S = 2√2πr²
The formula for the volume of a sphericon is:
V = ⅔√πr³
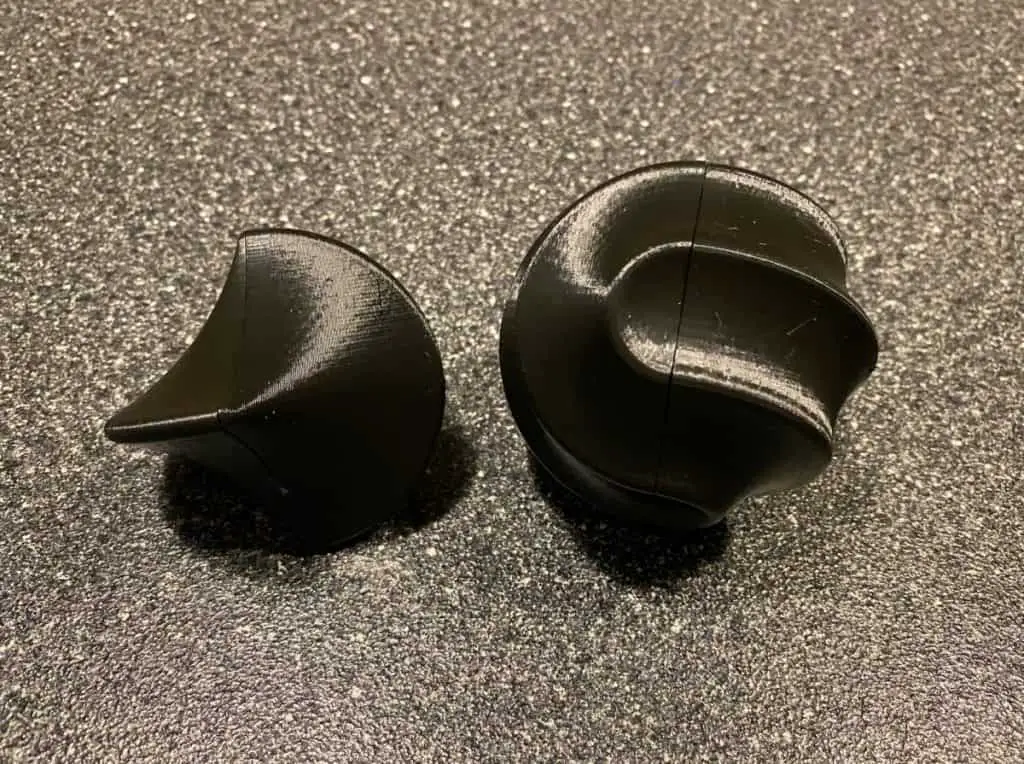
What Is A Hexasphericon?
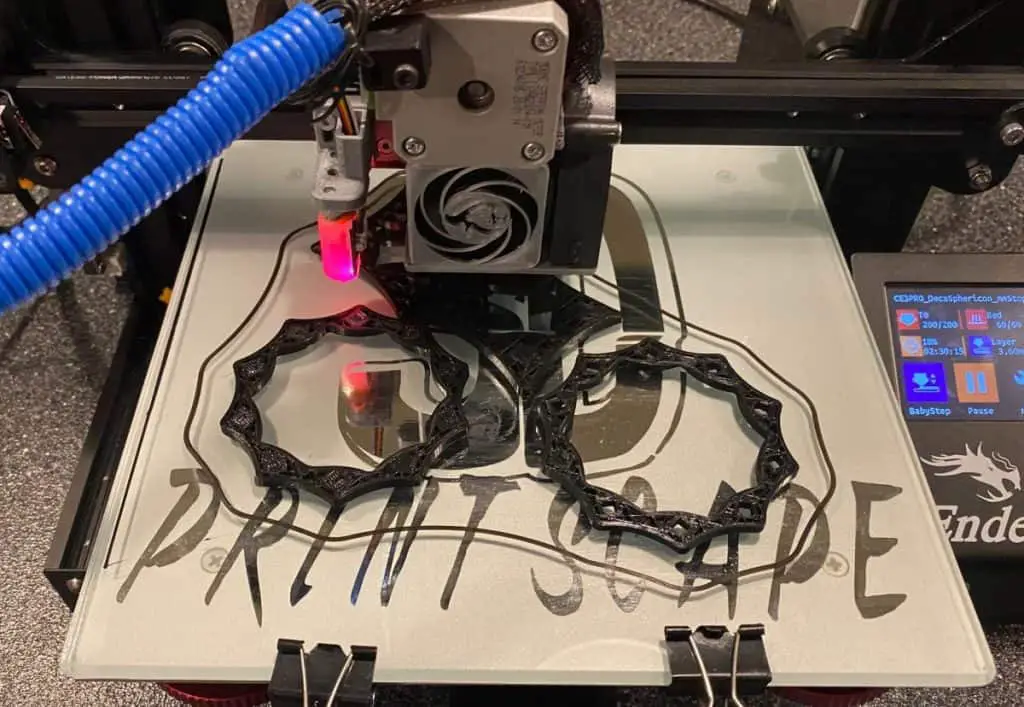
A hexasphericon is a solid with one continuous surface and two discontinuous surfaces. It rolls in a zig-zag motion in the same way that sphericons do.
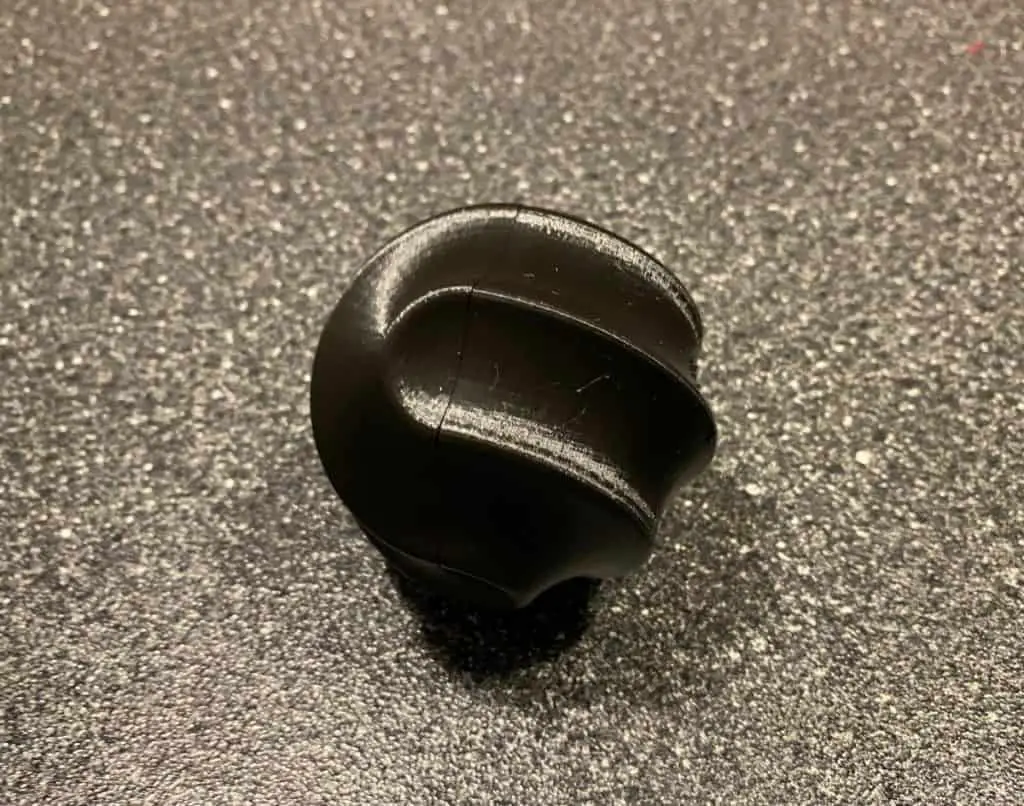
You can make your hexasphericon unique with inflated edges to give it a grooved out appearance. Round off the edges with the fillet tool for a more curvaceous hexasphericon.
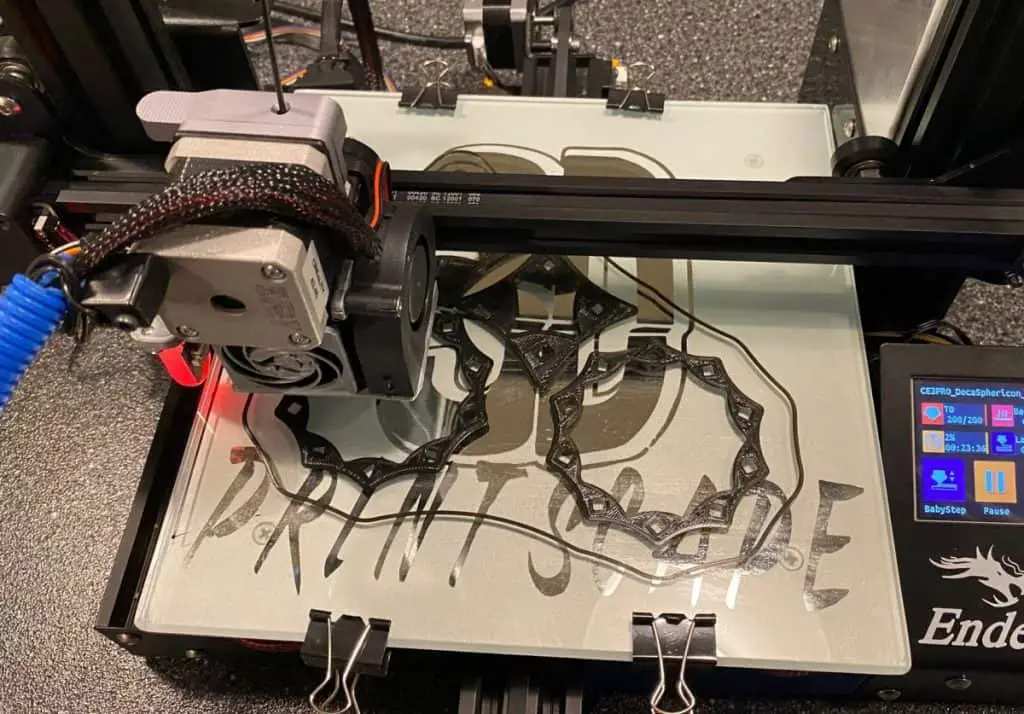
How To Design A Hexasphericon In Fusion 360
- Create a new sketch.
- Start on the right plane.
- Go to polygon on the sketch menu.
- Then select inscribed polygon.
- Click the center origin and drag upwards.
- Open the dimension tool, select the top and bottom points, and set them to your desired size.
- Create a line through the middle of the shape from top to bottom. This will allow you to turn the one half in relation to the other.
- Use the revolve tool to select one half and select the center line for the axis. Change the revolve from 360 to 180 degrees.
- Now you should have half of your hexasphericon. But most of the work is done.
- Mirror the shape by selecting the mirror tool to make the second half.
- Press M to use the move copy tool. Select one of the bodies, set Move Type to rotation, turn on the origin for the axis of rotation.
- Now, click and hold on the x-axis (Red) to select it for rotation.
- Rotate the half 60 degrees to finish the shape.
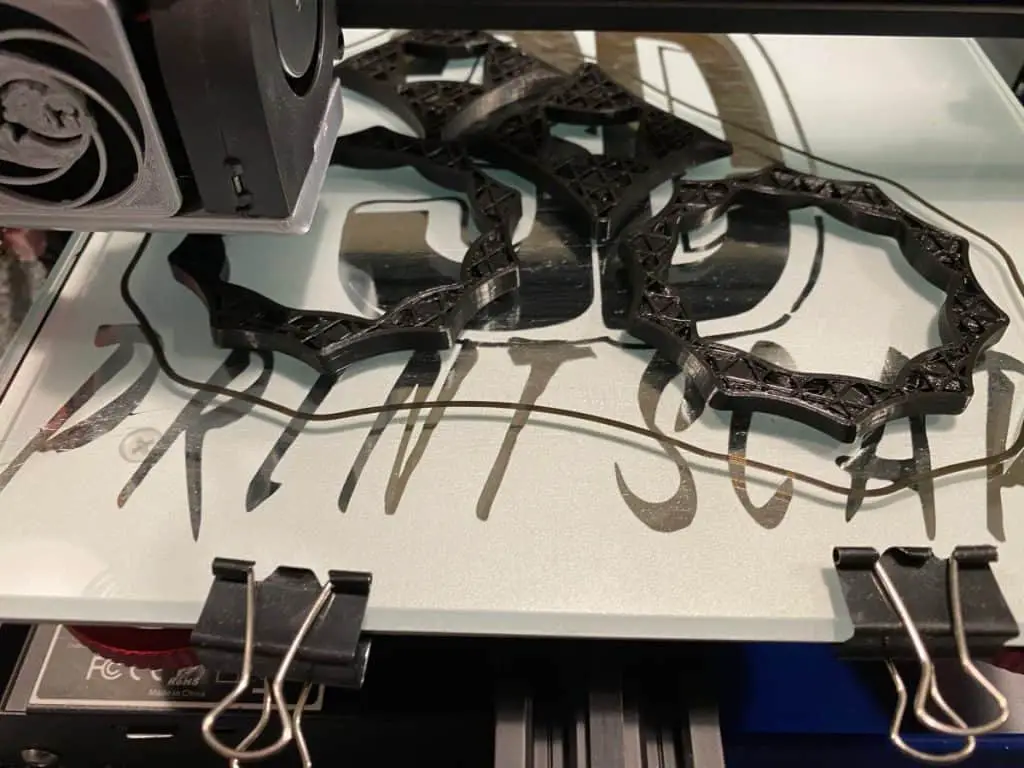
Now it’s time to design a cut-out in the center of each shape so that you can snap them together easily.
- Create another inscribed polygon within the main ones.
- Use the offset tool on the cut-out and set it to 0.2mm.
- Create another 0.2mm offset inward from the cutout. This will be for the connector.
- Click the extrude tool and select all the polygons you’ve just created.
- For the direction option, select symmetric. This will extrude equally in both directions.
- Size the cut in the distance of the extrusion according to your project size.
- Select the connector piece of your sketch again and extrude it symmetrically, make it slightly shorter than the cutout.
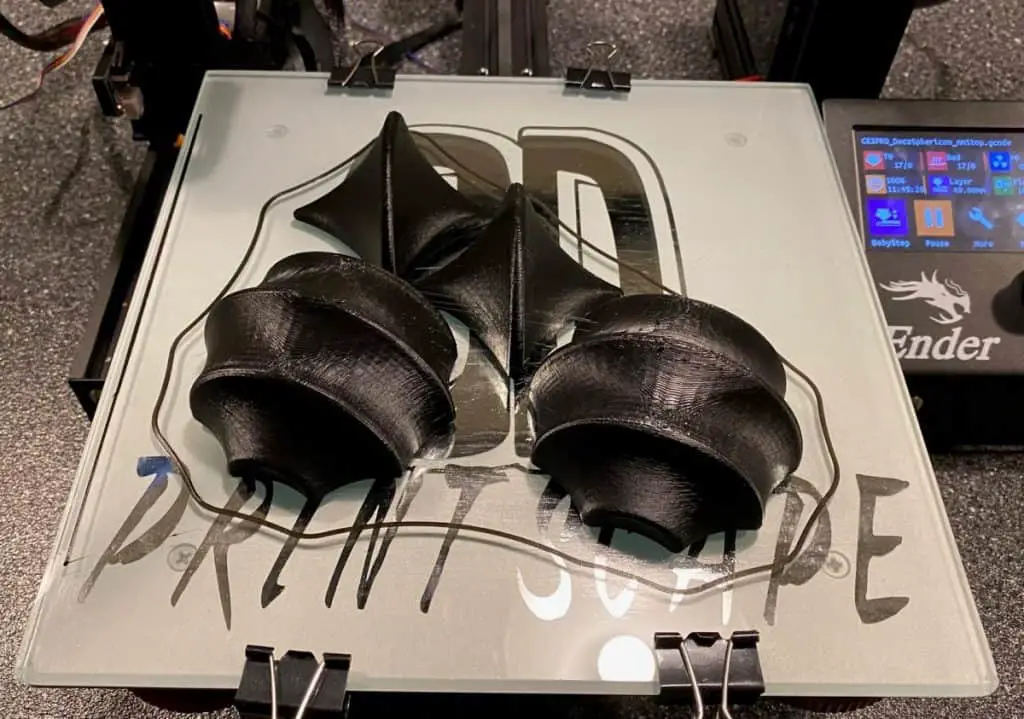
That’s your basic design of a hexasphericon. You can edit the sketch to tweak your design, like using the fillet tool to round off the edges.
If all that seems like a bit much, you can download the files from thingiverse.com by following this link.

What’s A Gomboc?
The Gomboc is the first homogeneous solid shape that has self-righting abilities. In a more complex explanation, a Gomboc has only two equilibrium points, one stable, and one unstable. It’s the first homogeneous object that always ends up on one particular side, the stable equilibrium. If you toss a Gomboc on your desk, it will always rest on the stable side.
The Gomboc shape is almost like that of a tortoise shell, which is what helps get them on their feet again if they tip over.
This shape is extremely difficult to produce, any slight imperfections will create multiple stable equalization points and it won’t self-correct like it should. A Gomboc with a diameter of 10cm has tolerances of less than 0.1mm.
You can download the files for the Gomboc from thingiverse.com.
Related Articles
- How to Print a File from Thingiverse (The Easy Way!)
- Create a Temperature Tower Using Cura – The Easy Way
- What Computer Do I Need for a 3D Printer?
- Cura Profiles
Conclusion
The sphericon isn’t a new discovery, but now that you don’t need heavy machining equipment to make them, they’re becoming more popular. For most people, it’s just a novelty piece that sparks curiosity by the way it moves. But for certain engineering applications, it has practical uses as well.
With 3D printers, all sorts of shapes can be experimented with at home. Hexasphericons are just as easy to print as sphericons. Self-correcting Gombocs are the first of their kind, but you’ll need a very accurate printer to make them.
Make sure you check out our YouTube channel, and if you would like any additional details or have any questions, please leave a comment below or join us on Discord. If you liked this article and want to read others click here.