There are many reasons for a nozzle hitting the prints or bed. Together, we’ll look at all the most common reasons and then go through possible solutions.
The main cause of the nozzle hitting the bed is an uneven bed. If the bed is warped, the nozzle will touch it and ruin the first layer, the same applies if the bed is tilted. The z-stop might be set too low or you might even have adhesion problems that cause the nozzle to touch the print.
If the nozzle touches the print and causes failure at exactly the same height every time, you may have a mechanical issue.
These are just some of the most common causes, but there are others which we’ll tackle as well.
Adjust The Z-Stop
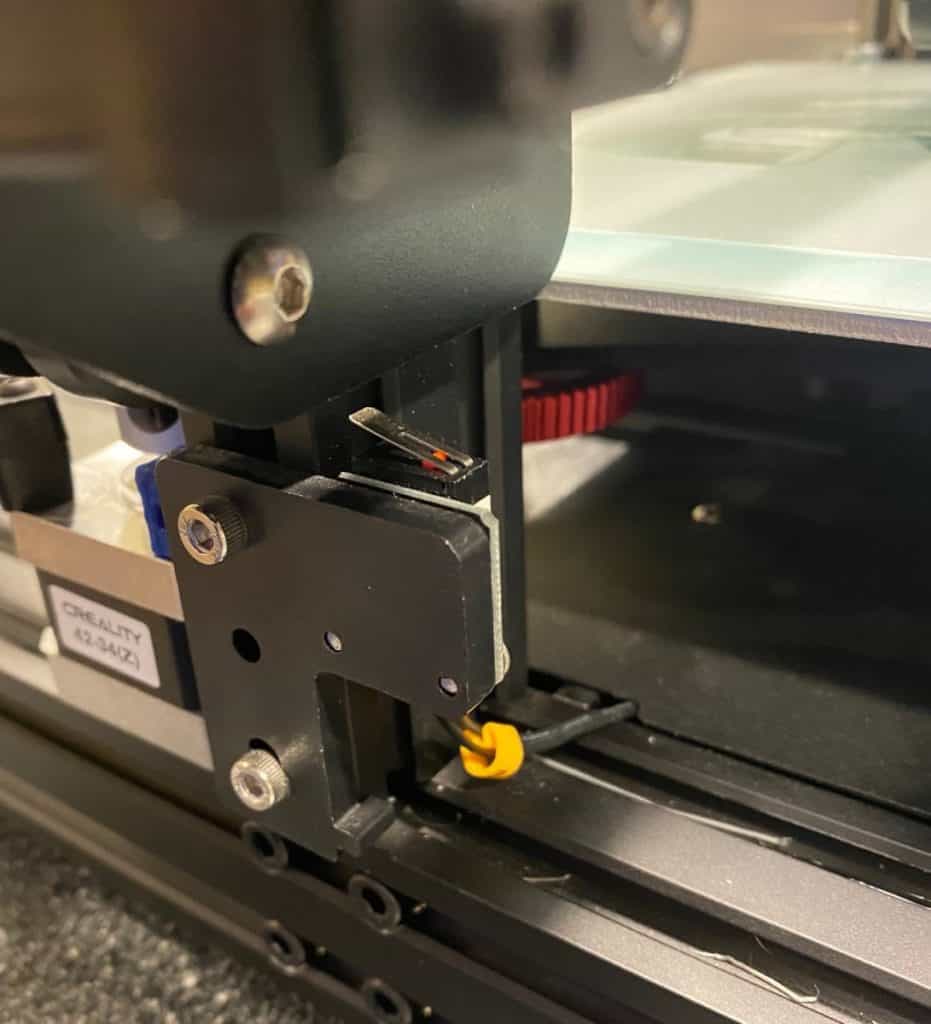
The first thing you need to do before powering up your printer is to ensure that the Z limit switch is adjusted so that the nozzle is around 1 mm from the center of the bed.
To adjust the Z stop, position the nozzle at the center of the bed and loosen the two bolts on the Z limit switch. Lift the Z stage until the nozzle is about 1 mm from the bed’s surface. The thicker the bed, the higher you’ll need to raise the Z stage. But either way, there should be no more than 1 mm between the nozzle and the bed at this point.
Click the Z limit switch into place and tighten the bolts.
Only after doing this should you perform leveling with a piece of paper as per the instructions below. After leveling with a paper, you should be left with a 0.1 to 0.6 mm gap between the nozzle and bed. Anything in this range should be able to squish down the first layer onto the bed and have good adhesion.
Make Sure The Bed Is Level
An uneven bed will cause the nozzle to travel straight into the surface when it moves from the low side to the high side. Here’s a video on how to level the bed without any tools. (The tried and trusted paper method)
If you’re having problems with leveling the bed, I wrote this article to walk you through any possible problems and solutions.
Enable Combing And Avoid Printed Parts
These are two separate settings, you need to enable combing before avoiding printed parts. These settings are available if you make advanced settings viewable in Cura.
Combing
Search “combing” in the settings and enable it. Combing makes the nozzle travel within the parts’ perimeter and greatly reduces the amount of retraction required while printing. It will therefore also reduce the amount of stringing in most parts.
Avoid printed parts
Enable this setting to reduce the number of times the nozzle travels over printed parts. The nozzle will move around any printed parts instead of over them to make its way to the next point. This will greatly reduce the chance of the nozzle or filament build-up from hitting the part.
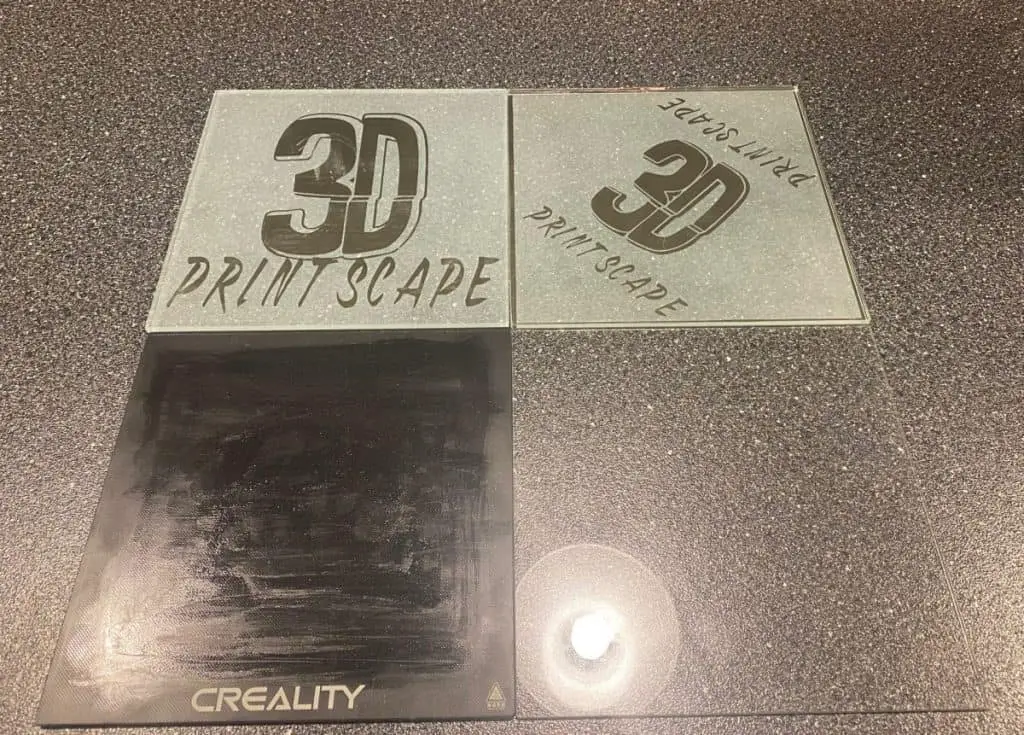
The Bed Could Be Warped
Warping occurs over time as the bed heats up and cools down. This occurs with a metal bed, and the thinner it is, the more likely warping will occur. If the bed is warped, you’ll have to buy a new one. I suggest opting for a glass bed to make sure warping doesn’t occur again. Use an adhesive with the glass bed and the part should stick well.
Here’s an example of a 4 mm thick glass bed for the Ender 3 range on amazon.com.
There Might Be Over-Extrusion
Over-extrusion can make it seem as if the nozzle is hitting the print while it’s actually a build-up of filament around the nozzle that’s colliding with the part and causing print failure.
Besides the build-up around the nozzle, over-extrusion leads to other structural failures so it’s best to dial in the extrusion if you suspect it may be the cause. To adjust the extrusion, follow the instructions in this article on flow rate calibration.
Print A Brim
The nozzle is less likely to hit the part if you print a brim because it will help with adhesion. Printing a brim will help the first layer to be as accurate as possible by priming the nozzle before it starts printing the first layer.
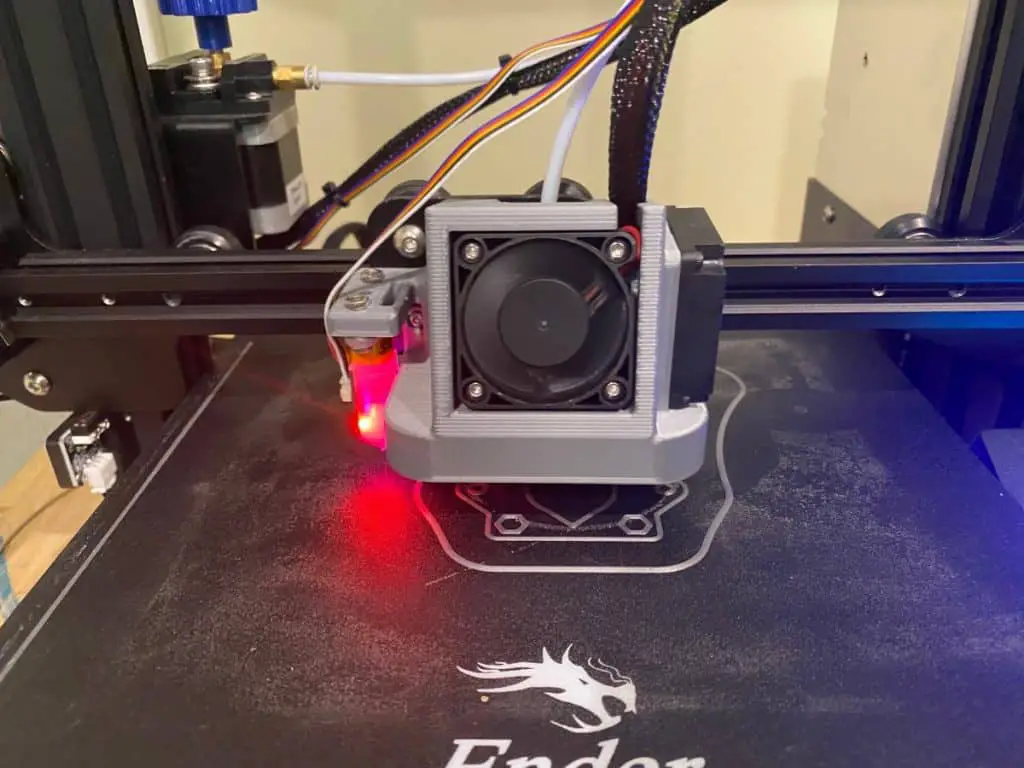
The Correct Distance From Nozzle To Bed
The distance between the nozzle and the bed should be around 0.1 mm, around the same thickness as office paper. Everything should print fine with a slightly higher value, like 0.3 mm but more than that will probably cause poor bed adhesion as the filament won’t be pressed onto the bed effectively.
Upgrade With A BL Touch
The BL Touch is a valuable upgrade because it will adjust the distance from the bed to the nozzle depending on the level of the bed, even if the bed is warped or tilted. For optimal printing results, you need to make sure the bed is as level as possible before leveling it with the BL Touch.
Basically, the BL Touch will account for any areas of the bed that you could not level out manually. Here are the current deals for the BL Touch on amazon.com. Once you receive the BL Touch, follow this guide for installation instructions. (Bookmark this website)
Should The Nozzle Touch The Bed?
A 3D printer nozzle should never make contact with the bed. There should be at least enough space between the nozzle and bed for a standard piece of office paper to fit between. This is usually around 0.1 mm.
The paper should generate some resistance as you pull it back and forth between the nozzle and the bed.
Related Articles
- OctoPrint Bed Level Visualizer – Complete Setup Guide!
- How Often Should Level a 3D Print Bed?
- Glass Bed Upgrade – Complete Guide!
- Choosing the Right Infill Percentage for the Job
- 3D Printer Printing Too Thin – Let’s Fix It!
- How Do You Resume A 3D Printer After Power Loss?
In Summary
If the nozzle is hitting the bed or parts, make sure the bed is leveled properly. Ideally, upgrade to a glass bed with a BL Touch (both available on Amazon) for great adhesion and accurate bed leveling.
Check that your Z limit switch is tightened at the correct height according to the thickness of the bed you’re using. Adjust it so that it’s 1 mm from the bed’s surface to the nozzle.
In Cura, you can activate “Combing” and “Avoid Printed Parts” to reduce the chance of the nozzle hitting the print. Check your extrusion by going through the article on flow rate calibration to make sure you’re not over-extruding.
Print a brim to prime the nozzle for the first layer and to increase adhesion to avoid it detaching later on in the print.
Make sure you check out our YouTube channel, and if you would like any additional details or have any questions, please leave a comment below or join us on Discord. If you liked this article and want to read others click here.