One of the most irritating things for me is when I’ve set everything up for a new print, only to find that the nozzle is too high or the bed is too low. So here’s an article to make sure you never suffer the same disappointment.
If your 3D printer is printing above the bed, several factors may be to blame, including the Z-offset values, an unbalanced bed, a misaligned nozzle, or other mechanical issues with the printer. If you made any adjustments to the build plate, it might be lower than before you performed bed leveling.
There aren’t many more reasons other than those, besides incorrect first-layer settings and perhaps the G-code in OctoPrint if you’re using it.
We’ll look at these problems and talk about how to solve them further in the article, but before you start adjusting things, here are some things to note.
What To Check To Determine If The Bed Height Is Correct
Ensure that the bed is level. If it isn’t, the extruder may be too high in certain areas. Use a piece of paper to level the bed and make any necessary adjustments. There are detailed instructions on this coming up shortly.
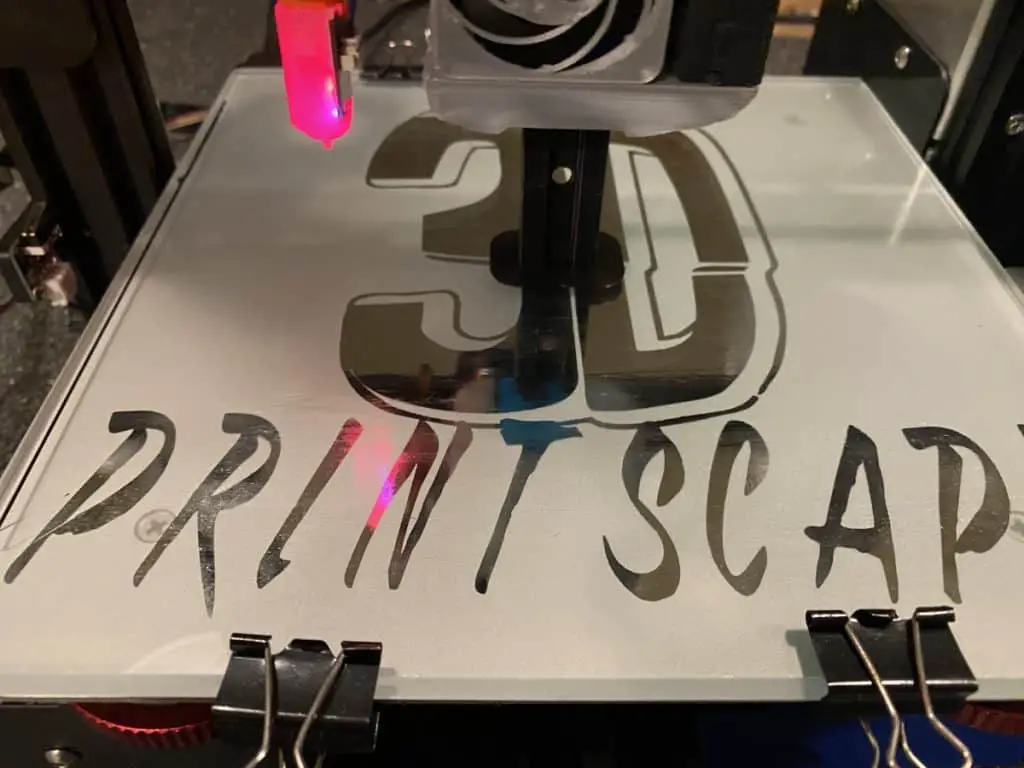
If the nozzle is too high, it can cause the printer to print above the bed. To fix this problem, adjust the z-offset in the printer’s settings or control panel. The Z offset is the home position of the nozzle and directly translates to how far it is from the bed.
If this happens after the printer completes the purge on the left edge of the bed, it may be a loose Z-axis nut that’s causing the problem, tighten it and check again.
You can also add G28 to the start of the g-code so that it homes in on all axes and hopefully get the distance from the bed.
In some cases, the printer may have mechanical issues that are causing it to print above the bed. If you have tried the other solutions and the problem persists, it may be worth checking for any loose or broken parts. Make sure you tighten all the belts and bolts and perform a thorough maintenance check.
A Good Distance Between The Nozzle And The Bed
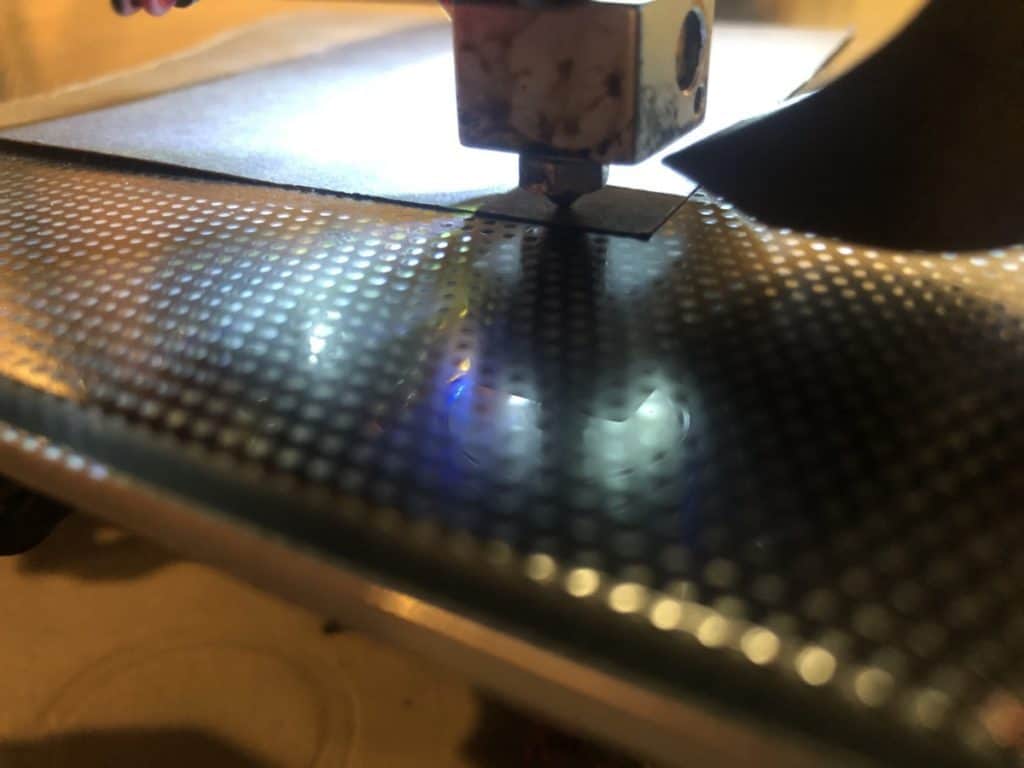
A gap of around 0.1mm can work. It’s close enough to push the plastic onto the bed, but not so close that the bed blocks the filament from getting out of the nozzle.
If the nozzle height is too high, the filament could just fall out of the nozzle in mid-air. But if the nozzle height is too low, the filament might not flow at the correct rate for the first layers, leading to a poor-quality print. So use the method below to get the height just right.
How To Adjust A 3D Printer Bed Level
Most printers allow you to adjust the bed height using the control panel. Here’s how to adjust the bed height on an Ender 3 printer:
- First, set the bed surface to the temperature you usually use for your filament and preheat it in order to level the printer bed. The heat causes the bed surface to expand and warp when it gets hot, so if you level a cold bed, it will render the leveling process useless.
- Use the “Auto Home” function to bring the axis to the home position.
- To move the nozzle head freely, disable the stepper motors in the menu of the printer.
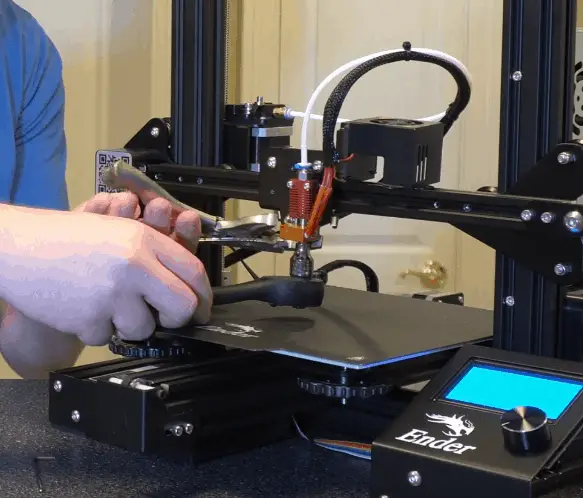
- Start by moving the nozzle head to a corner of the bed and positioning it above the leveling knob. Then, put a small piece of paper between the nozzle head and bed and adjust the height by rotating the knob until the nozzle just touches the paper with some friction. Do this at every corner of the bed.
- To make sure the bed is balanced and the nozzle head is at the same height across the entire build area, check the gap with the paper in the center of the bed.
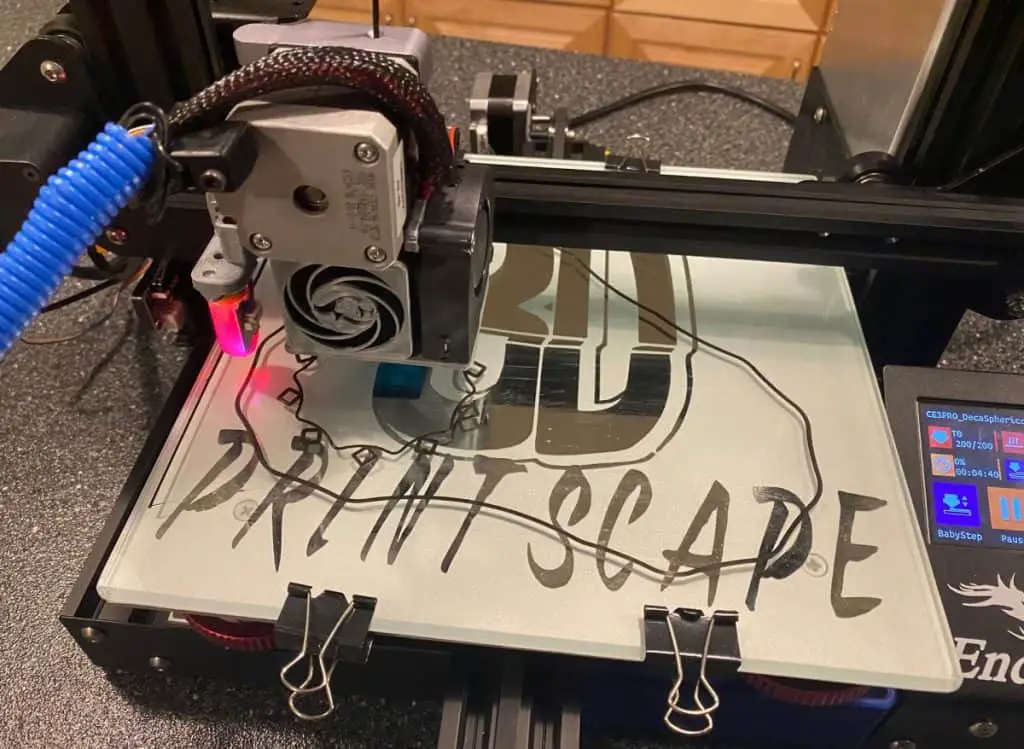
- Finally, perform a bed leveling calibration test print to help you confirm that the bed is level and that the nozzle head is at the same height across the entire build area. You can use a G-Code file or a model specifically designed for this purpose to run the test.
Signs That The Bed Height Is Too Low
You might notice things like poor first-layer adhesion, uneven layers, and a noticeable space between the nozzle and the bed.
For most printers, a good nozzle height is around 0.1 to 0.3 mm. However, it’s always a good idea to check the recommended nozzle height in your user manual, as it varies depending on the specific model of printer you are using.
If you are having trouble leveling the bed or need more detailed instructions on how to do so, you can read this article provided for additional guidance.
Signs That The Nozzle Is Too Close To The Bed
- The nozzle scrapes the bed: If the nozzle is positioned too close to the bed during printing, it may scrape or drag against the bed’s surface, resulting in uneven or rough layers and potentially causing wear and damage to the nozzle.
- Uneven layers: If the nozzle is too close to the bed, it can cause the layers of the print to be uneven or misaligned. This results in a print with a rough or bumpy surface, or with distorted or irregular features.
- Errors in the first layer: The first layer will be squashed onto the bed and result in poor adhesion for the second layer.
Adjust The First-Layer Lines
It is important to ensure that the first layer of a 3D print properly adheres to the bed and is thick enough to support the rest of the print.
Set the first layer height to around 0.2mm. This value will vary based on the type of filament and the size of the nozzle, but 0.2mm is a good starting point.
I also advise using even values for the first layer height, such as 0.2mm or 0.4mm, rather than odd values like 0.3mm or 0.5mm. But it depends on what you’re working with, so it may be necessary to experiment with different values to find the best setting for you.
It’s also important to check the first layer of your prints at the start of every one to ensure that it is adhering well and has the correct thickness. If you accidentally set the first layer height too high, it could be causing the problem.
Check the z-axis to be certain the motor, lead screw and nut are aligned and that the nuts is as tight as possible.
How Often To Level A 3D Printer Bed
The frequency of bed leveling for a 3D printer can depend on various factors depending on which printer you have and the environment it’s in. I usually recommended leveling the bed before each print for optimal adhesion and high-quality prints.
Printers with automatic bed leveling may not need as much manual leveling, but it is still a good idea to check the actual bed level periodically to confirm that the automatic doesn’t have to compensate for too much.
In some cases, the bed may become unbalanced or warped over time and require more frequent leveling and the help of an auto bed leveler like the BL-Touch to maintain high-quality prints.
To ensure the best results, it is important to check and adjust the bed level on your 3D printer regularly.
How Tight Should The Extruder Be?
To ensure proper extrusion, set the tightness of the extruder on your 3D printer to a level that does not compress or put too much pressure on the filament and does not allow the filament to slip. A loose spring or idler can prevent proper extrusion as well.
If you over-tighten the extruder, the motor may grind the filament, leading to deformities in the filament causing over and under-extrusion, so don’t overdo it.
You probably won’t need to adjust it again, but it doesn’t hurt to monitor it throughout the months. If the prints are satisfactory, the extruder tension is probably set correctly.
Monitoring the extruder tension can help ensure optimal printer performance and high-quality prints, but remember, an overly tight extruder can have similar negative effects as an overly loose one.
Related Articles
- How Do I Get Rid Of Layer Lines In 3D Printing?
- What Is the Best First Layer Height?
- Does Cura Work With Any Printer?
- Cura Speed – Everything You Need to Know!
- Cura Brim Build Plate Adhesion – Everything You Need to Know!
In Summary,
A variety of reasons can cause a 3D printer to print too high above the bed, including incorrect Z-offset values, an uneven bed, incorrect first-layer lines, or mechanical issues with the printer.
So check the bed for levelness, adjust the nozzle x-offset accordingly, and check for mechanical issues such as loose or broken parts.
You should also ensure that the first-layer settings are correct, as these settings can cause poor adhesion, uneven layers, and other issues.
By following these steps, you can troubleshoot and fix problems related to a 3D printer printing too high above the bed.
Make sure you check out our YouTube channel, and if you would like any additional details or have any questions, please leave a comment below. If you liked this article and want to read others click here.