I’ve been 3D printing and working with slicing software such as Cura for a while now, and I’m really comfortable with using Cura. So, I was curious whether you can print on a Prusa using Cura. I did some research and here’s what I found.
It’s possible to print on a Prusa 3D printer using Cura. Prusa 3D printers are not on Cura by default and it’s required to add it as a printer by installing some additional files. Once that’s done, however, slice files and send them to your Prusa 3D printer to print.
In this article, I will explain step by step how to use Cura to print on a Prusa 3D printer, as well as other helpful info about using your Prusa 3D printer.
How to Use Cura To Print to a Prusa 3D Printer
Note: the only supported Prusa 3D printers are the Original Prusa i3 MK3S and MK3, the Original Prusa i3 MK2.5S, MK2.5 and MK2S, and the Original Prusa MINI. Other models aren’t yet available and therefore you can’t use Cura to print to them.
Below, I’ll provide step-by-step details about how to use Cura to print on a Prusa 3D printer, which works for both Windows and Mac computers. But, first a quick overview of the steps involved.
- Ensure you have the latest version of Cura
- Download the software package and unzip it
- Copy the files to the correct folder on your computer
- Add your Prusa 3D printer to the list of printers
- Import the profiles and materials
First, some important info. Cura is open-source. As you may know, open-source means that developers voluntarily contribute and update the software for free. Because they are working for free, they will get to tasks as they feel they want to. And certain compatibility is not always available.
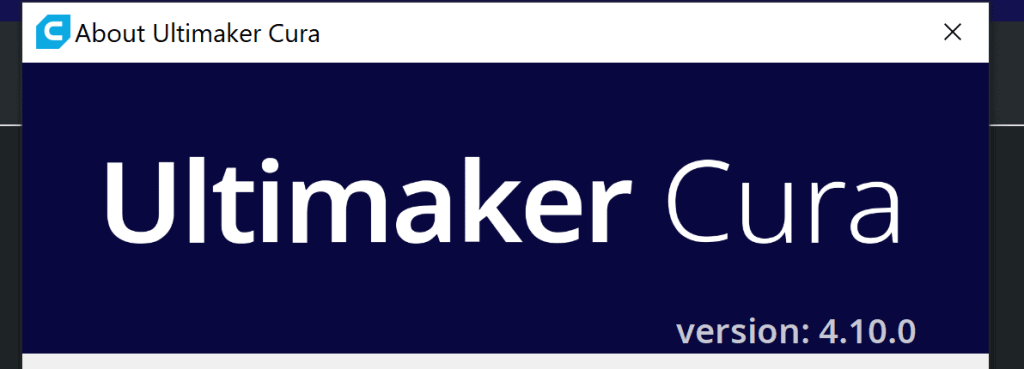
Currently, adding a Prusa printer to Cura is only supported on version 4.x – this covers versions that start with the number 4. It’s definitely possible that it will work with the latest versions, but there’s no guarantee it will work.
Due to the complexity of doing so, and keeping all of your Cura settings, you may decide that learning how to use the Prusa slicing software, which is also open-source and free, is a better option. That way you can keep all of your Cura settings, and continue to use them without any issues. And also use Prusa.
Now that I’ve covered that, here’s how to add your Prusa 3D printer to Cura.
1. Ensure you have the right version of Cura
As mentioned above, ideally you should use Cura 4.x which can be downloaded using a Google search. Uninstall your current version of Cura, and then install the older version of Cura.
2. Download the software package and unzip it
The software package you need can be downloaded from the official Prusa website by clicking here. Unzip the files and keep the folder open to make it easier. Then close the Cura software.
3. Copy the files to the correct folder on your computer
This is the longest step and involves copying each folder of files to the corresponding folder.
The folders are:
- Printer definitions
- Extruders
- Meshes
- Layer height profiles
- Prusa materials
- Import the profiles and materials
All of them are found in the following location:
On Windows:
C:\Program Files\Ultimaker Cura 4.x\resources\
For MacOS:
/Users/YOURUSERNAME/Library/Application Support/cura/4.x/
The folder that contains the files that you unzipped are categorized based on what version of Cura you’re using, and what Prusa 3D printer you’re using. Open the folder with the name of the Prusa 3D printer you have.
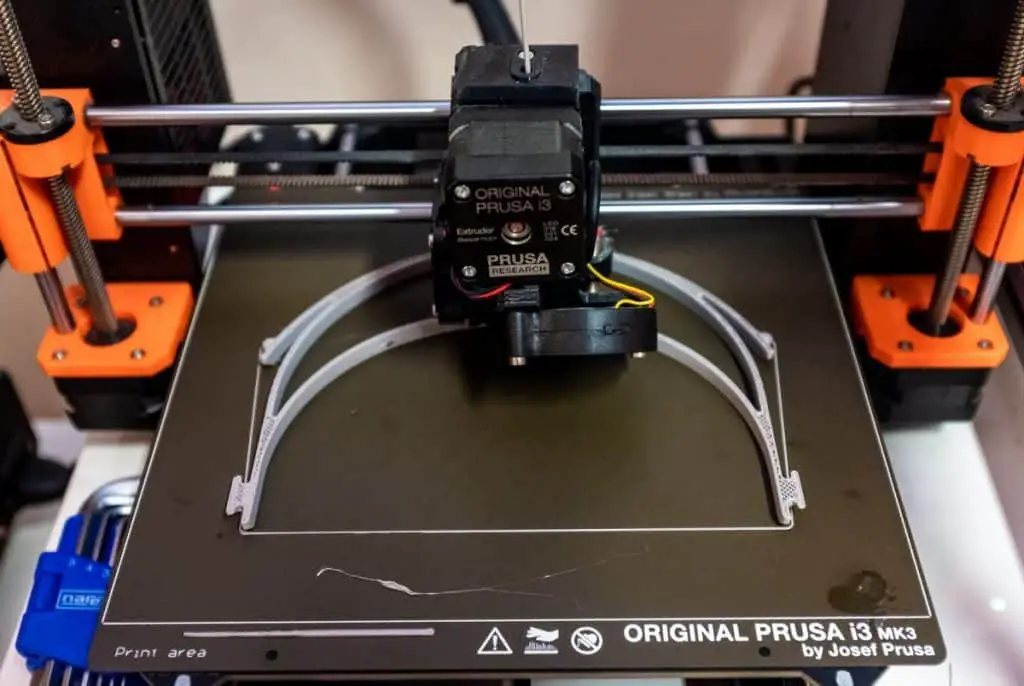
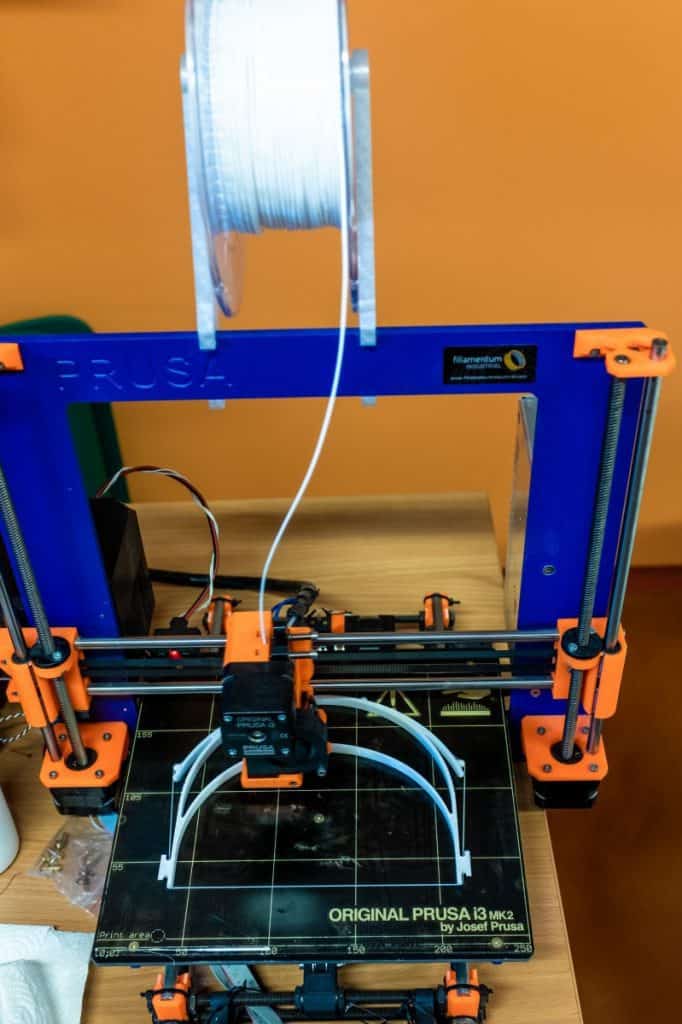
If you’re unsure what model of Prusa 3D printer you have it’s printed on as a black and white label on the left arm of your Prusa 3D printer. It’s pretty easy to spot and has the model number in big black letters at the top.
When you open that folder there 5 additional folders, on Windows it looks like this, but on macOS, it will look slightly different, however, the same folders will be there:
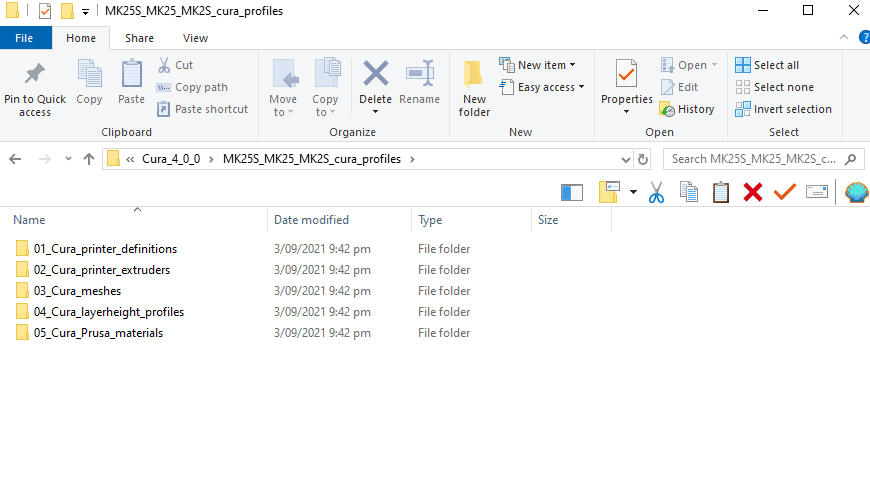
Take any and all files in each folder from the unzipped and copy them to the corresponding folder in your Cura software folder located on your computer. Don’t overwrite the existing files there, just copy them into it.
In case you don’t have it open it’s located in the following directory:
On Windows:
C:\Program Files\Ultimaker Cura 4.x\resources\
For MacOS:
/Users/YOURUSERNAME/Library/Application Support/cura/4.x/
But, it can differ based on where you installed it. On macOS computers sometimes the Cura folders on your computer can be hidden, and you need to unhide them using the settings. If you’re unsure how to do that, here’s a good article that explains how to unhide files on your Mac computer.
4. Add your Prusa 3D printer to the list of printers
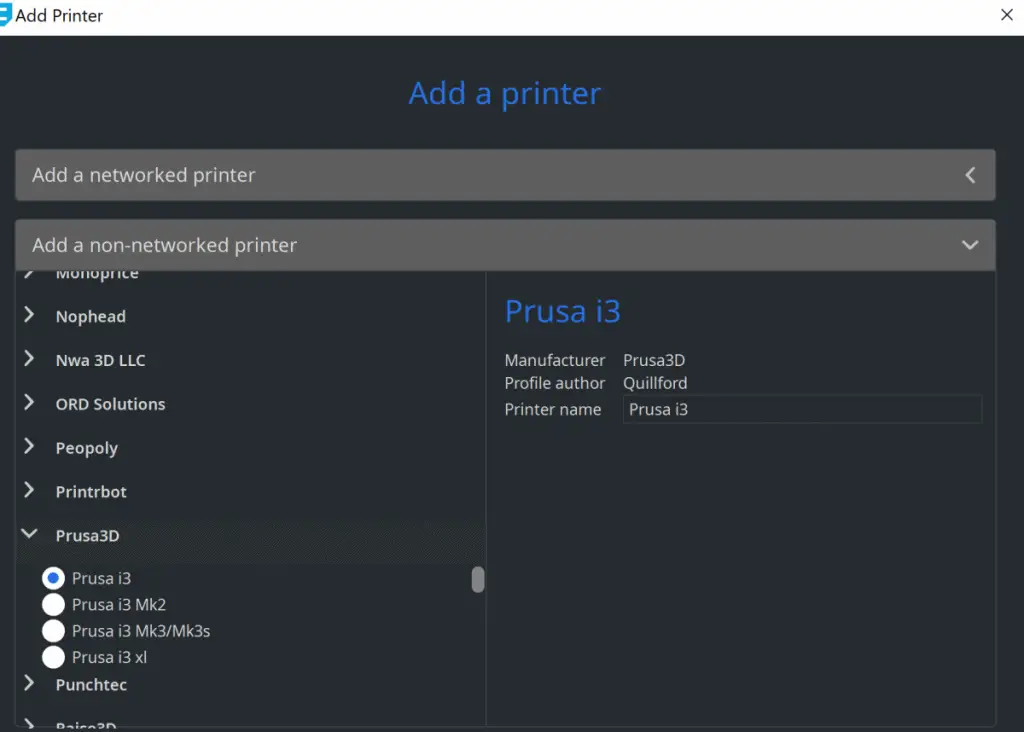
After that’s done, open Cura and go to the option that says ‘Add a Printer’. If you downgraded to the older version of Cura, you won’t have added a printer yet, so you need to select ‘Other’.
If you’re using the newer version of Cura that you already use then it will be listed there as a printer. For example, in the list, it will say ‘Original Prusa i3’.
5. Import the profiles and materials
On your Cura software go to Settings > Profile > Manage Profiles. Then click ‘Profiles’ and select import.
This will open up a box and you need to tell it where the profiles are located. It’s the same folder that you copied the Profiles folder to in step 3.
Then go to the Settings again, but instead of profiles select Materials, and import, and do the same thing you did for the profiles and but choose the Materials folder that you copied the materials files to in step 3. With this step, you need to add the materials one by one.
For example, you need to import ‘Generic PLA’, and click import again and select ‘Generic ABS.’
Finally, all done. You’re ready to go.
Can You Use The Prusa Slicer With Any Printer?
The Prusa Slicer software was originally made to be used exclusively with the Prusa 3D printers. But, I was curious about whether it works with other printers as well. Here’s what I found.
As a general rule, the Prusa Slicing software works with any other printer. Many of the very popular 3D printers are preloaded into the Prusa software. If the model you want to use is not included, it is generally available online, and you can install it into the Prusa software.
Since there are many different 3D printers, it’s possible that some 3D printers aren’t supported. It’s best to research for the individual 3D printer you use or are intending to buy. You can do that by downloading the Prusa slicing software and seeing if it’s built-in, or by asking the question on Reddit, or the official Facebook group for your brand of 3D printer.
What Slicer Does Prusa Use?
Various 3D printers will recommend using a specific slicing software, and Cura, perhaps one of the most popular, is recommended by most people who do 3D printing. However, what slicer does Prusa use?
The Prusa slicing software from the official Prusa website is the best to use for a Prusa 3D printer. It’s specifically designed for that purpose. It’s also possible to use other slicing software such as Cura. But, it requires quite a bit of setup, and not all Prusa models are supported.
In my opinion, it’s best to use the Prusa slicing software for a Prusa 3D printer, because it’s been designed to be used with Prusa 3D printers. And is the easiest to use with a Prusa 3D printer.
Related Articles
- Create a Temperature Tower Using Cura – The Easy Way
- Cura Profiles
- Cura VS Simplify3D – Which is Right for You?
- Cura Brim Build Plate Adhesion – Everything You Need to Know!
- Cura Hacks – My Picks!
Make sure you check out our YouTube channel, and if you would like any additional details or have any questions, please leave a comment below. If you liked this article and want to read others click here.