There are only three things to focus on when choosing the best filament for printing lithophanes, color, material, and dimensional accuracy.
The best filament for printing lithophanes is white PLA because it allows light to shine through easier than any other color and PLA is easy to use. Lithophanes need to be printed at a high resolution so it’s best if the filament has a dimensional accuracy of +/-0.03mm to prevent extrusion problems.
The brand really doesn’t matter as long as you adhere to these three rules. Other materials like PETG can be used but are more difficult to work with than PLA.
The most popular choices on Amazon that meet the criteria above are HATCHBOX and ERYONE PLA.
You can use cheaper filament with a dimensional accuracy of +/-0.05mm but inconsistent extrusion will degrade the resolution of the lithophane. While choosing a high-quality white filament is important, there are many other factors that play a role in printing a good lithophane.
Next, we’ll go over all the settings that should be adjusted accordingly to get the best results. Then, I’ll answer some frequently asked questions regarding lithophanes.
Best Settings For Printing Lithophanes
Print thin walls
“Print thin walls” is a setting that helps the printer print walls thinner than the nozzle diameter. Although I don’t recommend doing that, you need to have this setting on because it will help add detail to the lithophane and reduce the chance of holes.
Infill 98-99%
Many people say the infill needs to be set at 100% because any infill pattern will ruin the lithophane image. If there’s any part of the lithophane that’s hollow, it will allow too much light through in that area.
I found that setting it to 100% tends to cause issues like blobs/zits (as shown below) unless you have your printer completely dialed in. For me, setting the infill to 99% gave me the best results.
Wall thickness
The wall thickness should be at least as wide as the nozzle diameter. So don’t go under 0.4mm wall thickness if that’s the size of the nozzle. For the maximum thickness, try not to go more than 2.8mm.
Enable Combing
Combing forces the printer nozzle to travel within already printed areas to reduce the number of retractions needed. This reduces stringing among other print defects. Enable combing and set it to “Not in Skin” when printing lithophanes to ensure a higher quality finish.
Decrease the printing speed
Decreasing the print speed is a good idea to reduce printer wobble. Whenever you’re printing anything as delicate as a lithophane, reduce the print speed. 45mm/s seems to work well without taking up too much time.
Turn supports off
Supports will ruin the resolution of the lithophane and aren’t required for the minimal amount of overhang in a lithophane. Turn supports off.
Print vertically
You need to print lithophanes vertically to take advantage of the printer’s layer height resolution. If you print it horizontally, there will probably be unwanted lines running through the picture.
Enable Brim or Raft
A brim or raft will create a strong foundation that keeps the part in place and reduces defects like ringing. You need to use need to use one the two to increase bed adhesion and help hold the lithophane in place.
Print along the y axis
I recommend printing lithophanes along the y axis to restrict printer wobble and nozzle movement. Printing along the y axis will cause the print bed to move underneath the nozzle to create the part instead of the nozzle moving over the bed. This results in less wobble and better detail.

Extra Tips
Add a frame
The sides of a lithophane can be really thin and delicate. Add a frame to the picture to strengthen it and give it a better appearance. If adding a frame isn’t built into the software, just create a black border around the picture with any image editor before converting it to an STL file.
Ensure the Z-axis is smooth.
If the Z-axis isn’t smooth, the lithophane will have unwanted defects like banding that will ruin the image. Here’s an article on how to deal with z banding.
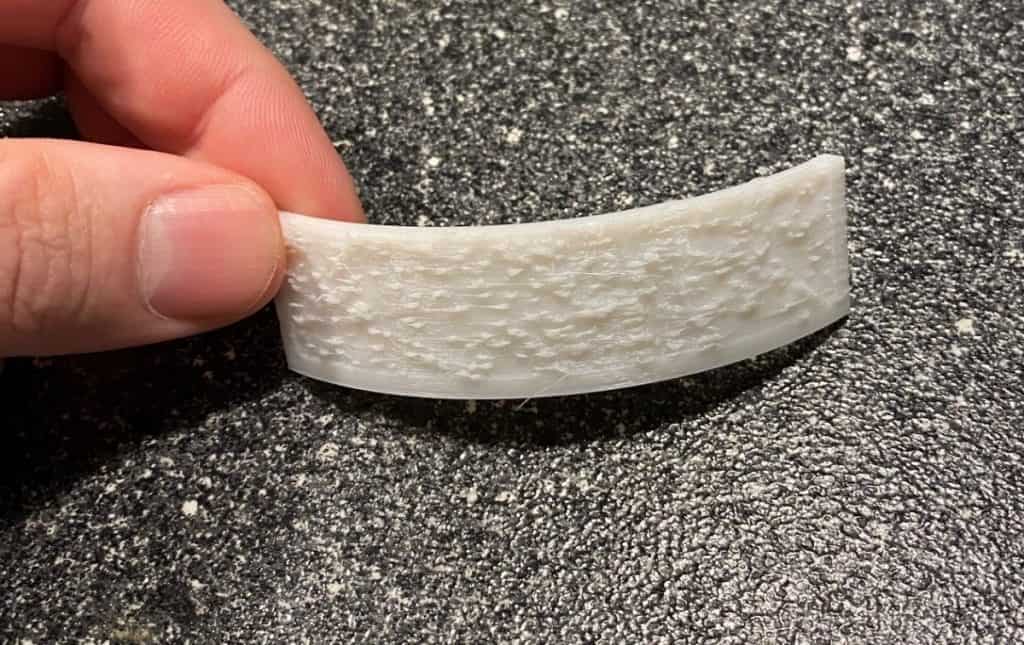
Lithophane Thickness Tester
Choosing a thickness can be tricky because it may look good with bright light but might be too thick for the light coming through your window. If you’re struggling to decide on the thickness of your lithophane, print this lithophane calibration tester on thingiverse.com to see how well light shines through at different thicknesses.
The calibrator also helps if you’re experimenting with different colors.
Is PETG Good For Lithophanes?
PETG is a good material for printing lithophanes that will be exposed to heat like direct sunlight because it has a higher melting point than PLA. However, lithophanes need to be printed at low speeds with high detail and PETG normally suffers from stringing and oozing when printed slowly.
PETG also doesn’t stick to the print bed as well as PLA so you’ll have to increase the adhesion to print the lithophane vertically.
Can You Print Lithophanes Flat? (Horizontally)
You can print lithophanes flat but you will end up with unwanted lines running across the picture. The detail won’t be as sharp as printing it vertically.
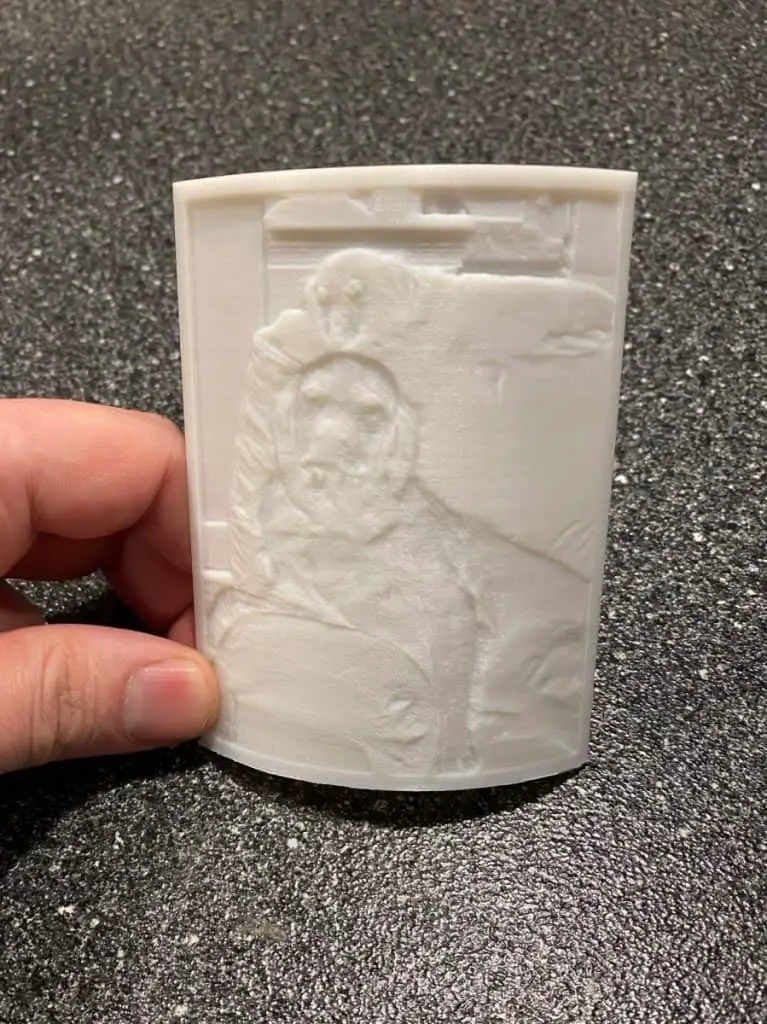
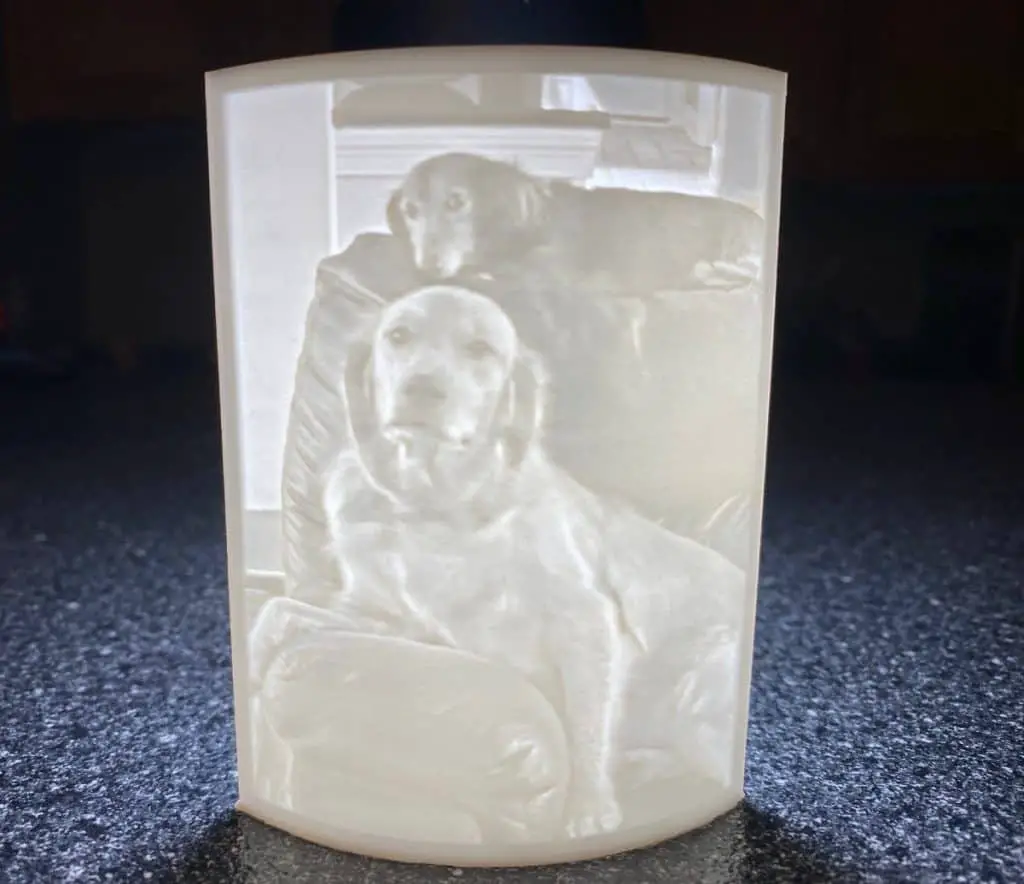
Do Lithophanes Have To Be White?
Lithophanes don’t have to be white but white will allow light to come through on the thicker areas better than any other color. With other colors of filament, the light can’t get through. If you really want to experiment with different colors, make sure to use bright LED lights to shine through.
You can choose a slightly off-white color if you want the picture to have a tint, like when you add a filter to a photo.
Should A Lithophane Be Positive Or Negative?
The lithophane should be on positive by default to make the darker areas of the picture thicker and the lighter areas thinner.
How To Print A Lithophane
The easiest way to print a lithophane is by uploading an image to 3dp.rocks to convert it to an STL file. Choose the style of lithophane and download the file. Now load the file into your slicing software and work your way through all the print settings in this article.
Related Articles
- Does PLA Need a Heated Bed?
- PLA vs PLA+ – What’s the Difference?
- Does PLA Need to Be Kept Dry?
- Cura Brim Build Plate Adhesion – Everything You Need to Know!
- All About 3D Printer Plastic
Conclusion
White PLA with a low dimensional accuracy of +/-0.03mm is the best filament for printing lithophanes. It needs to be white for the light to shine through. PLA is the easiest filament to work with for most people and is only limited by its low melting temperature. So keep it out of direct sunlight.
The filament needs to be consistently thick all throughout the spool to avoid over-extrusion which is why I suggest those that are rated at +/-03mm. This makes choosing the material easy.
Going through your slicer settings and fine-tuning them according to your specific lithophane is the harder, more time-consuming part of the process. But I think I’ve covered everything you need to get it right.
Make sure you check out our YouTube channel, and if you would like any additional details or have any questions, please leave a comment below or join us on Discord. If you liked this article and want to read others click here.