Vibrations in your printer will not only cause print defects, but it will also create more wear and tear for the printer itself. Stability is crucial for 3D printing.
To control 3D printer vibrations, set the printer up on a solid desk. Reduce the print speed and enable jerk control settings in your slicer. Reinforce the printer gantry and tighten the drive belts. Remove any excessive weight, such as filament, from the printer.
The most common causes of printer vibrations are printing too fast, incorrect jerk settings, and mechanical issues. You should review each of the common causes to figure out which ones are causing your problems. Keep in mind that it may end up being more than one issue causing your problem. The last time I went through troubleshooting this there ended up being three of them.
A common issue encountered by 3D printer hobbyists is ghosting, which is caused by printer vibration and unfortunately, it’s just one of those things you’ll need to understand and know how to fix. I can describe ghosting as “surface defects” or “rings” around your print because of excessive vibrations and is also commonly referred to as ringing.
I’m going to go into each of these in more detail below to help you determine the root cause of your problem and make sure you know how to fix it.
What Causes Vibrations
As stated above, the most common causes of printer vibrations are printing to fast, incorrect jerk settings, and Since fast print speed, incorrect jerk settings, and mechanical issues are the most common problems, I’ll cover those first.
Printing Too Fast
Printing too fast is one of the common causes of printer vibration. This is because when the extruder is moving fast and changing direction the built-up momentum will carry throughout the printer causing it to shake. I’ve seen some printers that actually caused the stand it was sitting on to shake as well. This is less of an issue on some of the higher quality printers with a solid/full frame.
Incorrect Jerk Settings
The jerk settings control how fast the print head comes to a stop when changing directions. If the setting is too high you will see the print head making very sudden movements and possibly shaking the entire printer and the table it’s sitting on (and everything in it). If the setting is to low the print head may be stopped for too long causing unwanted delays and possibly result in print defects.
One thing to note here is that Cura has Jerk Control disabled by default and if it’s not enabled the printer will fall back to the settings defined in the firmware.
Mechanical Issues
Vibrations caused by mechanical issues can be the most annoying to identify and resolve. They can be anything from loose screws to damaged wheels, and everything in between.
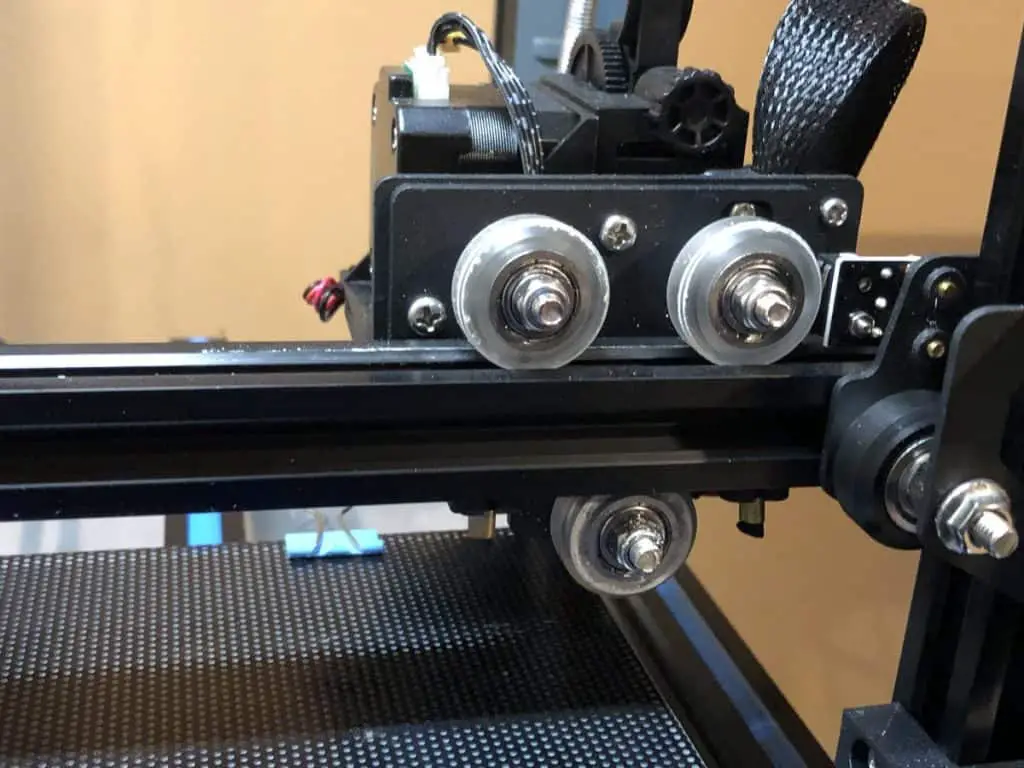
The last printer I purchased actually came with a damaged wheel (see pictures below) and it took me about a solid week of troubleshooting to figure out what was causing the problem. I made the mistake in thinking that since it was new all the parts would be good, that wasn’t the case. It wasn’t until I disabled the stepper motors and started moving the build plate and extruder fixture around that I found the issue.

How to Control Vibrations
Now that we have gone over what the most common causes of printer vibrations are, let’s talk about what we can do to fix them.
Reduce Printer Speed
Since there are so many variations between 3D printer vendors (design, quality, etc.), and sometimes even models, there is really no one size fits all here. Some of the well-built high-quality printers can print faster without issues but you will need to dial the speed back with many of the cheaper ones to get good results.
The manufacturer typically provides recommendations but if they don’t or you are still having issues you can start by reducing the print speed by 5 mm/s and printing a test part until you feel the print is not improving. Once you get to that point, bump the speed back up by 5 mm/s and you will be good to go.
Enable Jerk Control
All 3D printers have default jerk settings configured in their firmware and will fall back to those unless told otherwise. Cura has Jerk Control disabled by default so the default firmware setting is most likely what you are using.
I set the Travel Jerk speed to 30 mm/s and all other jerk control settings to 20 mm/s. This has worked well for me and will probably be a decent starting point for you. If you would like to learn more about jerk settings, check out this article “Cura Jerk Settings: How to Set Them”.
Look for Mechanical Issues
There are a couple of main points on the printer you will want to check out to make sure they are not loose or damaged.
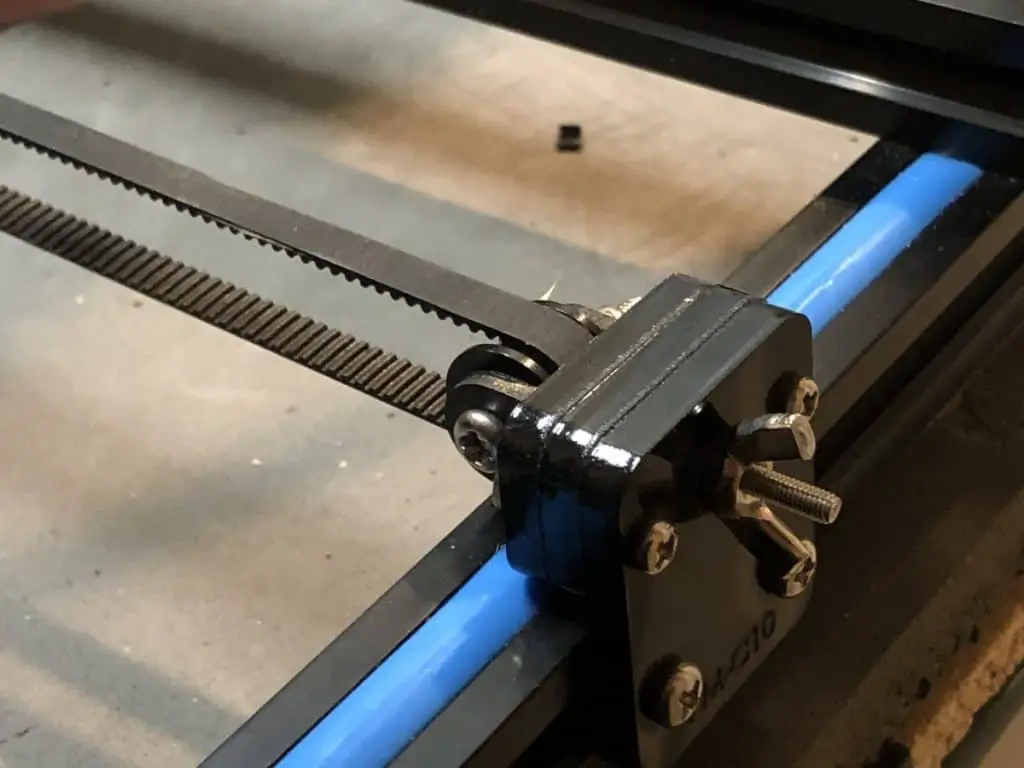
Drive Belts
Take a look at all the belts on your printer to see if any of them feel too loose or too tight. They should be tight enough to provide some resistance but not tight enough that it feels like its pulling the belt pulleys together. The belt can typically be tightened easily, below are pictures of the belt and where you can tighten it. Keep In mind that these were taken from my printer and may be different than yours.
Bolts/Screws
Go through all the bolts/screws that are on your printer to make sure they are tight. Many printers come mostly, or fully, assembled but get banged around in shipping. This can cause the bolts to come loose. You should tighten any loose bolts as you are going.
Wheels
Physically look over all the wheels for any damage. If you don’t see any move on to checking the tracks because that can point out a problem with both the wheels and tracks. If you do end up seeing damage on any of the wheels, they will need to be replaced. I like the clear Creality wheel and you can get the latest price here (Link is to Amazon).
Tracks
Take a look at all the tracks to see if there is any physical damage or anything stuck in them. Any type of nicks or large debris can cause vibrations or print defects. One good way to test this is to disable the stepper motor and move the print head and build plate around to see if everything moves smoothly.
If you are feeling bumps or any type of jumping while moving them you have either something on the track, a damaged track, or a damaged wheel.
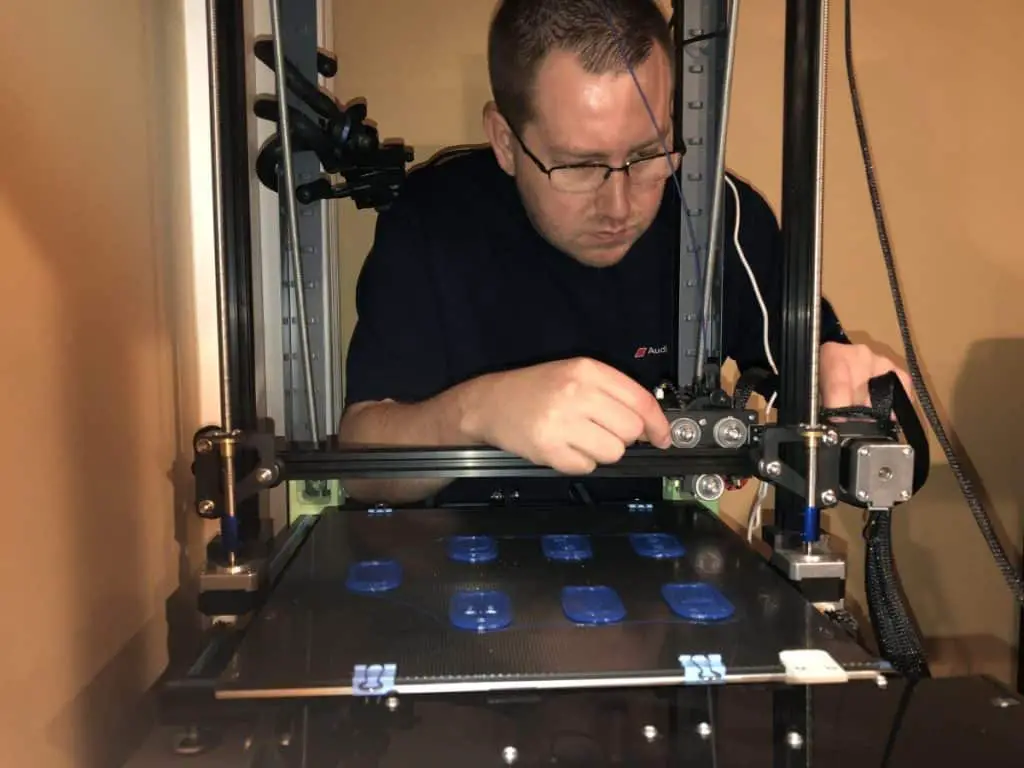
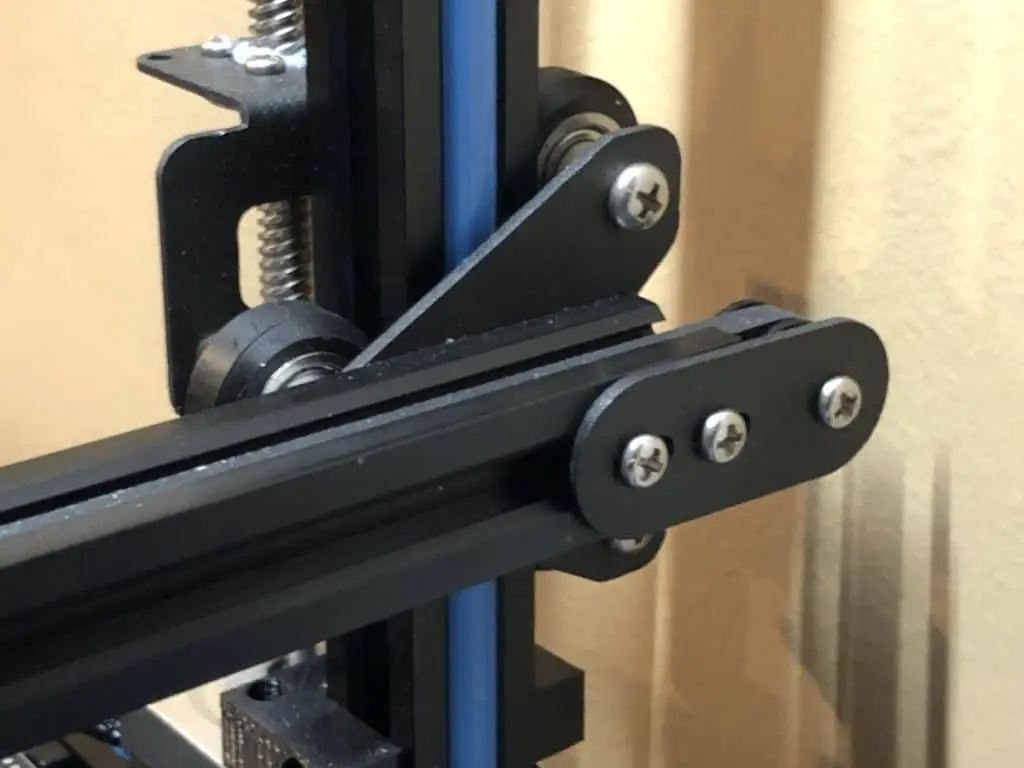
Reinforce the Gantry

One of the bigger issues with the cheaper large build volume printer is they typically don’t have many reinforcements on the gantry. This can cause a lot of vibrations and movement as the print head moves higher on taller prints. I ended up having to reinforce mine, picture below and used this plan from Thingiverse to do it.
Part List (Links are to Amazon)
- 16 – 5mm T-slot nuts
- 16 – M5-0.80 x 12mm Button head socket cap screws, allen head
- 4 – M5-.80 x 12-20mm Button head socket cap screws, allen head *For tapped areas, size varies based on the printer.
- 20 – M5 washers
- 2 – 24″ Lengths of M8 or 5/16″ threaded rod -I picked this up from my local home store to save some money.
Note: the triangle brace was not compatible with my printer and wasn’t used.
Move Filament off the Printer
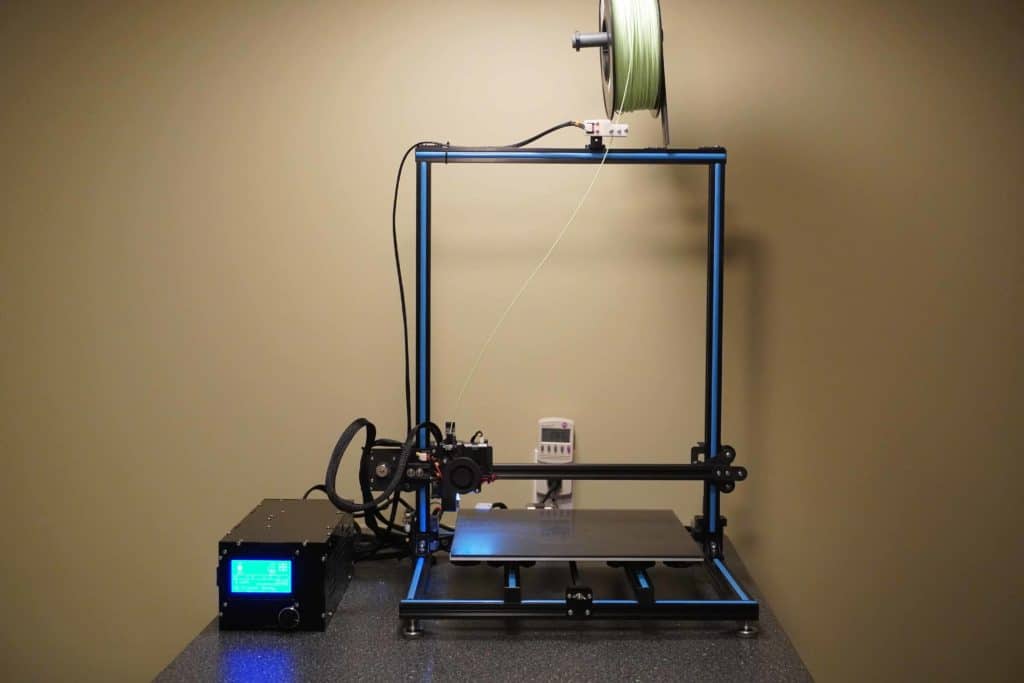
Another common issue I see with some of the larger volume printers is they put the filament roll on top of the gantry. This causes the gantry to move as the printer pulls the filament down to the print head for use. Plus, this is a lot of extra weight just sitting on your printer, a typical roll weighs 1kb (2.2 lbs).
I ended up getting a filament storage box, here is an article I wrote on it and moved it to a shelf above my printer.
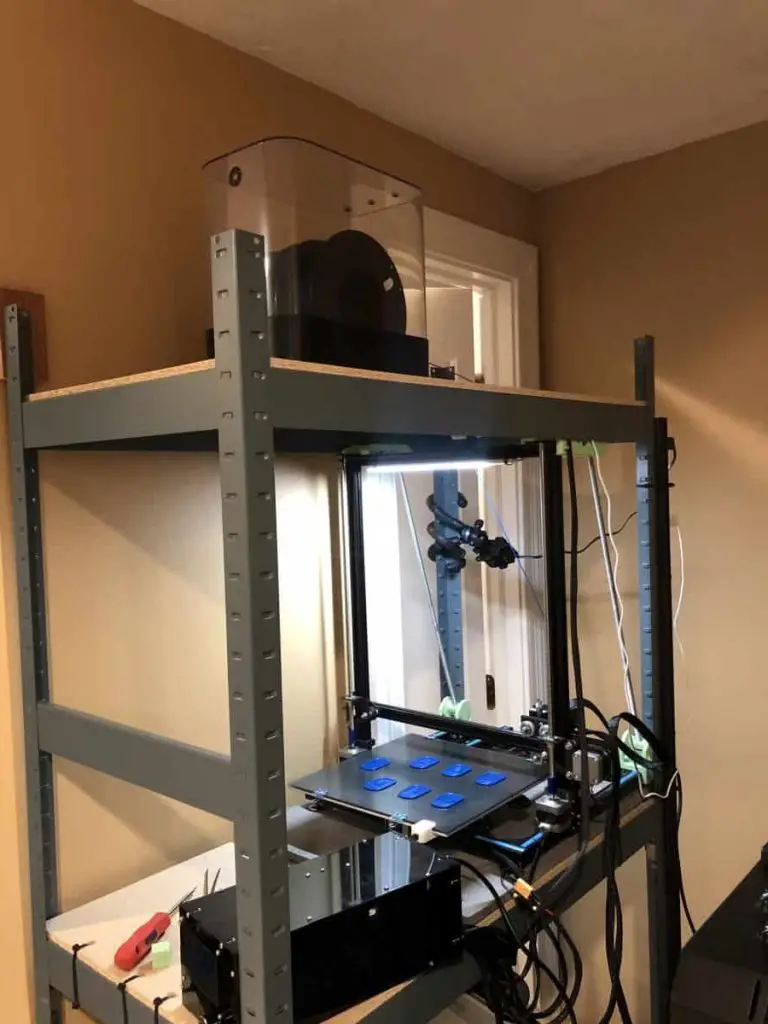
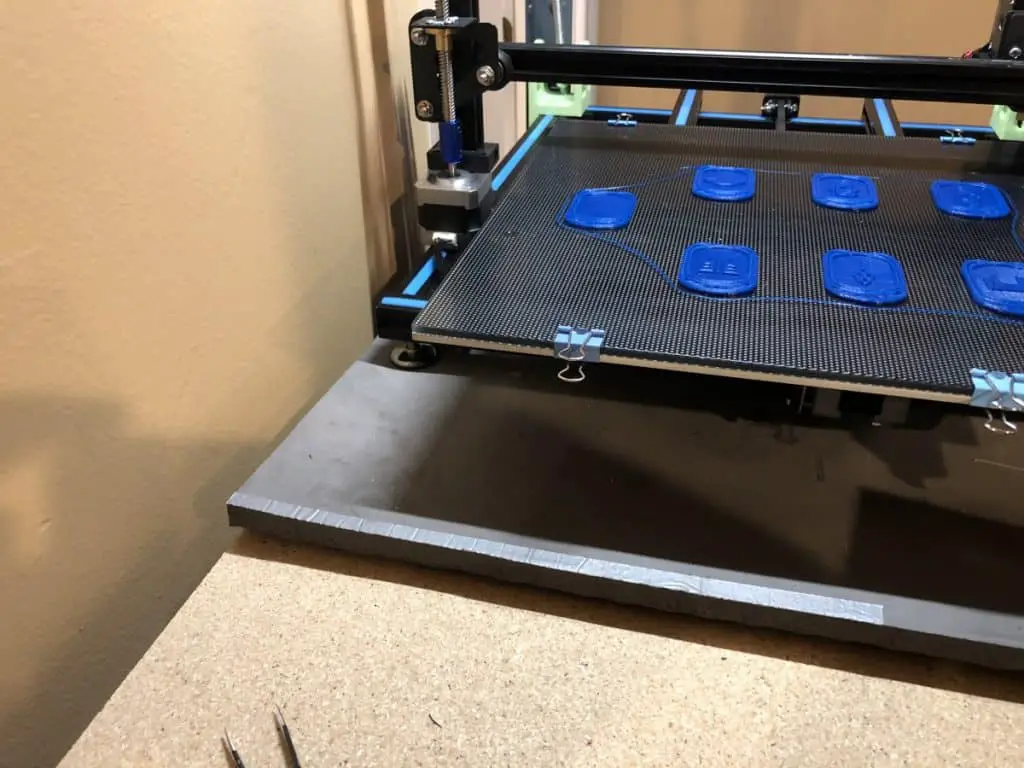
Put the Printer on Foam Pad
Another way to reduce some of the vibrations is to put the printer on a foam pad. This will help absorb some of the movement that would be sent to the stand the printer is sitting on. I had a couple of old exercise mats laying around and cut one to the size of my printer, so it really didn’t cost me anything extra.
Summary
Controlling the vibration caused by your 3d printer will help reduce/eliminate ghosting and reduce the overall noise of the printer. The most common causes of the vibrations are printing too fast, incorrect jerk settings, and mechanical issues. These can be fixed by reducing the printer speed, enabling/adjusting jerk control settings, reinforcing the gantry, tightening the drive belts, looking for any physical defects, and moving any excessive weight off the printer.
Make sure you check out our YouTube channel, and if you would like any additional details or have any questions, please leave a comment below. If you liked this article and want to read others click here.