I’ve been looking at getting a larger 3D printer for a while now and just pulled the trigger on the ADIMLab Gantry Pro on Amazon. I’m very excited about this purchase and wanted to give you guys an overview of the unboxing and my initial thoughts of the printer. I will be posting more details on this printer in later posts as well as uploading time-lapse videos to my YouTube channel.
Packaging
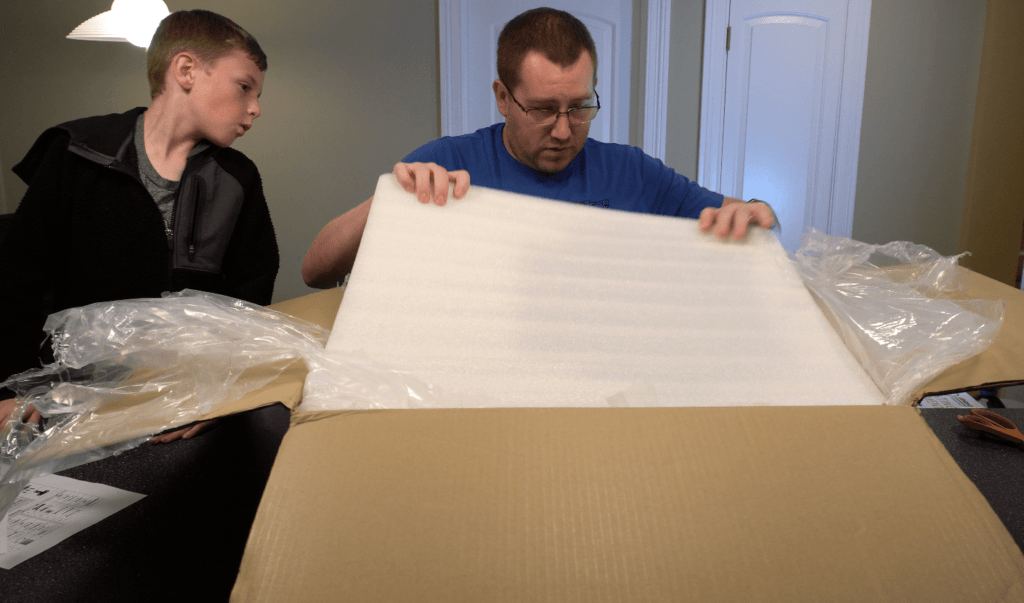
The printer was shipped in a generic-looking box, which threw me off at first given the cost, but the more I thought about it the more I was ok with it. The printer was delivered while I was at work so it sat outside for several hours. I live in a good area but this still concerns me because you never know who may see the delivery and try to take it, especially if it was in a flashy box. The box was also quite large and heavy, coming in at 25.2x23x8.7 and 27.5lbs, but hey it’s a large printer so can’t complain there.
Overall the packaging was very good, actually probably one of the best I’ve seen in a while. The sides were reinforced with wood and every part of the printer was secured in foam. These printers are shipped from China so the extra packaging was really needed.
In the Box
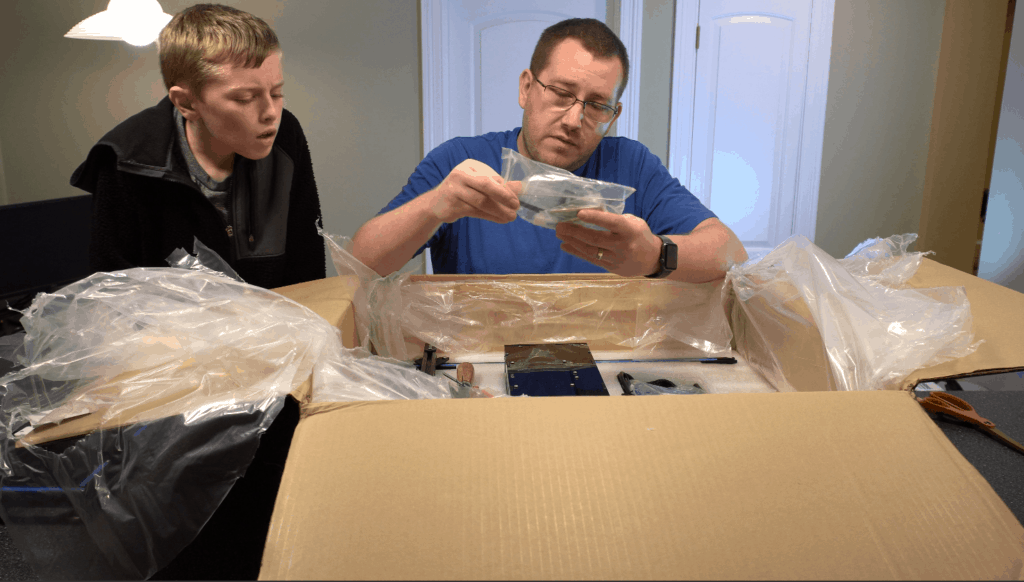
- Here is a quick list of the items that came with the printer.
- Partly assembled printer body
- Extruder with .4mm nozzle
- Control box with built-in power supply
- Power cable
- Heated print bed with glass printing bed
- Generic USB 2.0 SD card reader
- Generic 4GB SD card loaded with printer resources
- USB cable
- Test PLA filament (White, no spool)
- Misc tools
Quality
Materials
The materials all seemed to be of decent quality. Nothing really stood out as being “high end” but nothing felt cheap either. I have no complaints about the quality of any of the materials.
Cabling
All the cables coming out of the control box are of adequate length and shielded. All the connectors worked without a problem, which says a lot based on some of the products I have ordered from overseas.
Frame
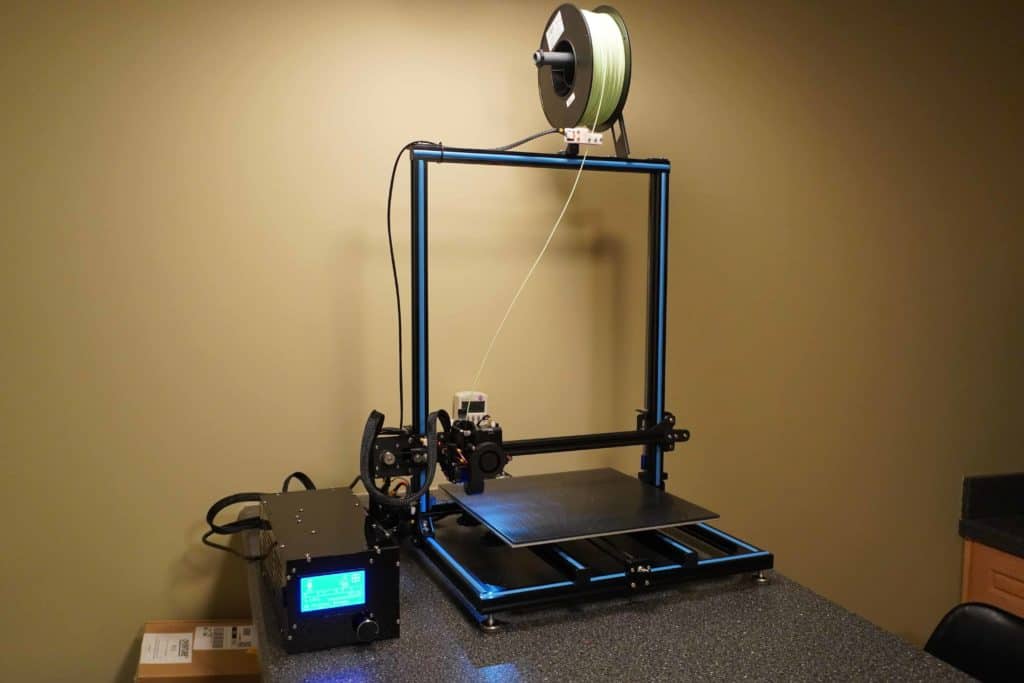
The frame is made out of standard 20/20 aluminum extrusion which works but I would have liked to see it thicker on the gantry. ADILab added blue plastic sheets to the frame to give it a nice pop, my son loved the color. The printer/frame is quite large so make sure you have a large enough space to set it up at, more info on stand options to come.
Bed
The bed is made up of two parts, heat plate and glass. The heated bed is where the heating element is connected to and is made out of aluminum, overall it seems to be good quality. The glass bed sites on top of the heated bed. It’s made of premium glass and looks cool as well.
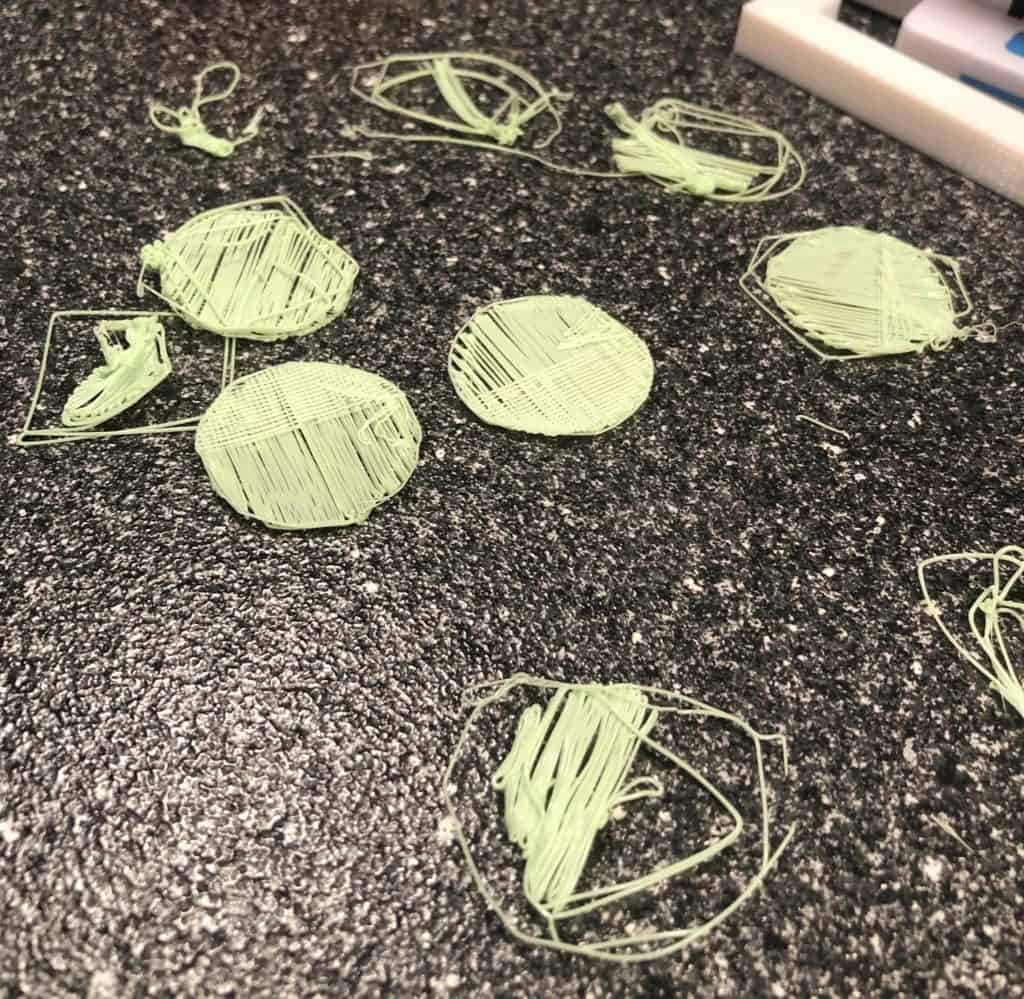
*Note: The printer didn’t come with any glue for the bed which is really needed, well glue or another adhesive option. I did try a couple of prints without any glue and the filament won’t stick to the glass at all and it ended up just being a failure. Fortunately, it failed quickly so it didn’t cost me much time or filament. I ended up using hair spray until the Bed Weld Glue I ordered came in.
Control Box
The control box is made out of ¼” black acrylic and has a 3” LCD screen, SD card reader, and power supply. This type of setup seems to be pretty standard for 3D printers and everything has been working without any issues. My only complaint is that the power supply seems to be low quality and is very light. I’ve done a couple of prints on this so far without an issue but I will be keeping an eye on the power supply.
*Note: Make sure you select/verify the proper voltage as it works with 110 and 220 voltages but ships on the 220-volt setting. I’ve seen cheap power supplies plugged into the wrong voltage outlets and it’s not pretty, it typically fries the power supply and trips the breaker.
Accessories
The printer came with a couple of miscellaneous tools to get you started but I recommend you purchase something to clean the glass bed and a good filament. The test filament it came with is ok for testing but you won’t get many runs out of it and the thickness didn’t seem to be consistent. I will do another post on recommended access soon and link it to here.
Assembly
Instructions
This is where things started to get interesting. The instructions that were in the box were very difficult to read and follow, I actually ended up mounting the frame backward the first time (don’t tell anyone 🙂 ). I found out afterward that a better set of instructions were provided on Amazon.
So if you just purchased this printer I highly recommend you go download the PDFs available on Amazon (they are free). Overall the assembly was not difficult as it was partly assembled before shipping but I would recommend you using a good screwdriver. The printer came with a small screwdriver but with the grease from some of the mechanics on my hands I had a hard time keeping a good grip on it.
I spent a little over 30 minutes setting the printer up which is higher than the advertised setup time… I don’t know if I was just taking my time or if the advertised time of 10-20 minutes was for someone who has set one up before. Either way, 30 minutes for assembly isn’t bad.
Leveling
The bed is not auto leveling but the leaving process wasn’t difficult. The manual leveling process has you adjusting the height of the bed at 5 points with a standard sheet of paper. You want to adjust the height so that the piece of paper barely scrapes when going under the extruder tip.
The adjustments are made with knobs that are under the heating bed. I recommend you go through the process at least three times because little adjustments at each side can counter adjustments made at the other side.
Conclusion
Overall I think the ADIMLab Gantry Pro was packaged quite well and is a decent quality printer, especially for the price. I know there are better quality printers on the market but this one can print objects up to 12x12x16 and only cost $379 at the time of this writing.
I’ve seen other printers that are similar size in the same price range so make sure to do your own research and get the printer that makes the most sense to you just make sure whatever printer you end up getting has a large community in case you need any help.
That said, I’m happy with my purchase and would recommend this printer to anyone looking for a larger 3D printer and is willing to spend some extra time fine-tuning everything. If you’re just looking for a printer that will work perfectly out of the box, this is not the printer for you.
Make sure you check out our YouTube channel, and if you would like any additional details or have any questions, please leave a comment below. If you liked this article and want to read others click here.
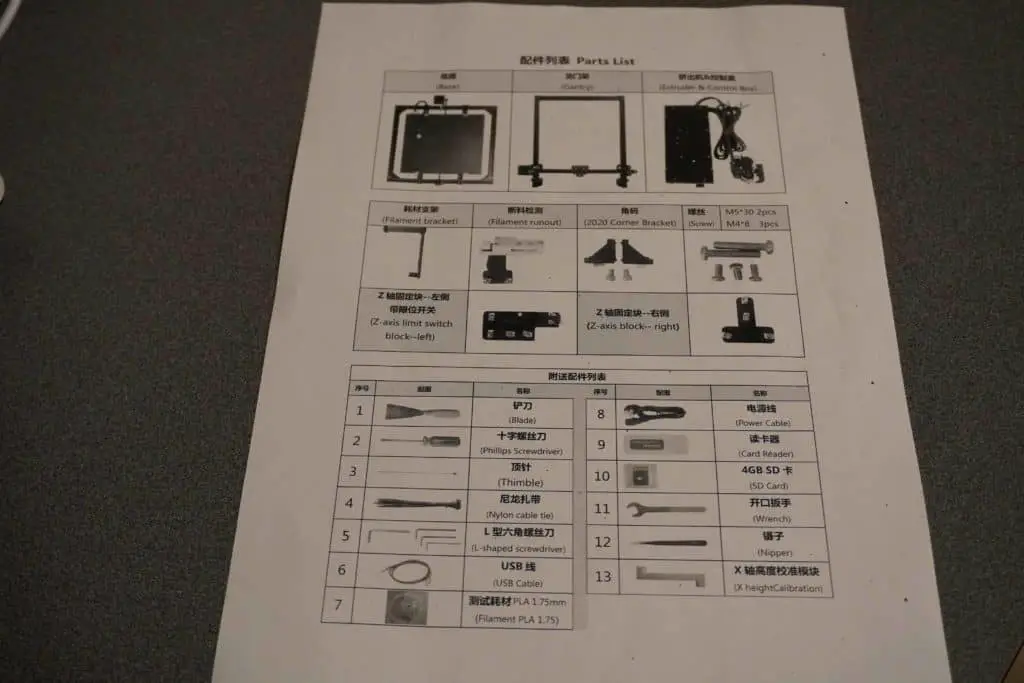
If possible, could I get a larger copy of the parts list? I’ve gotten the Gantry Pro from a friend and it’s missing some of the nuts/bolts for mounting the spool holder/filament detector.
I don’t have a full list of every part on the printer and don’t have this printer anymore to check. Is there something in particular that your trying to find out? I can try to look for the information for you.