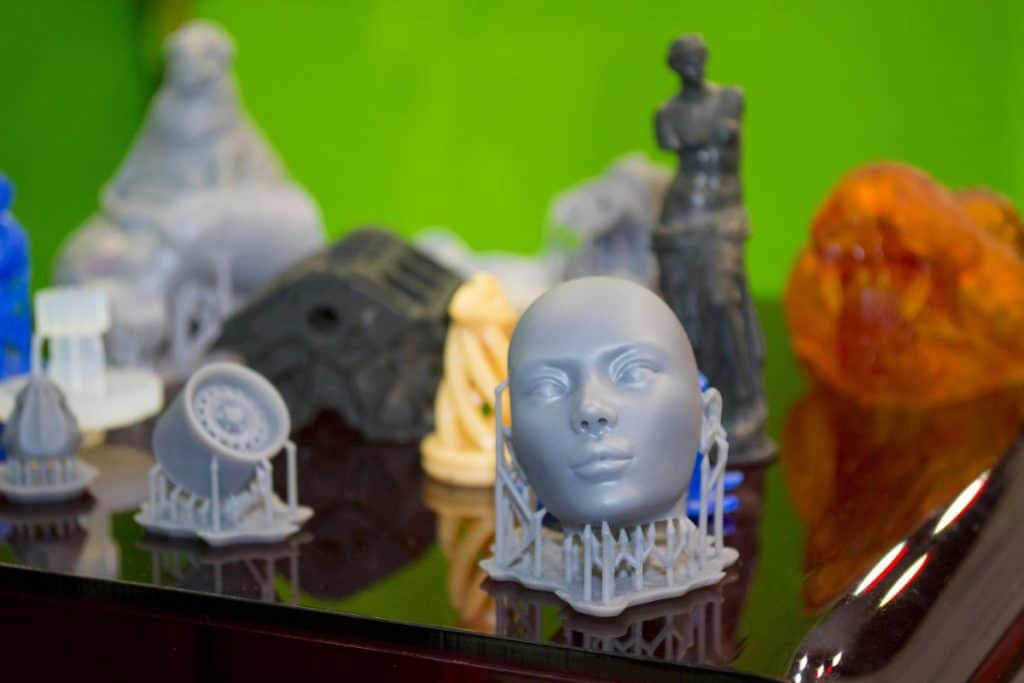
3D printers are used to print small and miniature objects, using resin as the primary material. One of the qualities of resin is flexibility, which becomes brittle if not worked properly. However, other factors can make your printed resin model more fragile than expected.
Leaving the resin in the IPA for too long and too much exposure to UV lights are the two principal causes of weak resin 3D prints. Isopropyl alcohol can weaken the mix if you use it for more than 3 minutes, and UV lights should be used just to solidify your project.
If you want to know about: why the resin becomes more brittle than average, how long a resin must cure to solidify it without damaging it, or how we can make our 3D printing more durable, keep on reading this article.
Are Resin 3D Prints Brittle?
Resin is not precisely known for its hardness. However, other factors can provoke some resin to be more brittle than others. The main reason that resin is more brittle is because of its formula. Cheaper resins are usually less durable and tend to break easier. However, some factors are external to the resin’s own qualities and can be avoided and reduced, for example:
UV lights
Continuous exposure to UV lights weakens the resin. If you over-cure your resin, you take away its flexibility. Also, a long time in the sun can be a cause of its weakness. Suppose the resin model is left in the sun or in contact with some UV light. In that case, curing the resin will continue, and it will over-dry the project.
Airy environment
You should keep your resin project away from dry air in the environment where it is stored. Dryness tends to degrade the resin and reduce its flexibility, making it more fragile.
A cold environment
As dryness in the air causes resin to dry out and become more rigid, so does the cold.
How Long Should I Cure My Resin To Prevent It From Becoming Brittle?
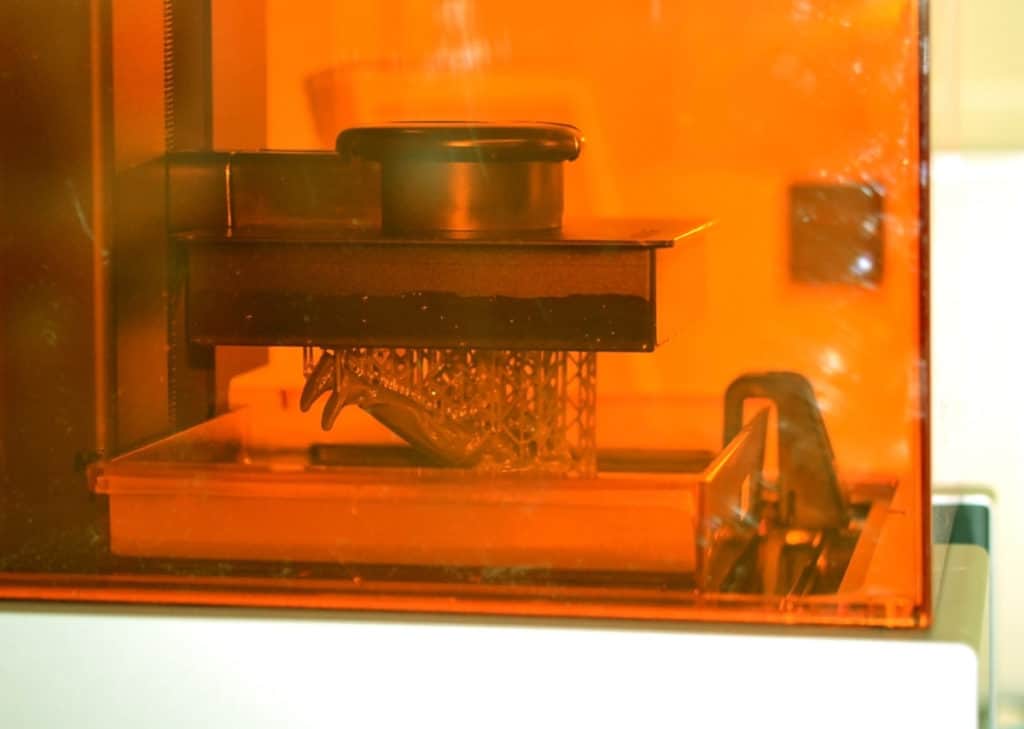
Even if the resin models come out of the printer solid, they probably won’t stay that way. That is why the project needs to be cured after it is ready. This step is essential to solidify the printed model. It is a fundamental step to give strength and stability to your print. However, over-curing can cause just the opposite.
The time you should allow to cure your model will depend on the size of the impression, the material, and the form of curing you have available. Small resin prints should take no more than 30 minutes, and larger models may take up to an hour.
If you are going to cure your model with sunlight, it is best to leave it in a container with water. This way, the water will heat all parts of the print equally. Keep in mind that this method may take longer, but keep an eye on your resin model to prevent it from deteriorating.
How To Make Your Resin 3D Prints More Durable?
Although brittleness is a quality of the resin, there are things we can do to increase its durability and, at the same time, improve the life of the project carried out:
Use UV light protectors
To protect our models from UV lights in the long term, we can cover the resin with paint or UV blockers. In this way, we give a layer of security to the project to prevent it from breaking. You can even buy a resin that is already painted since the layer of paint will give extra protection to the 3D resin model.
Remember that UV lights can be obtained artificially, with equipment and machinery, or naturally, like sunlight.
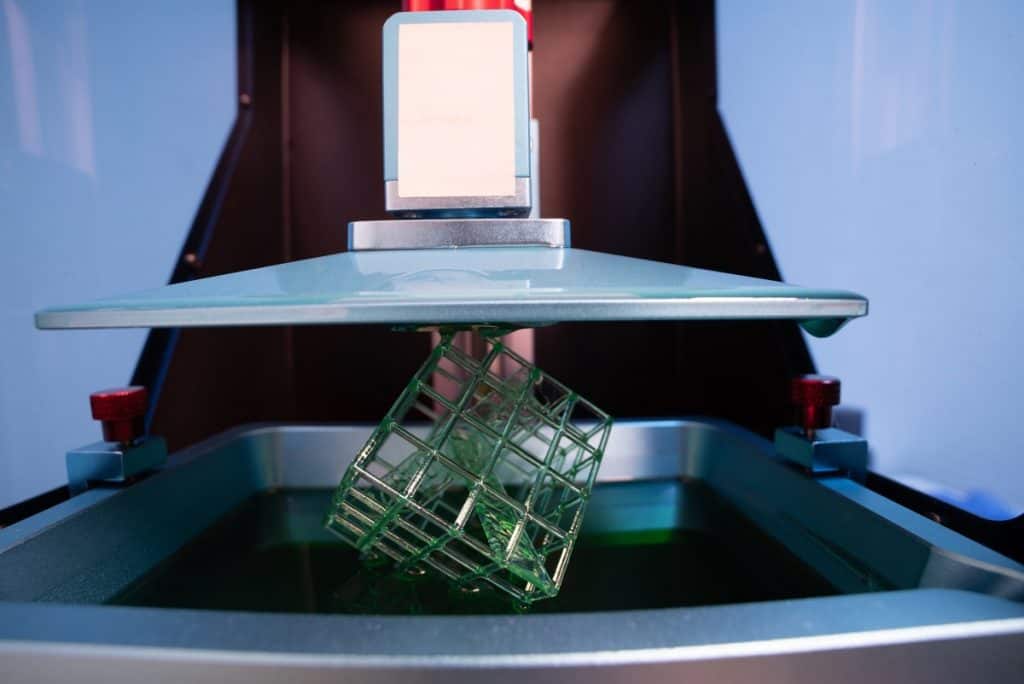
Limit your exposure to isopropyl alcohol
Once you’ve printed your model in resin, isopropyl alcohol helps clean it before curing your print. However, try not to exceed the cleaning time of two or three minutes because the alcohol will deteriorate the resin if it is left for too long.
If you want a better cleaning, fill two containers with isopropyl alcohol and proceed to do it in two steps. First, submerge the printed model in a container to clean the uncured parts. Then dip your project in the second container to reach the areas more difficult for your impression. In this way, you prevent your printed resin model from becoming sticky and, at the same time, prevent it from becoming more brittle.
Make your models hollow
Designing your print models hollow and thinly layered has several advantages. First, it reduces the shrinkage effect, which gives the finished project a neater appearance. When the print contracts, fine horizontal lines are created that were not intended in the design. Apart from improving the quality of printing, it reduces resin costs since a lesser quantity is used. The less resin used, the lower the model shrinkage and the lower the project cost.
Properly check the settings of your printer
Every project and type of resin is different, so check the configuration of your 3D printer when you start a new model. In some cases, incorrect exposure and speed choices can result in the model having an unpleasant finish. Additionally, it can cause cracks in the project.
Research the resin you are going to work with to get the most out of it. However, you may need to do some testing to determine what the best settings are for the resin you are working on or for the job you are doing.
How To Fix a Broken Resin Model?
If you couldn’t avoid your printed resin model becoming brittle and it broke or cracked, here are a couple of steps to fix it:
Apply resin to the parts that broke
With great care and a toothpick or an equally thin and small object, apply a little resin to both surfaces that you want to rejoin. Make sure it is the same resin that you used to print the model.
The applied resin must be a thin layer because if not, it can come out through the crack, and it would not be a smooth surface.
Cure the model in a UV light
With the necessary protection, take both ends of the model and hold it under a UV light to harden the resin you applied. Avoid curing it for more than a minute, as it can embrittle resin that is already dry and solidified.
Fix the cracks of your resin 3D printing
To fill in the cracks, it is the same process, but you must be more careful. With a finely pointed object, fill in the gap as needed. Take care not to spill resin on your model, as it can lower the quality of your project and look lumpy.
How To Work With Resin Safely
It is important to work the resin with adequate safety. If you are not careful, you can develop unwanted health problems, even if they are not seen when you start using the resin. For example, in the long term, some type of allergy can develop, and it would not be related to the resin of the 3D printer for the time it has been used.
Therefore, basic precautions are essential when handling the resin:
- Work with a pair of thick gloves on.
- Make sure to handle the resin in an area that has ventilation.
- Avoid that children and pets have direct contact with the material.
Related Articles
- How Hard Is It To Learn 3D Printing?
- SLA Printer Resins
- Resin Printer Speed: What You Need to Know
- SLA Printer Safety
Conclusion
Although resin is a brittle material by nature, it can be improved to increase its life and durability. Don’t be afraid to try different techniques, resins, or settings to get the result you want. Resin 3D printing usually takes a long time to complete, so make your work last!
Make sure you check out our YouTube channel, and if you would like any additional details or have any questions, please leave a comment below or join us on Discord. If you liked this article and want to read others click here.