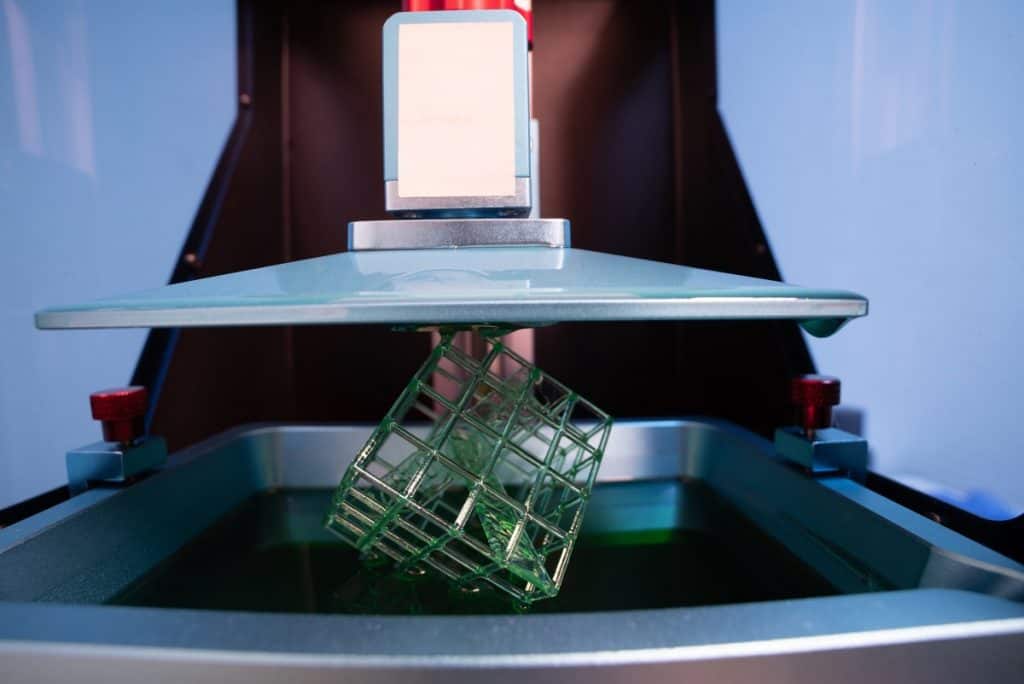
UV resin can be classified as a polymer that cures with UV light, making it flexible and having incredible resistance to chemicals, water, and UV rays. Whether you want to use it for your professional or artistic projects, it can be extremely beneficial, but on the other hand, sometimes you might come across a sticky outer layer after curing. Why does this happen?
When UV resin is cured, it might feel tacky to touch because it contains leftover residual solvents from the manufacturing process. It evaporates as time goes on but usually disappears after 24 hours of curing. This occurrence can often be referred to as “oxygen inhibition” and is the main reason why this happens.
Although this issue is often resolved, there are some cases in which this gooey texture may persist and might indicate that something else is going on with your product. This article will focus on covering this topic more in-depth, what are the main causes, how to fix it, what you can do in these cases, and much more information to get the utmost professional result.
What Is UV Resin?
Before discovering the main causes of sticky UV resins after curing, it is important to understand how this type of polymer differs from the rest and the proper curing it deserves.
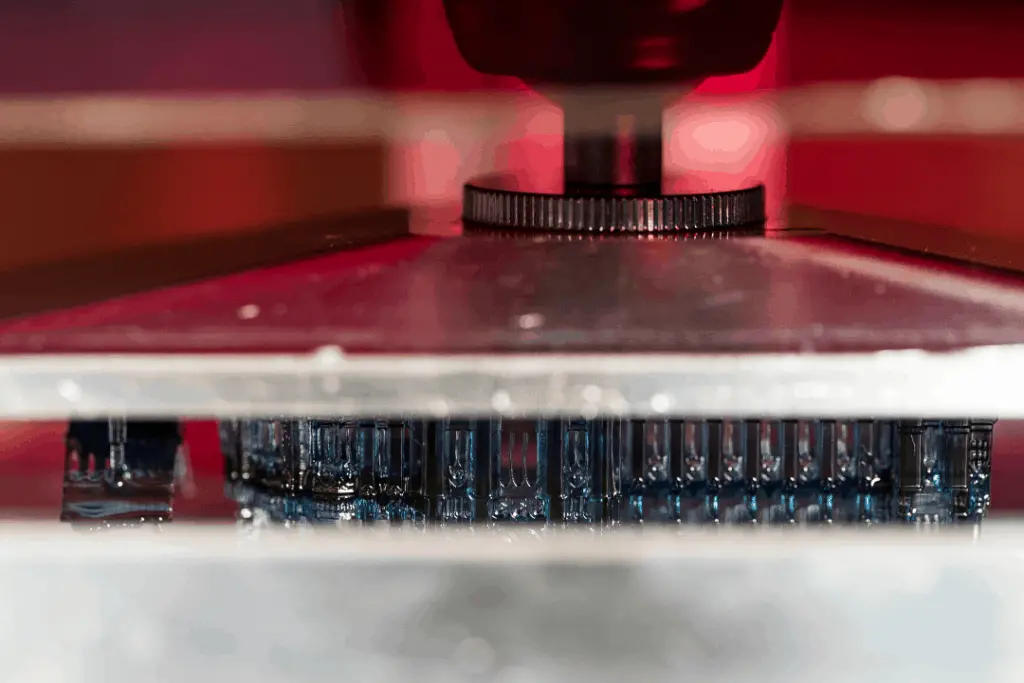
UV Resin is a UV light-activated product that cures into an incredibly strong and solid plastic once exposed to UV Light. It hardens over an incredibly short time using a UV Lamp. The best thing about using this type of polymer is that there’s no mixing involved, but it can be one of the most expensive options on the market compared to the wide varieties of substances that can be used for a specific motive.
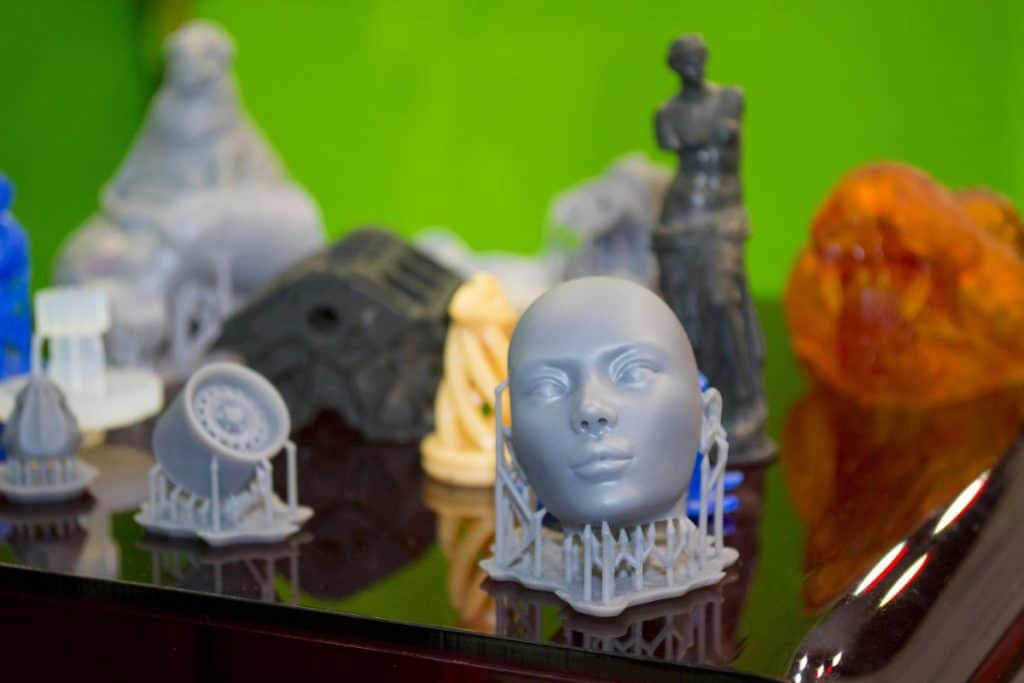
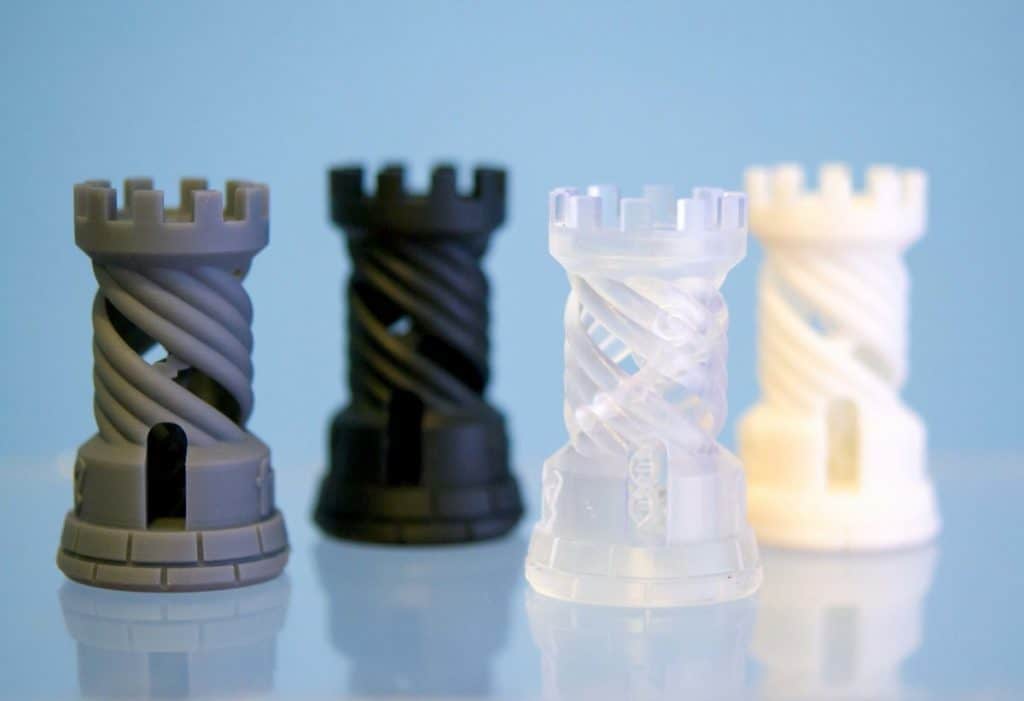
As we already mentioned, it can be used for different purposes such as: creating Dental appliances, Bottle caps and closures, Dental Crowns, industrial material used for bonding or coating, and Bridges Jewelry parts, to name a few.
This process takes place in two stages:
In the first stage, a UV light is directed towards the resin in order to “initiate” or start polymerizing. The second part, it’s placed right on top of where you’ve spread your UV resin.
Even though it sounds pretty easy, curing resin takes practice and experience.
Advantages and Disadvantages of Using UV Resin
Resin is extremely versatile, meaning that it can be used for several purposes.
UV resin is great to use in the dental industry and in other areas such as jewelry making, industrial adhesives/packaging/bonding, crafts, and graphic arts; in the automotive field and the industrial sector is one of the largest applications over the years.
Regardless of its incredible implementations in recent times across various fields, it has its advantages and disadvantages, which we will be listing.
Advantages
- The UV resin cures faster, in a period between a couple of seconds and minutes, compared to a two-part resin.
- There’s no need to mix the resin’s components which saves uptime.
- The polymer can be easily manageable, and there’s no need to stress about the process since the material only cures with UV light.
Disadvantages
- Not reliable and doesn’t last past six months after curing.
- Usually tend to be high-priced in comparison to regular epoxy resin.
- While working with UV resin, you need to work using thin layers and curing for every 3 mm coating applied. This means, in other words, the procedure can be tedious and time-consuming.
- You need a special UV light lamp to cure it since sometimes direct sunlight is not reliable.
Causes of Sticky UV Resin After Curing
Sometimes when working with UV resin, you might end up with a tacky outer layer after curing.
UV resin is UV sensitive, so it reacts with UV light during the curing process.
If you don’t use a UV lamp or sunlight to cure your material properly, the chances are high that an outer layer might remain tacky after curing.
This is why it is essential to work in thin layers and apply UV light to every coat used.
There are different causes of resin being tacky, but the main reason for this happening is improper application of UV light to cure every single layer applied.
Another reason why this might occur is due to a phenomenon called “oxygen inhibition.” UV resin can be inhibited by oxygen during the curing process.
This is because the UV light air bonds interact with oxygen molecules and limit how much UV energy can penetrate deeper into the material, which will prematurely finish your coating if not enough UV reaches deeper layers. Oxygen inhibition might also cause a sticky residue at first because there was too little UV used for proper application.
Even though this happens every time free radical polymerization is present, there are other factors to consider, such as the ability of a UV resin to cure with a dry finish solely dependent on the coating formulation and the wavelength power of the UV light.
UV lamps with a long wavelength power should be used for resins in order to cure the surface and leave no residue. They are best applied when they have already been properly mixed and stirred, at least until there is an even color distribution throughout (no streaks).
Using UV resin in its raw form without any mixing involved will cause the polymer with a short wavelength power to cure sticky, as it needs more time and heat from the UV light source for full curing. If this is not enough long exposure to the radiation, then some tackiness may be left behind after applying to the surface of an object.
In order to overcome these stickiness issues with your UV resin, you need to consider the following:
- The heat being generated by the UV lamp.
- Its exposure time and coating formulation.
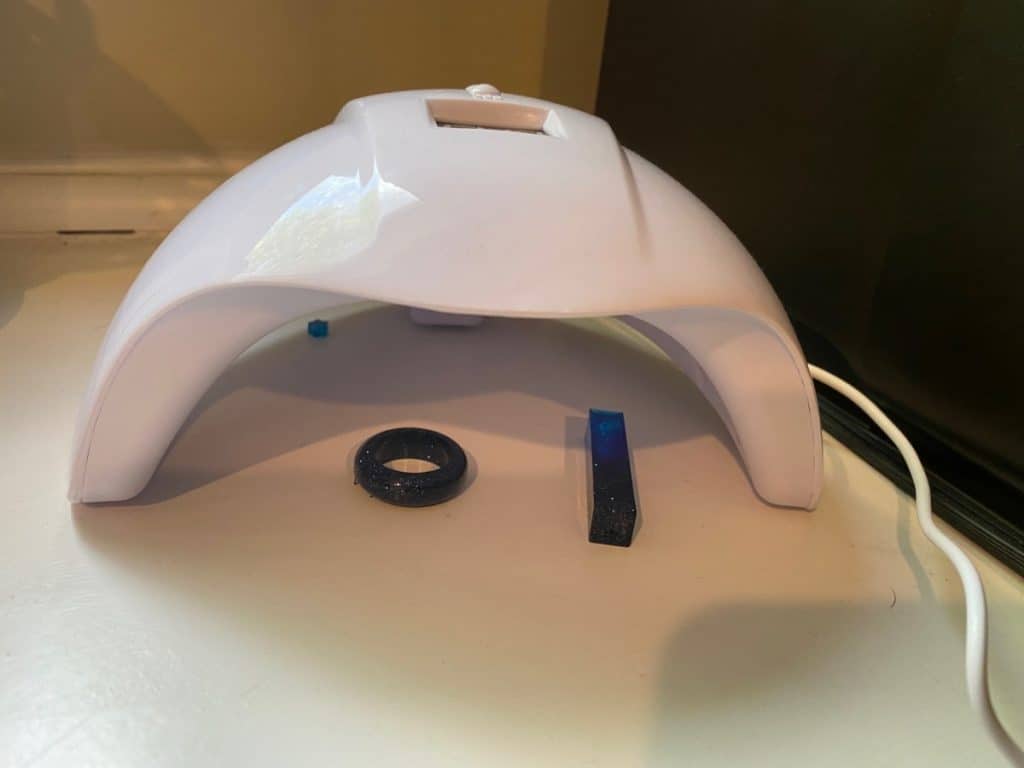
- UV lamp intensity needs to be at least 4 watts to cure, and a Longwave UV which is the most useful type for curing UV resin as it penetrates deeper into the object being painted or coated with UV.
How Do You Fix Tacky UV Resin?
As stated earlier in the article, sometimes UV resin can end up feeling tacky after curing. In order to fix this, you should consider the heat being created, duration, and UV lamp intensity.
In addition to these factors, if your UV resin still has tackiness issues once fully cured, then there are a few things you can do:
- You can sand off the sticky resin if the entire surface is tacky, and you will have as a result, a UV resin with a matte finish.
- If it feels like adhesive, you can recoat with another layer of the polymer and hardener.
- You can also use light coats of acrylic or gloss sealer spray to seal the sticky surface.
- For smaller spots, you can use a resin spray which can help with giving a glossy finish.
How To Prevent Tacky UV Resin?
There are various ways you can avoid sticky UV resin after curing, and here’s how:
- Measuring the resin and hardener correctly: needs to be the exact ratio.
- Mixing the polymer well or using old resin.
- Pay attention to moisture or humidity, which can contribute to the resin’s result after being cured.
- Using a powerful UV lamp with stronger watts.
- Cure the resin for a little bit longer, and you can finish it off by placing it in the sun to make sure that it is completely dry. It should take between fifteen to twenty minutes, but it is suggested to give it rest for at least three days.
Related Articles
- Why Are My Resin 3D Prints So Brittle?
- SLA Printer Resins
- Choosing SLA Printer Resin
- Resin Printer Speed: What You Need to Know
- How Long Does It Take For UV To Cure Resin?
Conclusion
After reviewing this topic more in-depth, it can be concluded that the reason why UV resin is sticky after curing can be attributed to certain factors like UV light, humidity, and how well you mix your ingredients together.
If possible, make sure to cure your UV resin for a little bit longer if it isn’t completely dry before using or further processing. When properly dried, the polymer gives off that glossy finish that everyone desires while also being more durable and professional-looking.
Make sure you check out our YouTube channel, and if you would like any additional details or have any questions, please leave a comment below. If you liked this article and want to read others click here.