The TwoTrees Sk1 is a new 3D printer on the market with a lot to offer. I’ll walk you through the unboxing, basic setup, calibration, and first print.
The TwoTrees SK1 is a high-speed printer capable of printing at 700mm/s if your filament can handle it. It can accelerate at 20000mm/s² and a flow of 32mm³/s. The design is a core X and Y-axis frame with the z-axis going down instead of up which is more reliable and stable.
The reason it can print so fast is because it has rails for the axis to allow for quick and accurate movement. With most PLA filament, I’d suggest trying around 300mm/s at first and seeing how it goes from there. Here’s some high-speed PLA you can print up to 600mm/s with.
One of my favorite features of this printer is that Klipper comes preinstalled, more on that later.
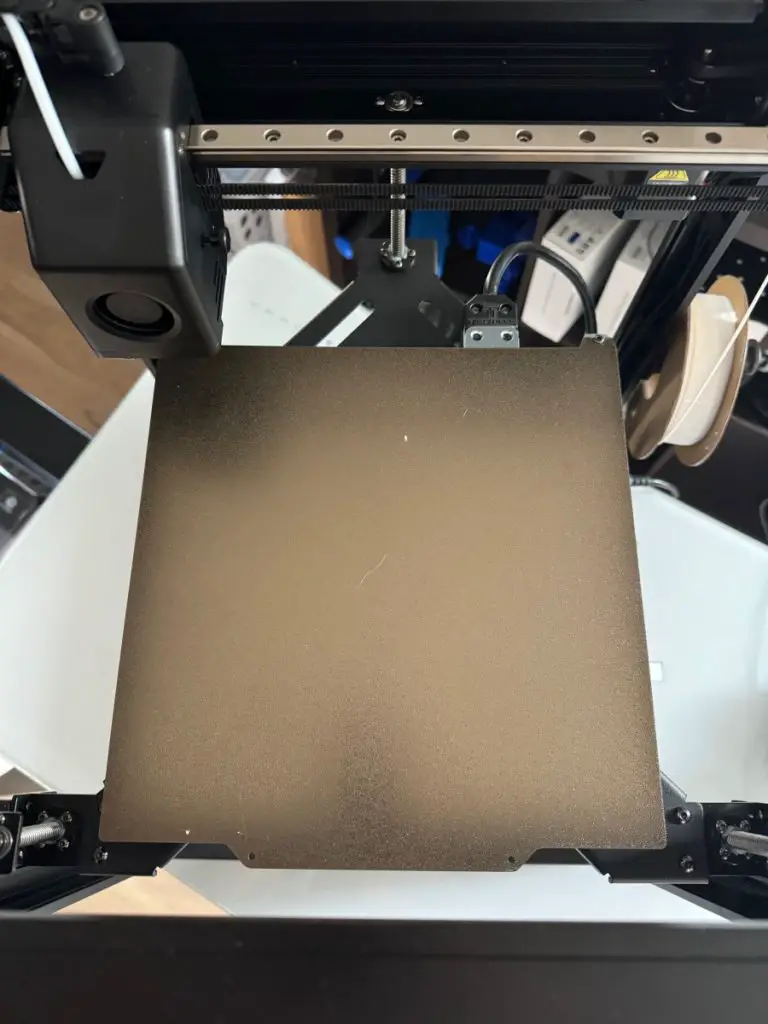
The build volume is 256 X 256 X 256mm which is a good size considering the printer doesn’t take up a large footprint, it’s nice and compact and uses the space very well.
In terms of shipping, everything made it to me in good order. They secure and protect it very well for transportation.
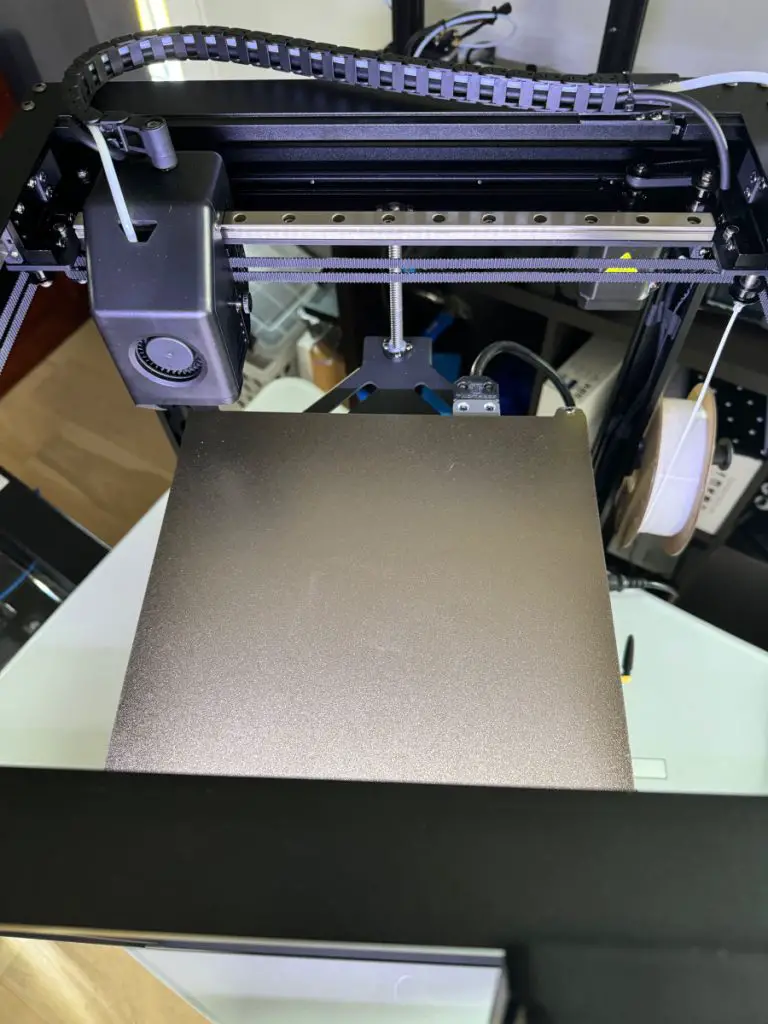
Looking closer, they have used high-quality components for all the parts of the printer. It’s a direct drive out of the box, as well as having an auto bed leveling system built in, called Z-Tilt Leveling which uses a 36-point (6X6) grid by default. This can take a while for the printer to go through but it makes things perfectly level in the end. Besides, the speed of the printer will always make up for the leveling time.
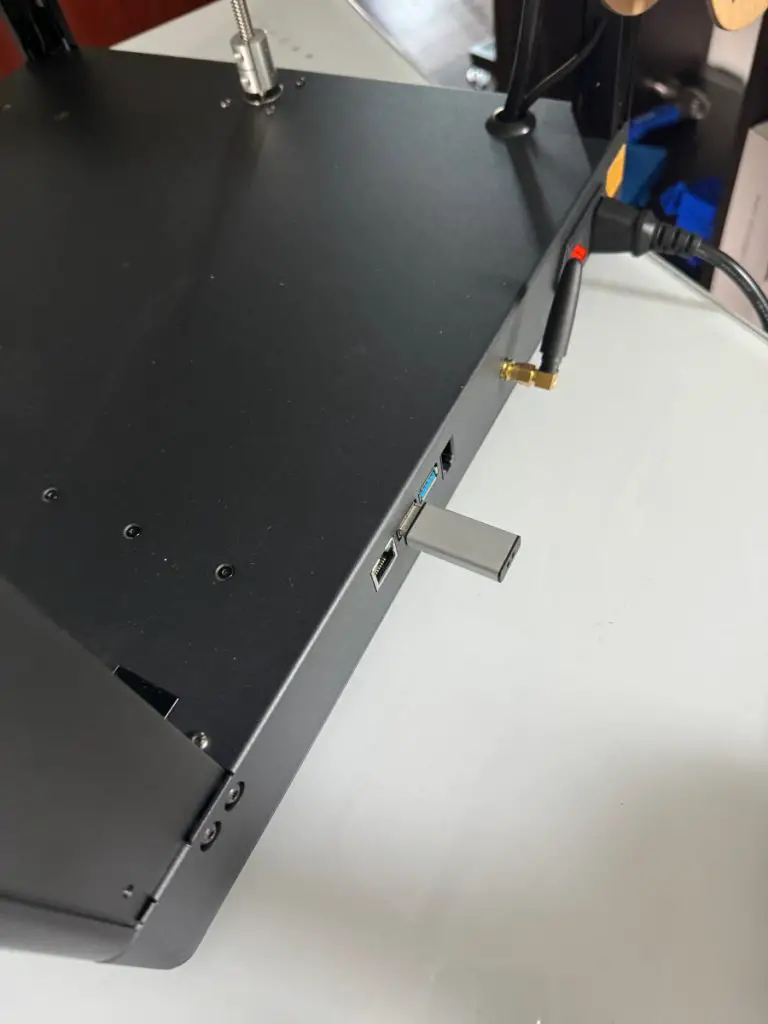
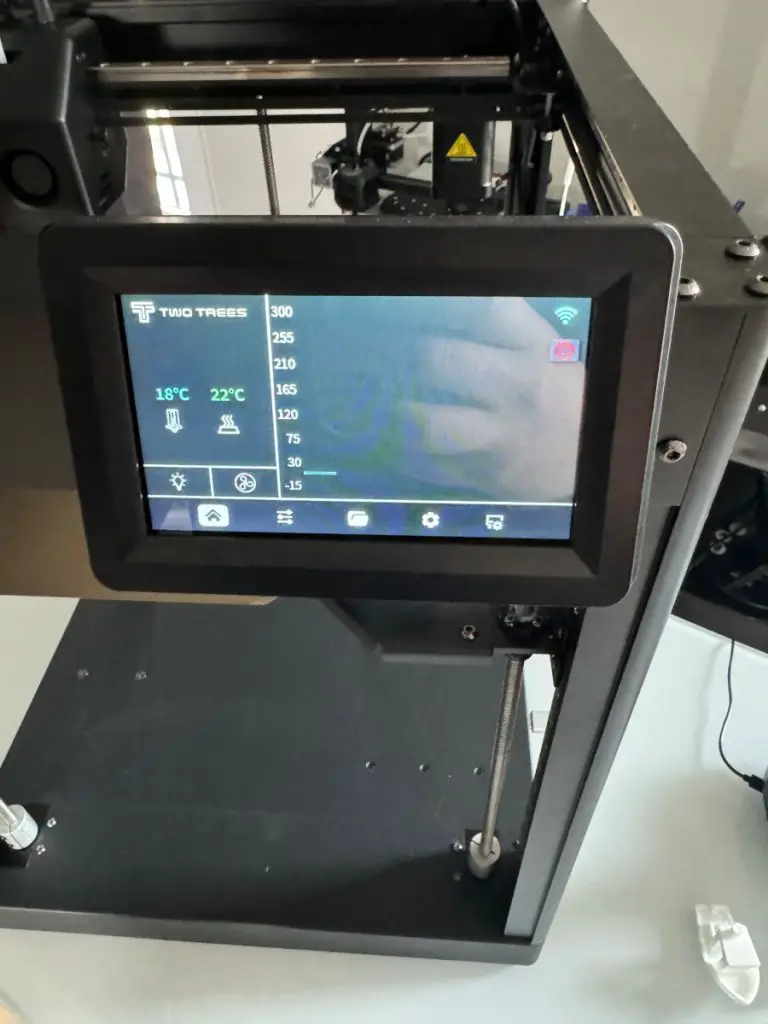
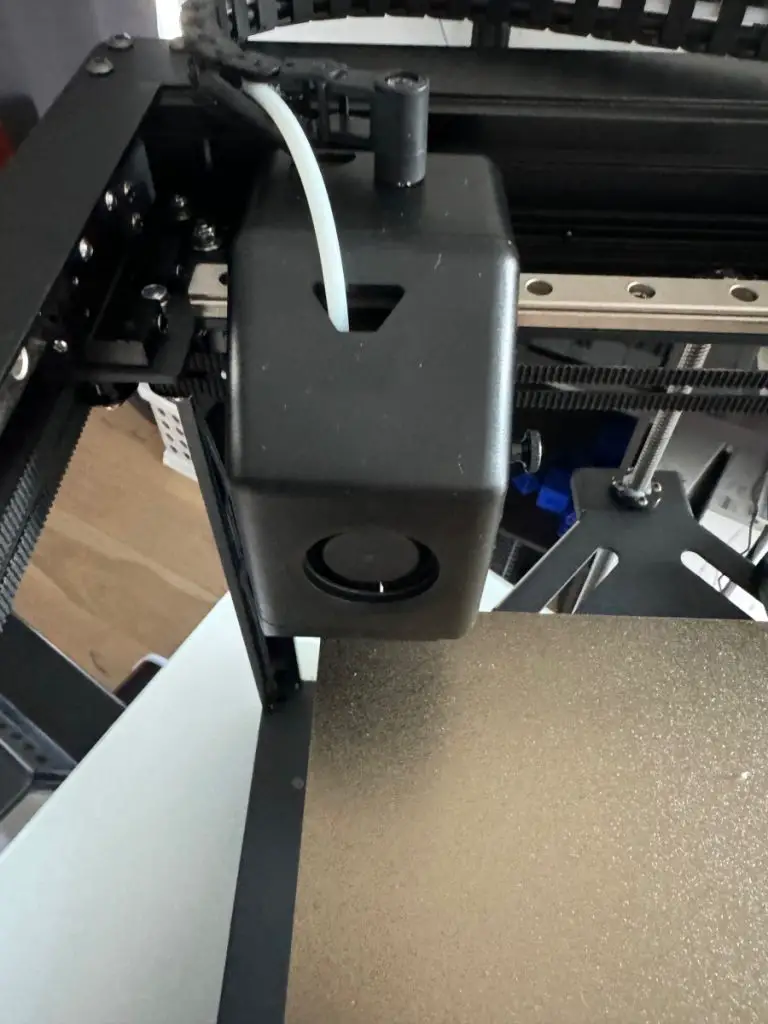
It has built-in Wi-Fi and an all-steel hotend that can handle temperatures up to 300°. The cooling is set up well as the fans are directed towards the hotend and there’s plenty of space for air to move around.
An interesting design aspect is the three Z-axis rails, two in the front and one at the back, instead of just two on the sides like a lot of other printers. This makes everything a lot more stable and secure.
There were some issues with these printers during the testing phase but I’m glad they delayed the release to fix all of that before sending it out to us. Also, for peace of mind, they’ve included their checklist of the inspections they do before shipping out. So you can see everything they checked and then perform future inspections yourself as part of maintenance.
The only thing I can complain about is the filament spool holder being on the side, but there isn’t a perfect place to put it, I just usually prefer for it to take vertical space instead of space on the sides, so the top would work for me but it depends on your situation.
What’s In The Box?
Before I go through the contents, I just want to mention how well everything was packed in the box. They took the time to cushion everything and avoid any movement while in transit. Now let’s look at what you get inside.
| TwoTrees SK1 Printer Magnetic Build Plate LCD Screen Nozzle Cleaning Kit Instruction Manual Test Roll Filament Filament Spool Holder Power Cable SD Card | Wifi antenna Spare Nozzle and Screws Adapter Card USB Drive Brush with metal bristles Side Cutters Screw Driver Alan wrenches Standard Wrenches |
TwoTrees SK1 Basic Set-Up
Assembly
These steps are in the manual but here they are for if you’ve misplaced or damaged it.
- Remove all the screws that keep the axes from moving during shipment. They are located on the Z, Y, and X axes.
- Install the filament mounting bracket with the Alan wrenches to the side of the printer with the reinforced side downwards.
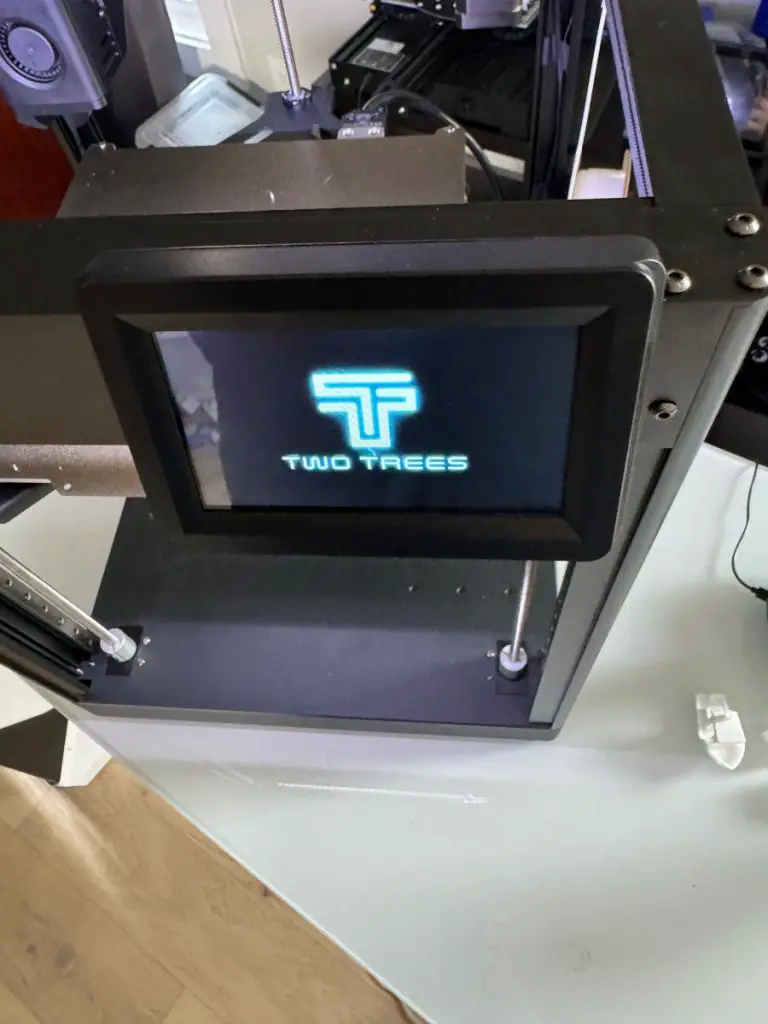
- Screw the screen mounting bracket on.
- Connect the screen cable to the screen.
- Slide the screen into the bracket.
- Screw the Wifi antenna into the side of the printer next to the power cable.
- Power the printer up.
Settings
You’ll see things like temperatures and standard library based on Klipper, settings, brightness, etc. So let’s do a basic settings configuration.
- Connect to your network.
- Select the auto home option for the printer to calibrate.
- Set the z-offset by going to “settings”, “calibrate”, and then select the picture of the nozzle.
- The printer will heat up and do an auto home before you start adjusting the offset.
- Place a paper between the nozzle and the ned and adjust the z-axis in small increments until it pushes the paper to the point where you can feel resistance as you move it. But not so close that it tears the paper. After that, select “OK” to save.
- Set the temperature to about 190°C for the test filament.
- Place the spool of filament on the holder and feed it into the filament tube until it gets to the hotend.
- Load the filament into the hotend with the settings on the screen and allow some filament to come out of the nozzle. You may need to push the filament a little bit for the extruder to grab it and feed through.
- After allowing some filament to run through, insert the USB stick, go to folders, and then to the test files to print them, there are a couple of cubes and a benchy to print.
My Initial Thoughts
The TwoTrees SK1 has high-quality components and a very sturdy design, perfect for the high-speed printing it can perform. I found that the z-offset is best set a bit lower than normal so just keep that in mind.
Looking at the cubes and benchy I printed, the quality is amazing and the benchy only took about 15 minutes so it’s pretty good.
At the price point, it’s a great printer. One small thing I would like is for there to be more documentation on things like setting the z-offset and other aspects of general maintenance so that people who have no experience can get the right information from the manufacturer instead of going through countless tutorials that might not be based on their specific printer model.
Related Articles
- Common Mistakes Beginners Make In 3D Printing And How To Avoid Them
- AlgoLaser Delta 22W Laser Engraver : A Budget-Friendly Machine For Makers
- How Do I Get Rid Of Layer Lines In 3D Printing?
- Cura First Layer Settings
- What Is the Best First Layer Height?
- Cura Speed – Everything You Need to Know!
- Cura Brim Build Plate Adhesion – Everything You Need to Know!
Make sure you check out our YouTube channel, and if you would like any additional details or have any questions, please leave a comment below. If you liked this article and want to read others click here.