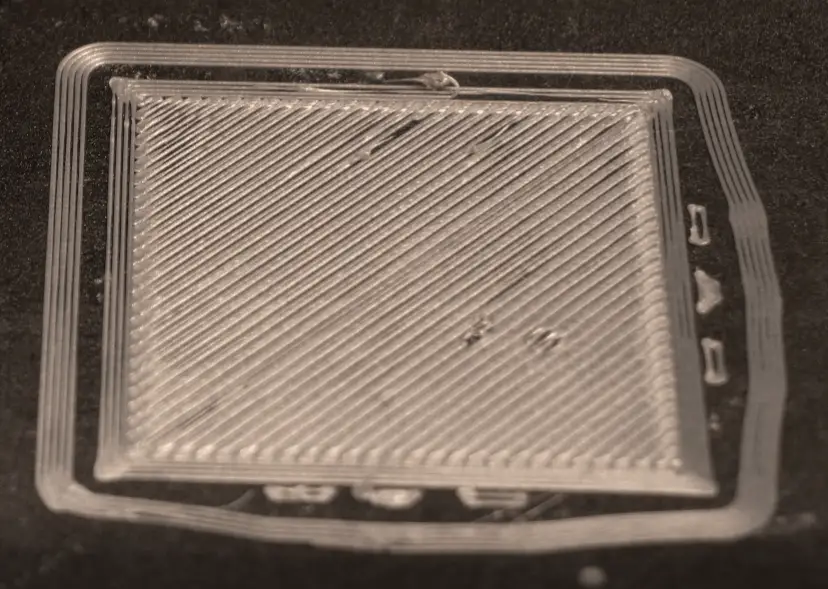
The biggest symptom of under-extrusion is missing layers in your parts. Under-extrusion can also cause parts to be weaker than they’re supposed to be.
If you’re having problems like these, work your way through this guide to optimize the extrusion and start printing smooth, strong parts again.
What Is Under-Extrusion
Under-extrusion is when a 3D printer’s nozzle doesn’t release enough plastic to complete a layer properly. This means that there are gaps and sometimes holes in your part where the printer was supposed to lay plastic.
Under-extrusion can also be defined as a miscommunication between the software and the hardware in terms of how much filament is being used. If the part weighs less than what the software projects, under-extrusion is present.
To identify whether you have under-extrusion, print a calibration cube like this one: Calibration Cube and if there are gaps between the layers on the sides, you have under-extrusion.

Make Sure The Filament Is Feeding Freely
If the end of the filament crosses through the filament on the roll, it will cause binding and under-extrusion. So whenever you remove the filament from the extruder, tape or clip it into the side of the spool so that it doesn’t tangle with the rest of the filament.
If you’re using a Bowden Tube, it’s also important to note that if the under-extrusion occurs at the end of a filament roll, it might be because the filament is curved and struggles to get through the tube. Unroll the filament to straighten it out before it feeds through the tube.
You might not need to do this with certain brands as they might not be as stiff.
Check The Filament Guides
Check to see if the filament guides are still in good condition. If you’re using plastic guides, they could be worn down to the point where they create resistance for the filament and cause under-extrusion.
Aluminum filament guides like these on amazon.com will last a lifetime under normal conditions making them a great low-cost upgrade.

Confirm The Filament Diameter In The Software
If the filament diameter is set to the wrong diameter, the software will think that it’s feeding through enough filament when it’s actually under-extruding. The filament diameter in the material settings might be set to 2.85mm by default because Ultimaker filaments are all 2.85mm. You’ll need to change to 1.75mm if that’s the size you’re using.
Adjust The Extrusion Multiplier
The extrusion multiplier determines how much filament will be extruded. So increasing its value to counteract under-extrusion makes sense. But don’t increase it too much or you might cause blockages within the extruder. You can safely adjust the levels up to around 115% (1.15) to see if the extrusion improves but don’t go higher than that.
For a more detailed guide on this, see this article: 3D Printer Flow Calibration
Make Sure The Bed Is Level
If the nozzle is too close to the bed, the brim and first layer won’t flow through the nozzle freely. The bed will block its path, cause blockage, and under-extrusion.
Here’s a video on how to level the bed accurately.
Find The Best Printing Temperature
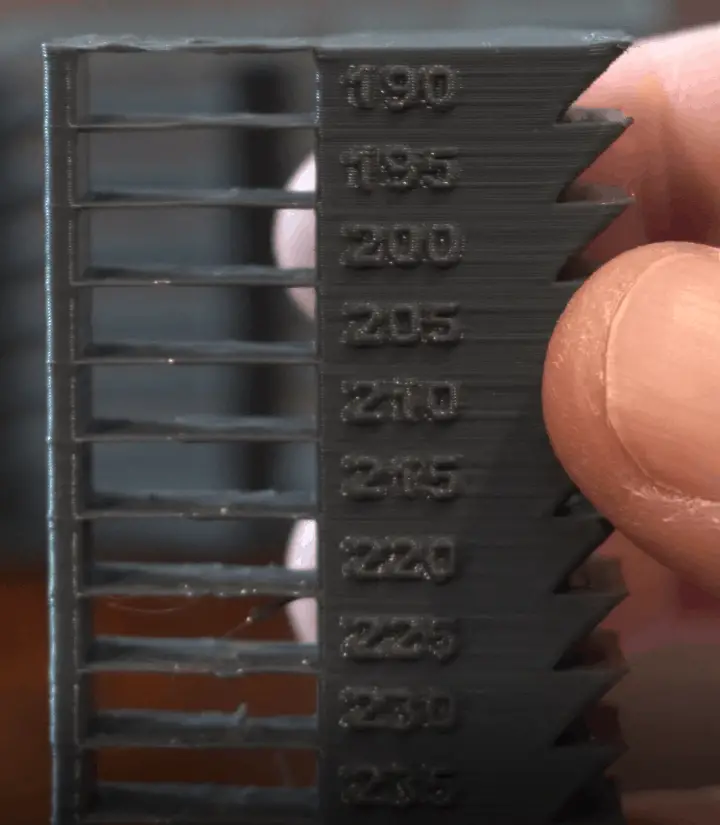
It doesn’t take a lot to melt PLA, so temperatures between 190°C to 220°C are usually the best. Increase the temperature in 5°C increments and observe the effects after each adjustment. Don’t go beyond 230°C or you’ll run the risk of over-heating the filament inside the extruder which will cause blockages.
You can print a temperature tower like this one on thingiverse.com and then evaluate the quality of the print as the temperature increases to identify the sweet spot.

Clean Out The Nozzle
A clogged nozzle is a very common cause of under-extrusion because it blocks the path where filament needs to flow. You might need to perform a cold pull to clear out the nozzle or even use a needle. Another method involves using acetone to dissolve the PLA.
Printer nozzles aren’t very expensive though and if it’s clogged badly, you might just want to get a new one like these on amazon.com.
Here’s a detailed guide on how to clean out your printer nozzle:
Clean The Extruder Gear
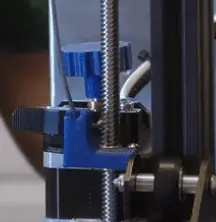
The extruder gear feeds the filament through the extruder with its teeth. These teeth can get clogged up, cause under-extrusion and create other problems.
Clean the extruder gear off with a bristle brush. You should also unscrew the bolts on the extruder and clean the rest of it out along with the gear if the printer has gone through a few hundred hours of printing. There will probably be little bits of filament built up around the extruder gear and on the filament feed wheel. All this can slow the printer down and cause extrusion problems.
You Might Have Volumetric Extrusion Enabled
This is a setting labeled “E in mm³” and refers to how the filament will be measured in the firmware. Enabling this setting tells the firmware to calculate the filament volumetrically as opposed to linear. This can result in an under-extrusion of up to 60%.
On the printer’s LCD, go to Control, Filament, E in mm³ – Disable, Save EEPROM
After disabling this feature, you should recalibrate the e-step. Here’s an article on how to calibrate your e-steps.
Decrease The Print Speed
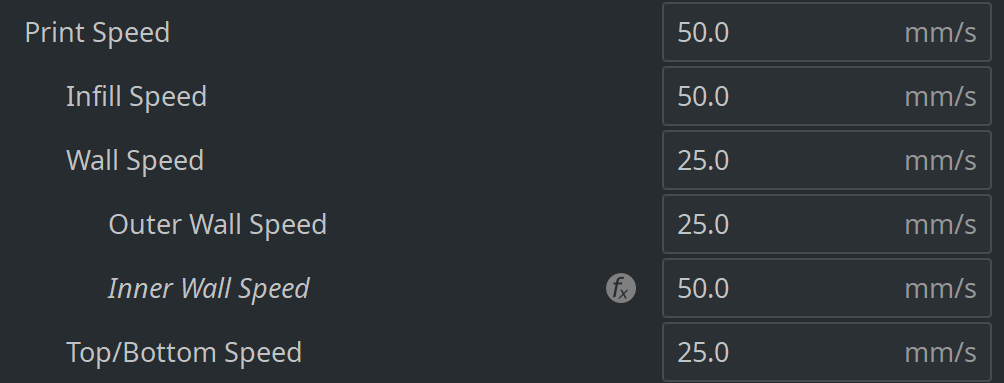
A high print speed can cause under-extrusion because the nozzle moves around too fast for the extruder to get the right amount of plastic through. High print speeds require you to adjust other settings like temperature, E-step values, extrusion multipliers, etc. Instead of doing all that, just decrease the print speed by 10% and check the results. Repeat the process until the print speed is halved. At this point, it should be slow enough for the extrusion to keep up.

Inferior Filament Can Cause Under-Extrusion
Low-quality filament can cause under-extrusion because of inconsistent thicknesses throughout the spool. It’s good to measure the filament with a caliper to make sure it meets the specification. Calipers like these on amazon.com work perfectly for you to check the consistency of the filament you’re using.
Related Articles
- 3D Printer Printing Too Thin – Let’s Fix It!
- 3D Printer Flow Rate Calibration – The Easy Way!
- Quick Guide to Change the Nozzle on a 3D Printer
- Five Reasons Your 3d Printer Stops Mid-Print
- How to Print a File from Thingiverse (The Easy Way!)
- Create a Temperature Tower Using Cura – The Easy Way
In Summary
Under-extrusion is a symptom of many different factors, so it is hard to pinpoint exactly what’s going on. Start with the easy stuff like making sure the filament is feeding through freely all the way from the spool and into the extruder.
After that you can look at some settings and experiment with them, each time reverting the setting if it didn’t solve the problem.
Besides that, decreasing the speed could help the extruder keep up with the job. Avoid using inferior filament as it will lead to under and over extrusion.
Make sure you check out our YouTube channel, and if you would like any additional details or have any questions, please leave a comment below or join us on Discord. If you liked this article and want to read others click here.
