The nozzle is one of the most overlooked and underappreciated parts of a 3d printer. It’s something you tend not to think about unless it’s broken, and even then, it tends to get overlooked. This is unfortunate because a lot of common issues can be fixed by swapping out the nozzle, especially if you are printing with a brass one.
Most 3d printers come with a brass nozzle that wears down quickly and isn’t compatible with abrasive filaments. In this article, I’m going to show you how to replace the nozzle and talk about replacement options.
When it comes time to replace them, many people use the same nozzle material, which may not be the best option.
How to Change the Nozzle
Required Tools
Here is a list of tools you will need to replace the nozzle on a 3d printer.
- Adjustable wrench to hold the heating block
- Wrench for the nozzle *Will vary based on nozzle specs
- Allen wrench to remove fan duct cover
Here is a step by step guide to replacing the nozzle on a 3d printer.
Step by Step Instructions
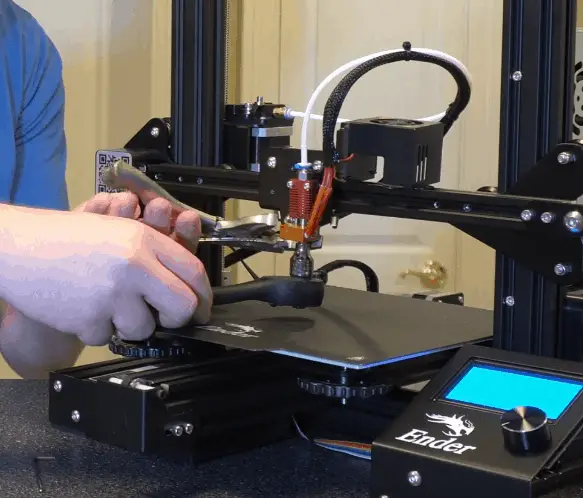
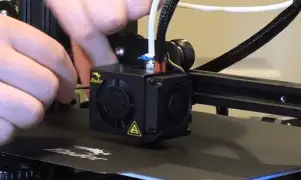
- Step 1: Remove fan duct cover to get to the heating block and nozzle if necessary.
The nozzle and heating block are blocked by the fan duct cover on many printers, including the Ender 3. You will need to remove it to gain access to the heating and nozzle. If the heating block has a cover on it, that should be removed as well.
- Step 2: Heat up the Hotend
Meal expands when heated, making it very difficult to remove a nozzle when the hotend is cold. You can actually break the nozzle off in the hotend if you attempt to remove it cold. I tend to heat the hotend to about 20 degrees hotter than what I usually print with. If you are using mostly PLA, 240-260 degrees should be sufficient.
- Step 3: Remove the old nozzle
Now that the hotend is up to temperature, you will want to remove the nozzle. You will need to use an adjustable wrench to hold the hotend while using the nozzle wrench to remove the nozzle.
*Make sure you are careful at this point. The hotend and nozzle are very hot and can bun you quickly if you touch either one of them.
- Step 4: Install the new nozzle
Now you will want to put the new nozzle in place and tighten it up a little to make sure you have good contact with the threads. Once it’s in place, you will want to use the adjustable wrench to hold onto the heating block and the nozzle wrench to finish tightening everything up.
Be careful not to overtighten the nozzle because if it snaps off, you will have to replace the entire hotend.
*The hotend is still going to be very hot at this point, so be careful putting in the new nozzle.
Here is a video I created covering this process start to finish.
Now that we talked about how to change the nozzle let’s go into more detail on why they need to be changed and what options are available.
Why Do the Nozzles Need to Be Changed
There are three main reasons that you may want to change the nozzle on your 3d printer.
They Get Clogged
A nozzle can get clogged for many reasons, which I won’t cover in detail here, but if you end up with a clog, you have two options. You can try to clean it out with a cold pull or nozzle cleaning kit, or you can replace it.
If the nozzle is brass, it can be replaced cheaply, and I tend to do that if I get a bad clog. If you are using a hardened steel or ruby nozzle, the replacement cost is significantly higher, and I would recommend trying to clear the jam if possible.
Damaged Opening from Wear
Using your 3d printer will cause nozzle wear, especially if you are using a brass nozzle, and can cause all kinds of issues, including dimensional inaccuracy. This is especially true if you are printing with any type of abrasive material. The only time this wouldn’t come into play is if you are using a nozzle that has a ruby tip.
Changing Filament Types
If you are changing between filament types, you may want to swap out the nozzle as well. For example, if you are using PLA and a brass nozzle but want to print with a carbon filament, you would want to switch to a hardened steel nozzle. That said, if you are using a hardened steel nozzle already, you won’t need to swap it when you are changing filament types.
Nozzle Types
You need to consider three main factors when purchasing a new nozzle, which I will go into more detail below, but to summarize, it must be compatible with your 3d printer and filament. If you get the wrong nozzle, you will have major issues during your first or second print on it. Most likely, it will end up getting jammed, and you will need to replace it again.
Nozzle Diameter
There are two nozzle diameters that you need to pay attention to, the input and output diameter. The input is typically the easy one because it will match the filament diameter you are using. The output has a lot more options, but the most common one is 0.4mm. Here is a breakdown of both and what they would be used for.
Input Diameter
- 1.75mm: This is by far the most common size and comes stock with most 3d printers, including the Creality Ender and CR printers.
- 2.85mm (or 3mm): This is less common but used in some of the higher end 3d printers, including the LulzBot lineup.
Unless you are planning to purposely change the filament used by your printer, the input diameter should match the filament you have been using.
Output Diameter
I could write an entire article on the output size, and probably will, but I want to keep it simple for this article. There are a lot of sizes available, ranging from 0.1mm – 1.0mm, but here are the most common ones.
- 0.2mm: This nozzle would be used if you are looking for extra detail on finer prints and don’t mind waiting for it. It may also be a good choice if you print a lot of mini-figures.
- 0.4mm: This is the most common nozzle used by 3d printers. It provides a good balance between detail and print time. If you are not sure what size you want, this is probably it.
- 0.6mm: This will decrease the print time a little without sacrificing too much detail. If you do a lot of prototyping, this may be a good option for you.
- 1.0mm: This size decreases the print time by a decent bit, but you lose a lot of detail. If you print a lot of larger simple objects or prototypes, this may be a good option, but I have never actually used this size.
*Keep in mind that a larger diameter equals faster print, but typically you sacrifice quality for print time. You also need to specify the size nozzle you are using in your slicer.
Thread Type
The thread type on the nozzle must match the hotend on your 3d printer. If you are using a common printer, like the Creality Ender 3, the thread type is MK8, but there are others. Make sure the nozzle with your printer. Here are some common thread types and printers they work with.
- M6: Fits printers with a V4, V5, or V6 1.75mm hotend, which includes most LulzBot and some Prusa printers.
- M7/MK10: This nozzle fits most Flashforge 3d printers.
- MK8: This Is one of the most common thread types and will work with most Creality, Makerbot, and Prusa printers.
*Please make sure you check the compatibility with your printer before purchasing a nozzle.
Material
Lastly, the material of the nozzle should be selected based on the material you are looking to print, but I typically tend to stick with hardened steel ones. There are four main nozzle types, which I will talk about briefly below.
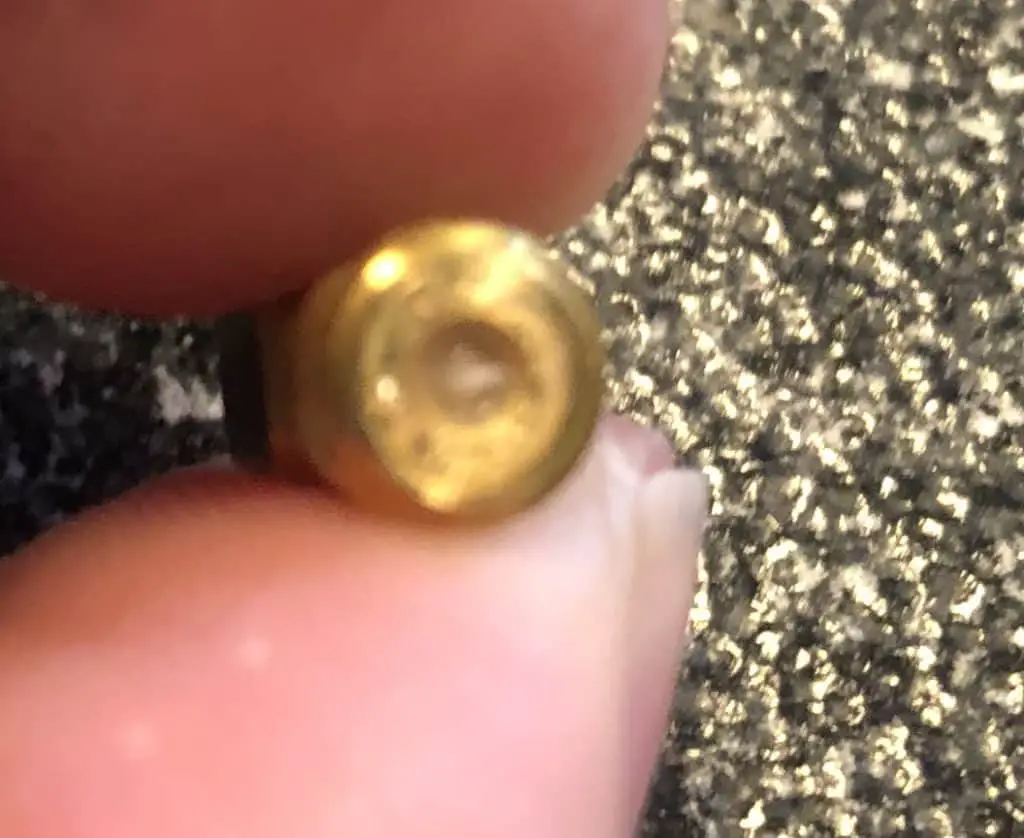
Brass: This is by far the most common nozzle type used by hobbyists, but it has many limitations. Brass is soft and will wear easily, so you can’t use brass nozzles with many of the more abrasive filaments. If your just printing with PLA filament, brass with probably be fine for you, and it has the added benefit of being cheap.
Stainless Steel: This material is much harder than brass and can be used with many abrasive materials. It can also be heated much higher than brass. Stainless steel nozzles are a good mid-level nozzle that will work with most material you may want to use and should last a lot longer than brass nozzles.
Hardened Steel: Hardened steel nozzles are very similar to stainless steel ones, with one exception. Hardened steel has a lower thermal conductivity than stainless steel and will take longer to heat up. They also tend to cost a little more, but people claim they last longer.
Assembled or Ruby: These nozzles have a ruby tip and are completely wear-resistant but very expensive. If you are running your printer around the clock, this may be a good option for you, but I tend to stick with hardened steel nozzles due to the cost.
Recap
Most 3d printers come with a brass nozzle that wears down quickly and isn’t compatible with abrasive filaments. When it comes time to replace them, many people use the same nozzle material, which may not be the best option. In this article, we covered how to change the nozzle, why a nozzle may need to be changed, and the options available.
Make sure you check out our YouTube channel, and if you would like any additional details or have any questions, please leave a comment below. If you liked this article and want to read others click here.