OctoPrint is an awesome 3D printer control platform that enhances your 3D printing experience by giving you remote control and monitoring capabilities, and it’s open-source. OctoPrint was developed in 2012 and has grown in popularity ever since. It has a huge community and plenty of features that can completely change your 3D printing workflow.
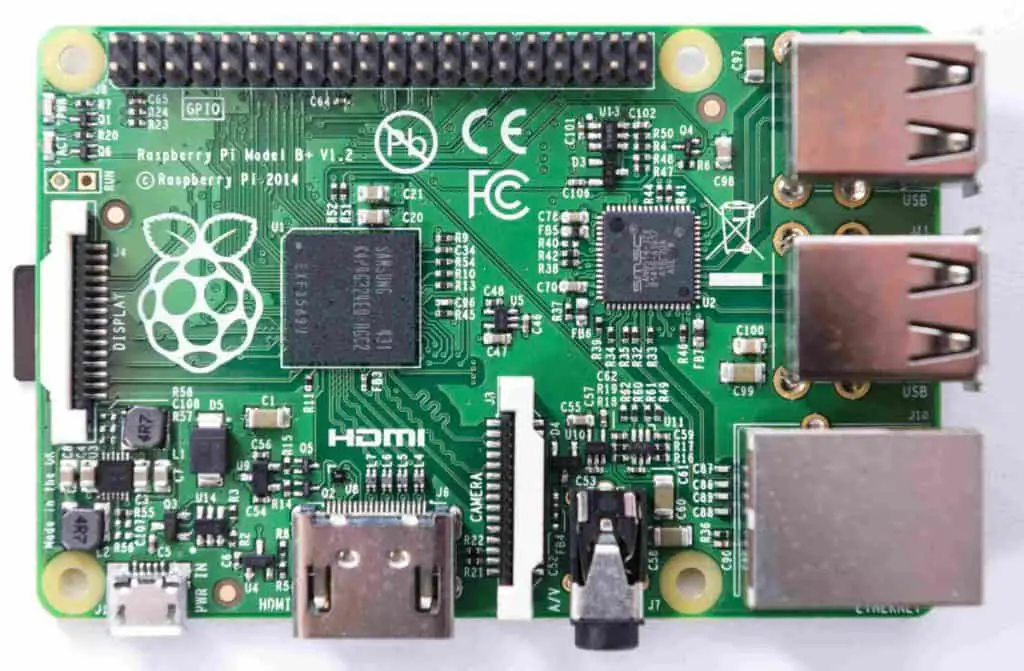
Flash the OctoPi image to a 16+ GB MicroSD card using Raspberry Pi Imager and configure Wi-Fi by editing “octopi-wpa-supplicant.txt” on the card. Insert the card into a Raspberry Pi and power it up, then connect the Pi to the printer via USB. Finally, access OctoPrint via http://octopi.local.
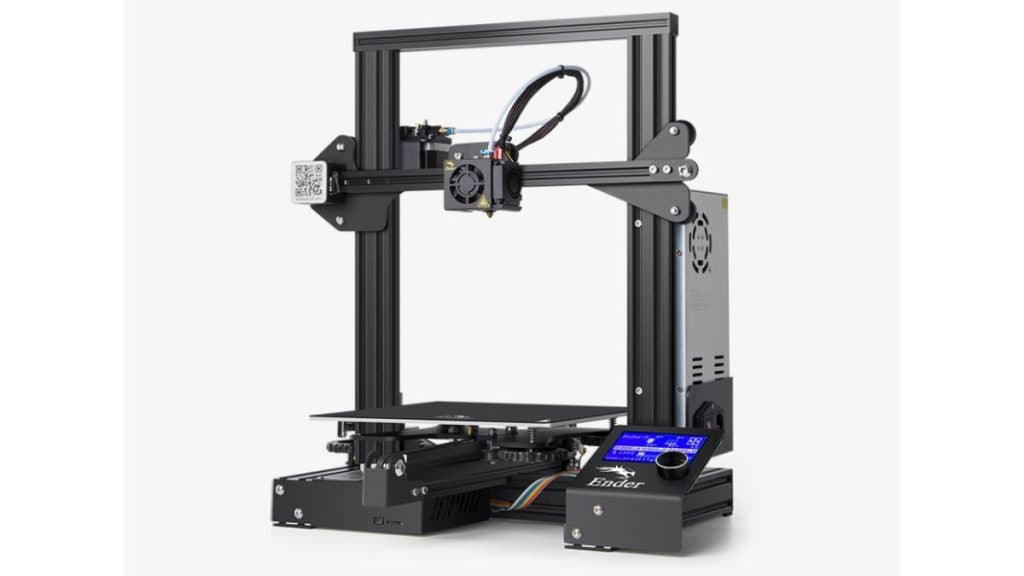
I’ll walk you through the process of setting up OctoPrint. This guide will work on your Creality Ender 3, Ender 3 Pro, Ender 3 V2, and Ender 3 S1.
OctoPrint is hosted on a device like a Raspberry Pi and sends G-code commands to your printer, enabling you to manage print jobs, monitor progress through a webcam, and even receive notifications about your prints. But I’ll cover more benefits after the setup, let’s get started.
What You’ll Need
- A Raspberry Pi power supply that’s 5V, 1.2+ A, and Micro-USB cable.
- A Raspberry Pi 3 Model B or better.
- Connection USB cable like a Mini-USB for Ender 3 and Pro. Micro-USB for V2.
- MicroSD card 16GB or larger for storage.
- A webcam or Pi camera for remote monitoring and timelapses.
- The Raspberry Pi Imager software.
- A Pi screen for a direct interface.
- A computer with Linux, macOS, or Windows.
- And finally, a 3D printed Pi case for protection and good looks.
Step-by-Step Instructions
Flash OctoPi to MicroSD Card
- Start by inserting your MicroSD card into your computer.
- Now, download the latest stable version of OctoPi from the official website and extract the contents from the zip file.
- Open the disk image with the Raspberry Pi Imager, select your MicroSD card, and then click “Write” to flash OctoPi onto the card.
- Once that’s done, check that the OctoPi configuration files are on the MicroSD card. After confirming they are there, move on to the network connection setup.
Set Up a Network Connection
Ethernet Connection:
For an ethernet connection, simply connect an Ethernet cable to your Raspberry Pi if you prefer a wired connection.
Wi-Fi Connection:
- Start off by putting the MicroSD card into your computer.
- Then, open the “octopi-wpa-supplicant” file on the MicroSD card with a text editor of your choice like Notepad++.
- Now you can type in your Wi-Fi SSID and password, save the file, and eject the card.
- After that, boot up and Locate the IP Address.
- Place the memory card into your Raspberry Pi.
- Connect the power supply and turn on the Raspberry Pi.
- Use a USB cable to connect the Raspberry Pi to your Ender 3 printer (Mini-USB for Ender 3 and Pro, Micro-USB for V2).
Finding the IP Address:
Now you can go to octopi.local with your computer. This should take you to the IP address of your OctoPrint server.
If octopi.local doesn’t work, use a monitor connected to your Raspberry Pi to find the IP address, then enter that address into your web browser and it should work.
Install Plugins
- Open your OctoPrint interface in a web browser.
- Click the wrench icon to open the settings menu.
- Select “Plugin Manager” and click “Get More”.
- Search for and install plugins such as “Creality Temperature Fix” and “Creality 2x Temperature Reporting Fix” to ensure accurate temperature readings.
- Restart the OctoPrint server after installing each plugin.
Troubleshooting and Tips
Basic Issues and Fixes
Connection Problems: Make sure that all of your cables are connected properly and that your Raspberry Pi is powered on. Also, try restarting your devices, this can sometimes resolve connection issues.
Temperature Reading Errors: Install these plugins to resolve the problem.
Creality 2x Temperature Reporting Fix: This plugin obtains more accurate temperature readings by adjusting how temperature data is reported and interpreted by OctoPrint.
Creality Temperature Fix: This plugin can resolve a lot of known issues regarding temperature reporting on Creality printers. It attempts to correct the data OctoPrint receives from the printer to give you the correct readings.
Alternative Firmware Solutions: If you come across issues that you can’t seem to resolve with the default Creality firmware, consider flashing a stable version of Marlin firmware to your printer.
Benefits of Using OctoPrint with Ender 3
Timelapse Creation
Most 3D hobbyists know that you can create some awesome time lapses with OctoPrint’s built-in timelapse feature. These timelapses not only look good on social media but they can also help to identify and solve problems that may have occurred during a print.
Power Management
OctoPrint has plugins like “PSU Control” that automate power management for your printer so that it can turn off your printer after a job is completed to save energy and reduce wear and tear on your all your equipment.
Customizable User Interface
Conveniently, you can adjust the layout, add custom scripts, and create personalized dashboards to fit your workflow preferences. The OctoPrint interface is highly customizable.
Advanced Slicing Integration
OctoPrint has direct compatibility with slicing software like Cura. So you can slice models directly from the web interface. This saves time and ensures optimal print settings without switching between the two programs.
Advanced Notification Systems
OctoPrint can integrate with platforms like Telegram and Discord to send updates about print jobs, like print status, errors, and completion notifications, all directly to your devices.
Remote Firmware Updates
OctoPrint supports remote firmware updates for your printer. This makes it easy to keep your Ender 3’s firmware up to date without having to manually transfer files via an SD card.
Why Is My Octopi Not Connecting To The Ender 3 V2?
Loose Connections:
Double-check that the USB cable is securely connected to both the Raspberry Pi and the Ender 3 V2. Sometimes, a loose connection can prevent proper communication.
Power Supply Issues:
Make sure that your Raspberry Pi is adequately powered. A power supply that doesn’t meet the required specifications (5V, 1.2+ A) can cause connectivity issues.
Incorrect USB Cable:
Ensure you are using a high-quality, data-capable USB cable. Some USB cables only provide power and do not support data transfer.
Port and Baud Rate Settings:
In the OctoPrint interface, go to the connection settings and ensure that the correct port and baud rate are selected. For the Ender 3 V2, the baud rate is typically 115200.
Firmware Compatibility:
Verify that the firmware on your Ender 3 V2 is compatible with OctoPrint. If you are using custom or outdated firmware, consider updating to a stable version that is known to work with OctoPrint.
Log Files:
Check the OctoPrint log files for any error messages or clues about the connection issue. These logs can provide detailed information about what might be going wrong.
Software Issues:
Make sure you have the latest version of OctoPrint installed. Sometimes, bugs in the software can cause connectivity problems. Also, check for any necessary plugins that might be required for compatibility with your printer.
Restart Devices:
Restart both the Raspberry Pi and the Ender 3 V2. Sometimes, simply rebooting the devices can resolve connection issues.
How Much RAM Is Needed For OctoPrint?
It depends on the complexity of your use case and the plugins you intend to use but here are the general recommendations:
Minimum RAM:
512 MB of RAM is the minimal amount required for OctoPrint to function properly. But it will only be sufficient if you are using a basic setup without any additional plugins.
Recommended RAM:
1 GB of RAM is the recommended size for smoother performance and to accommodate additional plugins and features without any problems. But 1 GB of RAM has its limits so I always recommend going for 2 GB or more.
Optimal Performance:
2 GB or more is ideal for handling multiple plugins, streaming webcam footage, and managing more complex printing tasks without any issues.
Raspberry Pi models from the Raspberry Pi 3 or newer come with enough RAM to run OctoPrint smoothly. The Raspberry Pi 4, which many people use for OctoPrint, comes in variants with 2 GB, 4 GB, and 8 GB of RAM. These are all more than sufficient for the typical OctoPrint setup.
How to Add OctoPrint to Creality Print?
Set Up OctoPrint:
Make sure that OctoPrint is installed and running on your Raspberry Pi or other device connected to your printer.
Obtain OctoPrint API Key:
- Open the OctoPrint web interface.
- Go to the settings menu (wrench icon).
- Navigate to “API” and copy your API key.
Install Creality Print:
Download and install the Creality Print software on your computer from Creality’s official website.
Configure Connection:
- Open Creality Print and go to the printer settings.
- Add a new printer profile if you haven’t done so already.
- In the printer profile, look for the option to enable OctoPrint integration.
- Paste the OctoPrint API key you copied earlier into the appropriate field.
- Enter the IP address or hostname of your OctoPrint server.
Test Connection:
Save the settings and test the connection between Creality Print and OctoPrint. If configured correctly, Creality Print should now be able to send print jobs to OctoPrint and manage your printer through the integrated interface.
Related Articles
- How To Add a Touchscreen to Your Printer with Octoprint
- Reasons To Use OctoPrint
- How to Install OctoPi on a Raspberry Pi for OctoPrint Setup
- Install Octoprint on Linux – Complete Guide!
Conclusion
Setting up OctoPrint for your Ender 3, V2, Pro, or S1 isn’t a very complex process. Considering it can significantly enhance your 3D printing experience, it’s definitely worth the effort. The ability to remotely control and monitor your prints, add new functionalities through plugins, and streamline your overall printing workflow is a must.
Now you can manage print jobs from anywhere, receive real-time updates, and leverage community support for troubleshooting and inspiration.
Make sure you check out our YouTube channel, and if you would like any additional details or have any questions, please leave a comment below or join us on Discord. If you liked this article and want to read others click here.