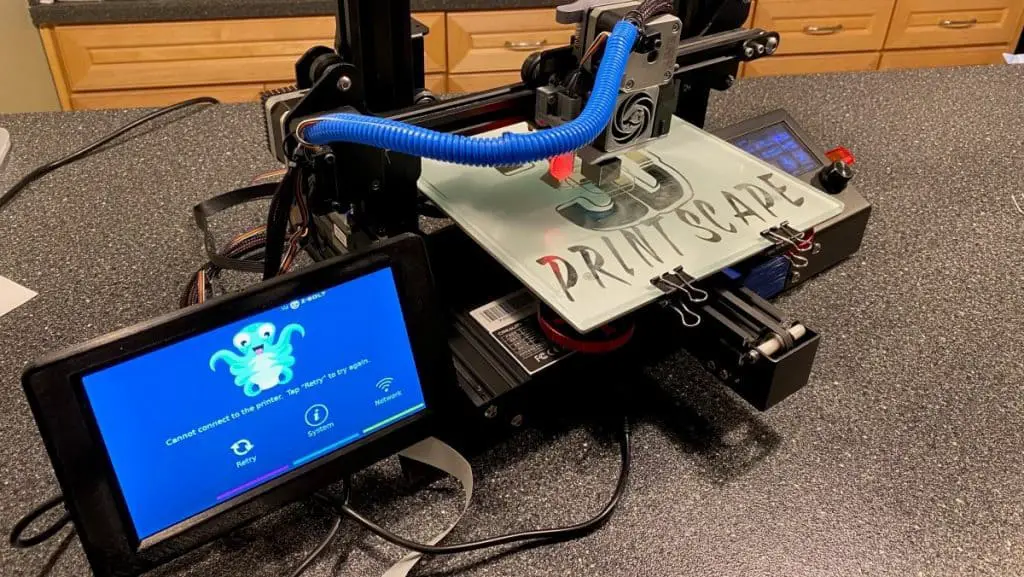
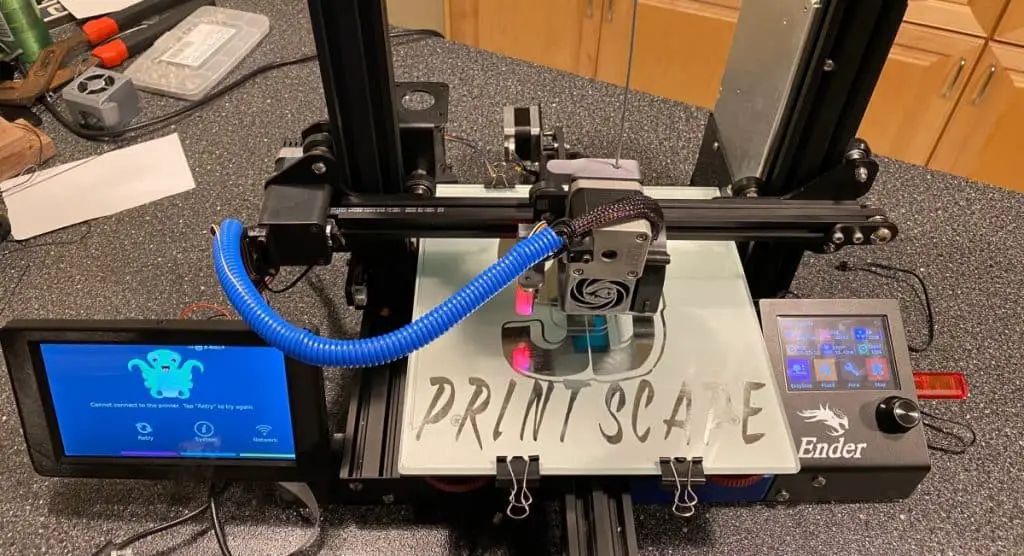
OctoPrint connects you to your printer remotely via the internet so you can control it from any place at any time. A touchscreen connected to OctoPrint gives you simple controls and ease of use with a touch interface. There are a few ways of connecting a touchscreen to OctoPrint, here are the most trusted.
You can install the TouchUI Plugin, OctoScreen, or OctoDash. TouchUI is just a plugin and is good if you want to enhance the existing OctoPrint web interface. OctoScreen and OctoDash are standalone programs dedicated to connecting your touchscreen to OctoPrint.
Before we look at the software installation, let’s ensure you have everything you need in the hardware department.
Hardware Requirements
- 3D Printer Compatible with OctoPrint: Make sure your 3D printer is compatible with OctoPrint. If not, refer to OctoPrint’s official setup guide to install it on your printer.
- Touchscreen Display: Choose a touchscreen that’s compatible with Raspberry Pi. The size does not matter much and you can get everything done with around 3.5 inches or larger.
- Raspberry Pi: OctoPrint runs on a Raspberry Pi, so make sure you have a Raspberry Pi 3 or higher with OctoPrint already installed and a touchscreen display all ready to go.
- MicroSD Card: You need a microSD card to install OctoPrint, drivers, and the software for the touchscreen.
Choosing A Touchscreen For Octoprint
There are so many options available that you need to check which touchscreen will suit you best. Here are some things to consider.
- Size: The user interface of OctoPrint on a touchscreen fits well even on a 3.5-inch screen. I suggest getting anything in the range of 3.5 to 7 inches.
- Ease of Use: Choose a touchscreen that’s been tried and tested by others because cheap touch screens have issues like poor sensitivity, low resolution, limited viewing angles, driver problems, and more.
- Compatibility: Ensure the touchscreen is compatible with your Raspberry Pi and OctoPrint versions. This shouldn’t be a problem as most touch screens will work fine, just make sure first.
Set Up With TouchUI Plug-In
This plugin will work on almost any touchscreen, from the affordable 3.5-inch screen with HDMI connectivity to the 7-inch touchscreen.
Hardware & Assembly
- Buy a Raspberry Pi touchscreen with HDMI support.
- Connect the touchscreen to the Raspberry Pi with an HDMI to HDMI adapter.
- Make sure you have the specific touchscreen drivers for the Raspberry Pi.
- Power up the Raspberry Pi.
Configure Raspberry Pi
- Connect to the Raspberry Pi using SSH (Secure Shell).
- Expand the filesystem if necessary using sudo raspi-config
- Update and upgrade packages with sudo apt-get update and sudo apt-get upgrade
- Reboot the Raspberry Pi after upgrades with sudo reboot
- Install the drivers.
Installing the Touch UI for OctoPrint
- Open OctoPrint from a browser and update it to the latest version.
- Access the plugin manager and install the “Touch UI” plugin.
- Restart OctoPrint after the installation.
Configure Auto Start
- Download the Touch UI Auto Start package from GitHub.
- Check the installation options and choose which one suits you best.
- Configure auto-login during the installation to work with your touchscreen.
- Reboot the Raspberry Pi once the installation is complete.
Set Up With OctoScreen
OctoScreen is also a good touchscreen solution for OctoPrint. Besides making everything easy to operate, OctoScreen also gives you options for preheating and other settings so that you don’t have to go deep into the settings. These are the steps for how to set it up.
- Use Putty or another SSH client to connect to your Raspberry Pi. You can connect by using the IP address or “octopi.local”.
- Now you can type in the default username and password, pi and raspberry, to log in.
- Run an update by typing in the following: sudo apt-get update
- Enter the password again.
Go to the GitHub page where you can copy some commands and paste them into your command prompt. Here’s the first one to copy and paste:
- sudo apt-get install libgtk-3-0 xserver-xorg xinit x11-xserver-utils
- Type yes when asked if you want to install the above.
Install the OctoScreen packages by copying and pasting the following code into your terminal:
- wget https://github.com/Z-Bolt/OctoScreen/releases/download/v2.7.4/octoscreen_2.7.4_armhf.deb
- Hit enter and let the package complete, then paste the following code in and press enter.
- sudo dpkg -i octoscreen_2.7.4_armhf.deb
If your OctoPrint Screen is wrongly orientated, follow these steps:
- Copy and paste this command to open the config file: sudo nano /boot/config.txt
- Add the following at the bottom of the config.txt: lcd_rotate=2
- Now save and exit the config.txt file.
You may need to rotate once or three times depending on your situation.
Lastly, reboot the Raspberry Pi with the following command:
sudo reboot
Press enter and the Pi will reboot along with the screen.
If you prefer a detailed video on how to do this, I have one for you here:
Set Up With OctoDash
OctoDash is another option and here’s how you do it.
- Connect via SSH to your Raspberry Pi, then run the command:
sudo ~/OctoPrint/venv/bin/pip install octodash
- Edit the OctoPrint configuration file to add OctoDash:
sudo nano ~/OctoPrint/config.yaml and add the OctoDash configuration.
- Restart OctoPrint to apply the changes.
- Open a web browser and enter the OctoPrint server’s IP address with “/octodash” at the end (e.g., http://your_octoprint_ip/octodash).
Advantages Of Touchscreen And Octoprint
Adding a touchscreen to your 3D printer with OctoPrint brings several advantages, but these are some of the biggest.
- It allows you to easily control and monitor your printer with a touch-based interface so navigation is more intuitive.
- You will be able to view print progress, temperatures, and other information directly on the touchscreen in real-time.
- You won’t need a separate computer because you’ll be able to manage and organize your 3D printing files directly from the touchscreen.
Related Articles
- Reasons To Use OctoPrint
- How to Install OctoPi on a Raspberry Pi for OctoPrint Setup
- Install Octoprint on Linux – Complete Guide!
- OctoPrint Bed Level Visualizer – Complete Setup Guide!
- Can You Run OctoPrint on a Mac?
Make sure you check out our YouTube channel, and if you would like any additional details or have any questions, please leave a comment below. If you liked this article and want to read others click here.