3D scanning technology has been around for a while — but it’s mostly been inaccessible to hobbyists. The scanners that do exist for the hobbyist market require you to connect a phone, process everything on a separate computer, and deal with constant connection drops and software back-and-forth.
The AIScan 01 is different. It’s the first scanner I’ve tested that genuinely handles the entire scanning workflow — capture, processing, editing, and export — right on the device itself. No phone. No PC required until you’re ready to slice.
I got my hands on one before it even hit Kickstarter. Here’s what happened.
🎥 Watch the full unboxing and first print on YouTube:
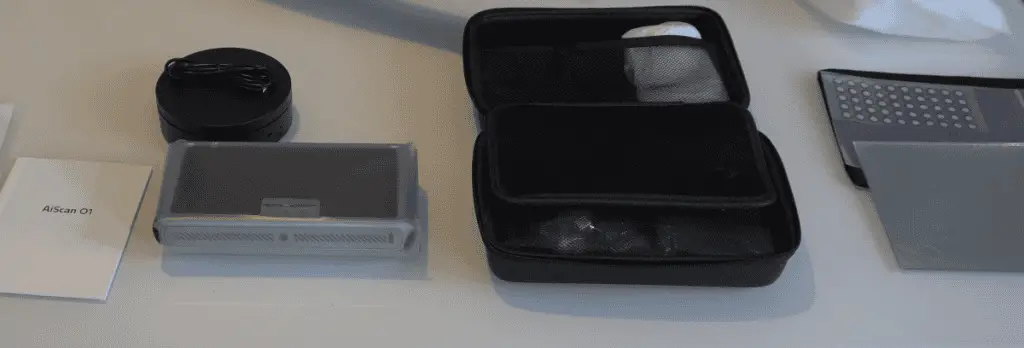
What’s in the Box
The packaging is clean and well-organized. Here’s what you get:
In the main box:
The AIScan 01 scanner
Instruction manual
Carrier bag with scanning markers and a mirror
Accessory case (see below)
In the accessory case:
Motorized turntable + USB power cable
Sample statue for test scanning
Camera clips and tripod
Wrist clip for the scanner
USB to USB-C adapter
Tripod mount
Microfiber cloth for the screen
Power:
USB power base with regional adapter set (US, EU, UK included)
First impressions on build quality: solid. The materials don’t feel cheap, the lens array on the back is well-protected, and the front screen came with a pre-applied screen protector. This feels like a finished product, not a prototype.
Setup — How Long Does It Take?
Setup is straightforward and fully on-screen:
Select language
Connect to WiFi
Set timezone
Opt into (or out of) the user experience program
Enable auto-update (recommended)
Accept terms of service
The device walked me through a built-in tutorial after setup, which I’d recommend going through — it covers the scanning modes and gives you a feel for the interface before you touch a real object.
Total setup time: Under 5 minutes.
Scanning Your First Object — Settings Explained
The scanning interface has a few settings worth understanding before you start:
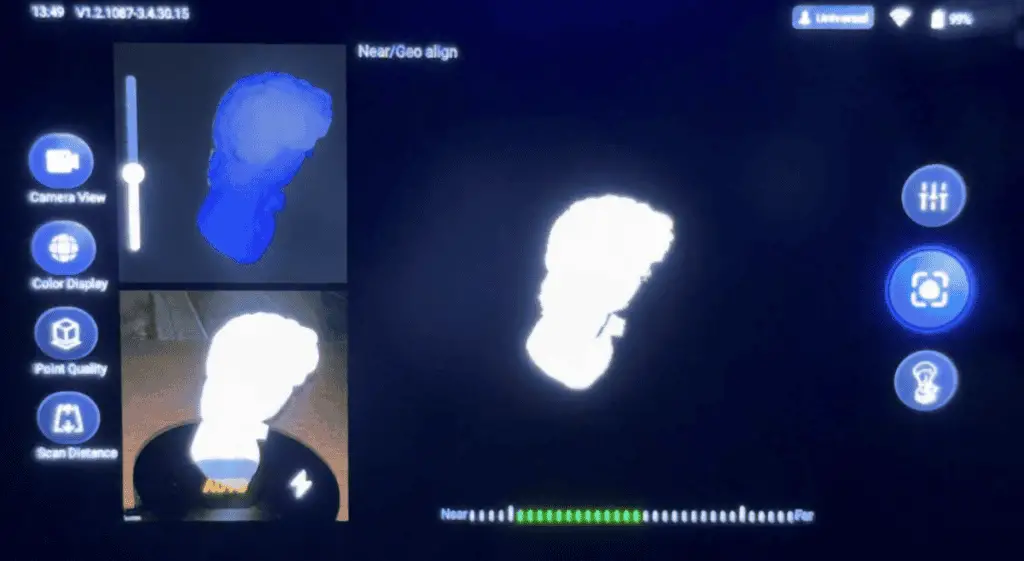
AI Mode (top button): Cycles between scan profiles. For most objects, Universal Standard is what you’ll use. I used this for every scan except a round barrel, which needed a different approach.
Near vs. Far: Controls the scan range. Keep your subject at a distance where the distance indicator stays green — red means you’re too far and the scan won’t capture properly.
Alignment Mode:
Geo Align (default) — works for most objects with visible geometry
Marker Align — use this when you’ve placed the physical markers on your object (included in the box)
Texture Align — for objects with distinct surface texture you want to preserve
I left it on Geo Align + Near for every scan except the barrel.
Background tip that actually matters: Use a plain, elevated background. I used a flat piece of cardboard with the turntable raised slightly. The more texture your background has (wood floors, carpet, etc.), the more cleanup you’ll need to do in editing. A plain background means less work later.
The Scanning Process — Step by Step
Here’s how the workflow actually goes:
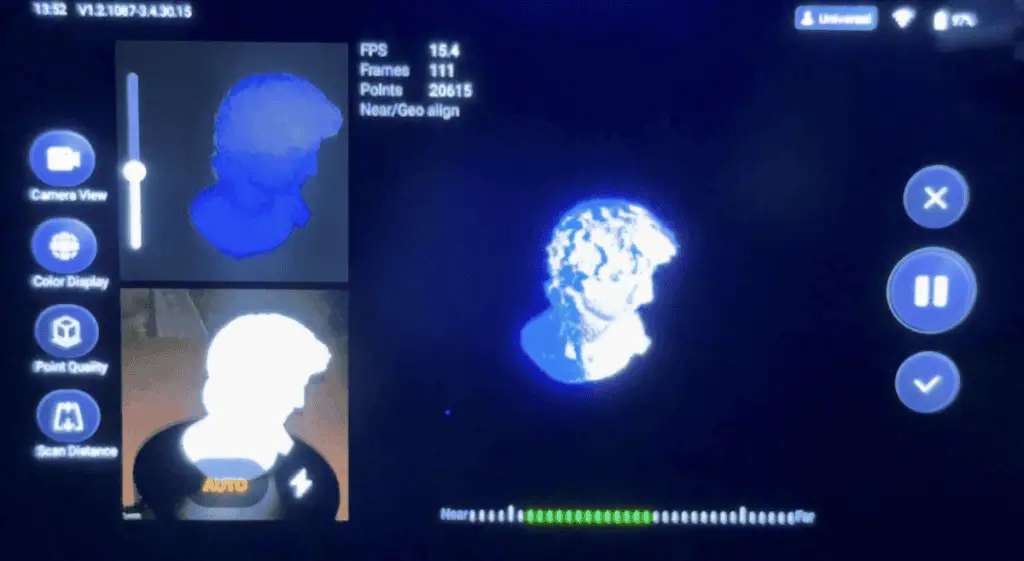
Step 1 — Capture Start the scan and let the turntable rotate at least twice. The device shows you FPS, frame count, and point count in real time.
Step 2 — Fuse (first pass) Hit the checkmark to stop and process. Select Fuse at the highest detail setting. This converts the raw capture into a mesh.
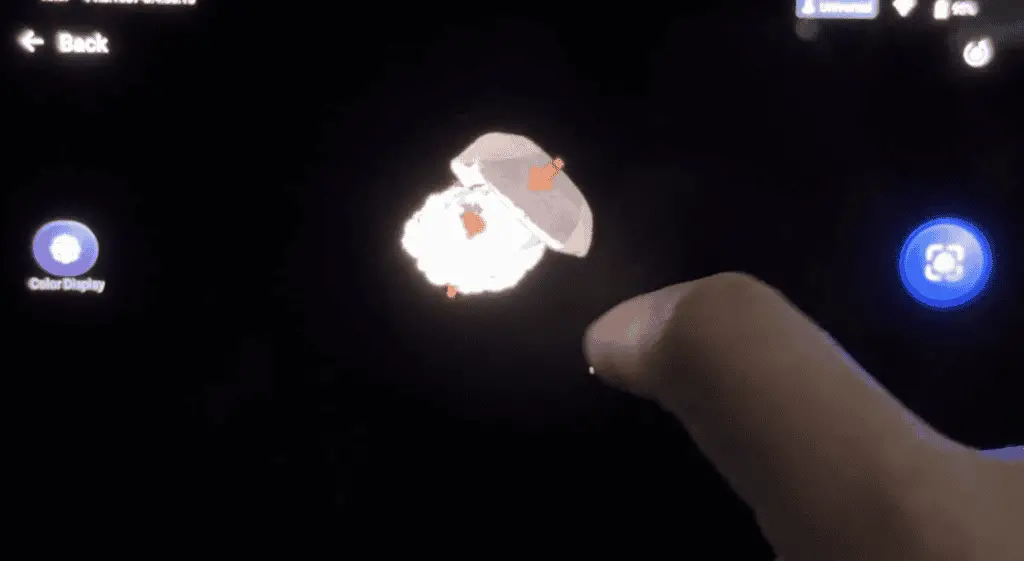
Step 3 — AI Gap Detection This is the feature that makes the 01 different. Hit AI Detection and it shows you exactly where the mesh has gaps — under the chin, the bottom, anywhere the scanner couldn’t see. No guessing.
Step 4 — Fill the Gaps Flip the object to expose the missing areas and continue scanning. The device recognizes the new orientation automatically and starts filling in what it missed. Half a rotation was usually enough.
Step 5 — Second Fuse Process the mesh again at highest detail. Run AI Detection one more time to confirm the gaps are closed.
Editing & Cleanup — On Device
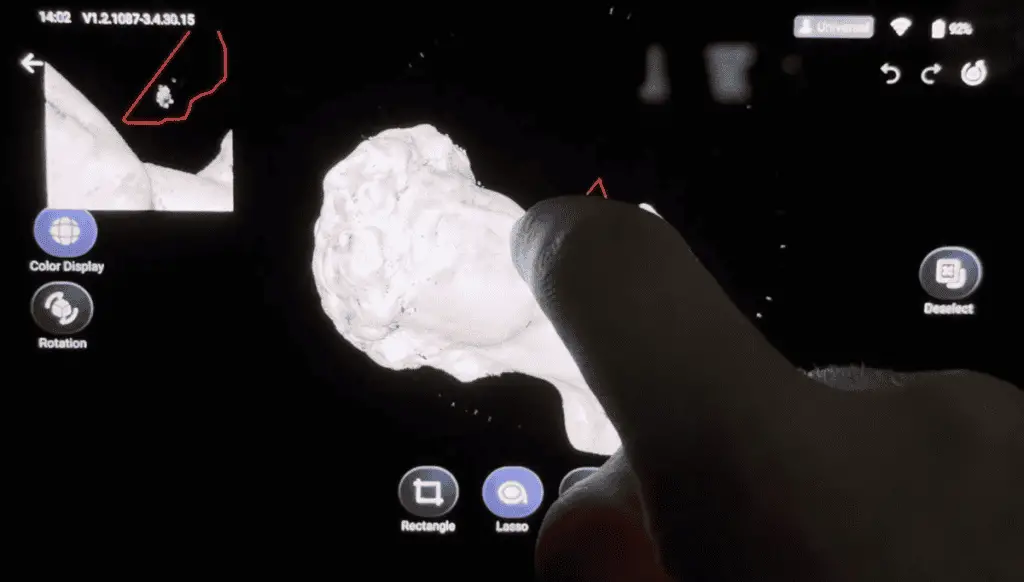
Once the mesh is clean, you’ll need to remove the background — the turntable, the cardboard, anything that isn’t your object. The O1 has two removal tools:
Plane Removal — removes everything on a flat plane with one tap. Useful but aggressive.
Square / Lasso Selection — manual selection. I use square for large areas away from the model and switch to lassowhen I’m working close to the edges. Select, then delete.
The touch interface works like a phone screen — pinch to zoom, drag to rotate. It’s genuinely intuitive. This is the part I expected to be frustrating and it wasn’t.
After cleanup, go to Mesh — select your detail level, enable auto hole fill if needed (I typically skip it), choose your export format (PLY by default, but most slicers including Orca will work with either PLY or STL), and hit Apply. Apply textures when prompted.
Getting the File Off the Device — Windows vs. Mac
This is the one step where your OS matters:
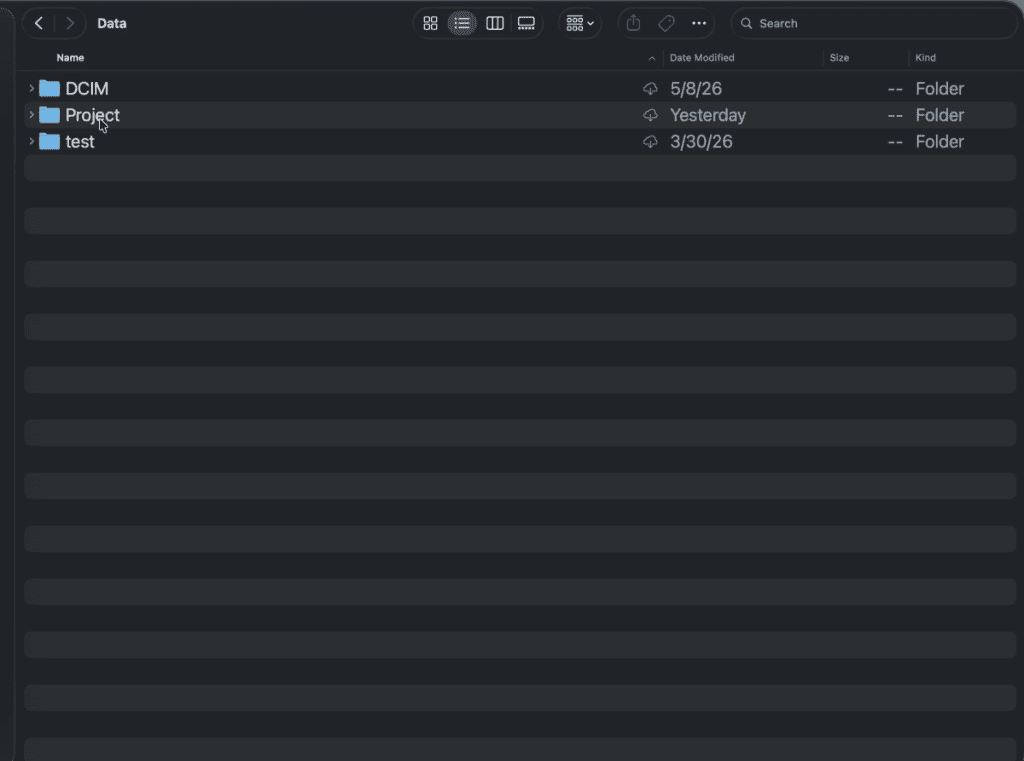
Windows: Connect the 01 via USB. It shows up as a drive under My Computer. Navigate to
Project > [your project name]
and copy the STL file out.
Mac: You’ll need a third-party app. I used MacDroid — it’s free and connects to the Android OS the O1 runs on. Once connected:
Sort by date modified to find your most recent scan at the top. Copy the STL file out and you’re done.
Not ideal for Mac users, but it’s a one-time workflow to learn. Took me about 3 minutes once I had MacDroid installed.
Slicing & Printing the Scan
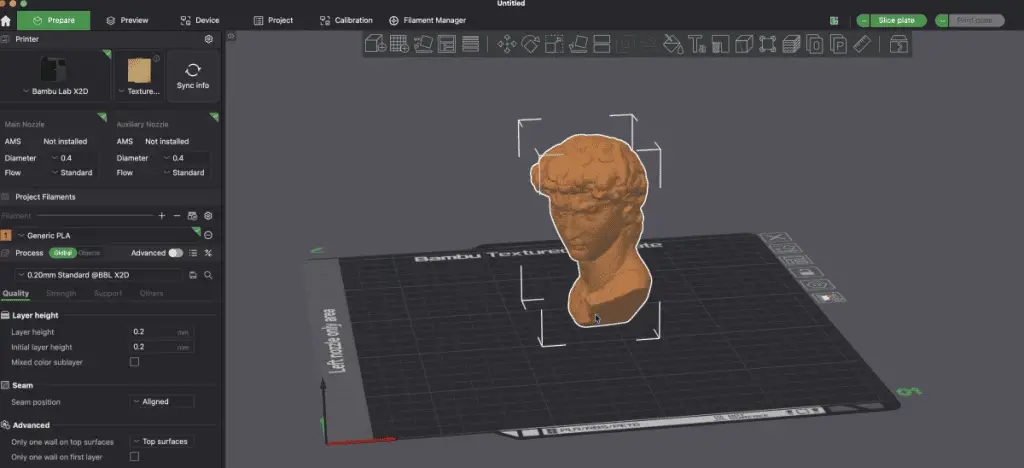
Import the STL into your slicer (I used Bambu Studio), orientate the model so the flat base is flush with the build plate, and slice.
One setting you don’t want to skip: Add a brim. The statue has overhangs and limited contact area — without a brim, the print will tip over. Go to
Advanced > Other > Brim
and set it to Inner/Outer at 10mm width. I learned this the hard way — one of my test prints knocked itself over partway through because I skipped the brim.
I did two prints from the same scan:
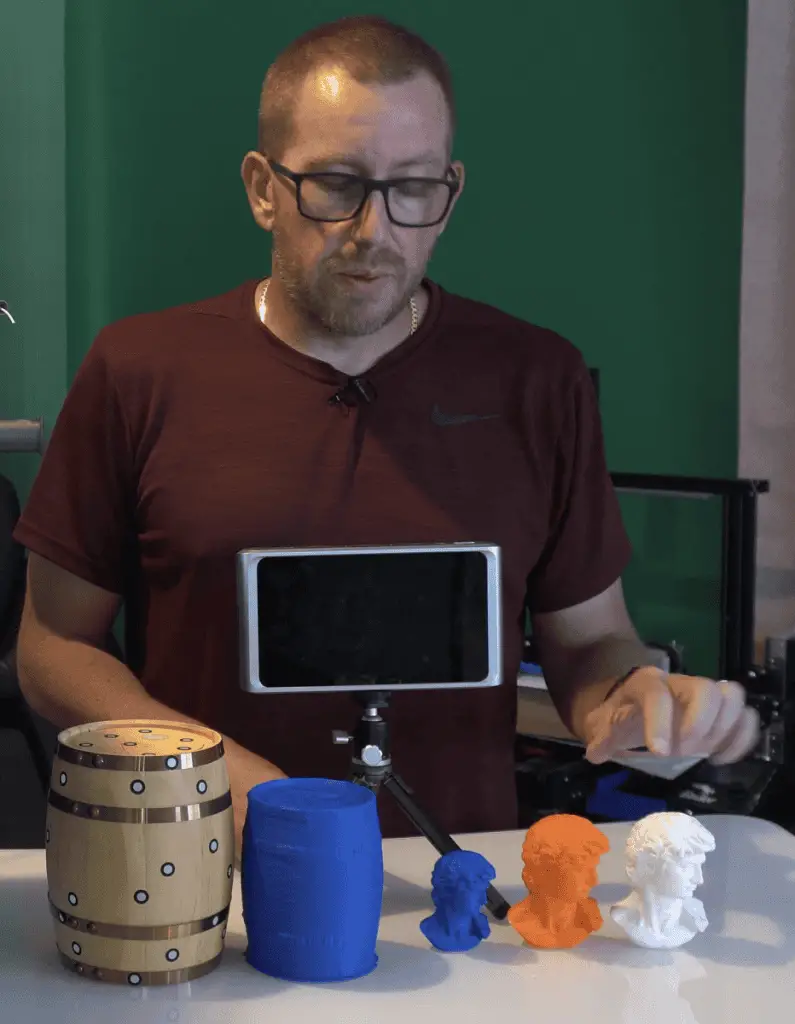
100% scale, no supports — the scan came out great. The overhang issues on the hair are a 3D printing problem, not a scanner problem. The geometry the 01 captured was accurate.
75% scale — cleaner result at smaller size, fewer overhang challenges.
I also printed the barrel (the round object with markers) at 75% scale. Raw off the printer with no post-processing — it needs some cleanup, but the scan-to-print pipeline worked.
Honest First Verdict
After the first session with the AIScan 01, here’s where I landed:
What impressed me:
The on-device AI gap detection is genuinely useful — it shows you exactly what’s missing and where, which no other scanner I’ve used does
No connection drops. No “the phone lost the scan halfway through.” No going back to the computer to discover gaps you can’t fix.
32GB memory and an 8-core processor inside the device. It processes faster on-device than I expected.
Out of the box to completed scan in under 30 minutes, including setup.
What to be aware of:
Mac file transfer requires a third-party app (MacDroid). Windows is seamless, Mac is a workaround.
The “all-in-one” claim is accurate for scanning. For printing, you still need a slicer — the device handles everything up to exporting the STL.
Background setup matters more than the marketing suggests. A plain, elevated background saves you significant cleanup time.
Bottom line so far: This is the easiest 3D scanner I’ve used out of about half a dozen. The all-in-one workflow — scan, edit, export, all on the device — removes the friction that makes most hobbyist scanners frustrating. I called this a leap forward in the title and I stand by that after the first session.
I’m following this up with a more in-depth review after a week of testing — accuracy measurements, difficult objects, phone scanner comparison, and a deeper look at what the “all-in-one” claim actually covers in practice. I’ll link it here when it’s live.
Questions about the AIScan 01 or want to see me scan something specific? Leave a comment below or join the 3D Printscape Discord.
I'm Rob, the founder of 3dprintscape.com. I’m a Marine Corps vet with a master’s degree in Information Systems and have been working in the technology field for over a decade. I started working with 3D printers because I was fascinated by the technology and wanted a hobby that my kids and I can enjoy together.
If you just picked up an xTool P2 — or you've had one sitting on your bench and aren't sure where to start — this guide is exactly what you need. In this walkthrough, I'll cover 5...
If your 3D prints are coming off the printer looking rough, stringy, or just plain ugly — you're not alone. The good news? You don't need a new printer or expensive filament. Five settings in...