Setting the z-offset correctly is arguably one of the most challenging parts of installing a BLTouch, but it’s also the most important. If it’s not done correctly, you will end up with first layer issues and probably many failed prints. That said, BIGTREETECH (or BTT) built a z-offset wizard into their touch screen panels to help make the process much easier and, combined with babystepping, allows you to dial in your z-offset properly. They really pioneered this and offered it before it was added to the Marlin firmware.
Here are the steps to use the Z-Offset Wizard on the BTT touch screens.
- Update the Firmware
- Heat Build Plate and Nozzle to Normal Printing Temperature
- Use the Z-Offset Wizard to Get Your Initial Z-Offset
- Kick-Off Test Print and Use Babystepping to Make Adjustments
* This process assumes you are using a BTT touch screen, like the TFT35. If you’re just using a standard panel, you will need to enable the Z-Offset Wiard in the firmware and follow the process called out in this article “Z-Offset Wizard – Complete Guide!”.
** This process has been tested using an SKR Mini e3 v2.0 and TFT35 combo.
What is the Z-Offset Wizzard
The Probe Offset Wizard, or commonly referred to as Z-Offset Wizard, is a wizard that helps you set your z-offset in a single step instead of having to get the offset value and go somewhere else to set it. Its meant to make the process easier for users to use and understand. This feature is disabled by default in the firmware.
What is Babystepping
Babystepping allows you to make small adjustments to the z-axis while printing, enabling you to dial in your z-offset without having to stop the print, make an adjustment, and hope it’s right. This feature used to be disabled by default in the firmware, but recent versions have it enabled.
Step-by-Step Setup Guide
Requirements
Required Hardware
*Links are to Amazon, and for the products I use.
- SKR Mini
- Micro SD card *8GB or smaller
- SD card reader
- BLTouch
- TFT35
- Computer
Required Software
Step-by-Step Guide
Update the Firmware
The first thing we need to do is make a few changes to the firmware to enable babystepping.
Update Configuration Files
Here are the changes that need to be made to the firmware.
Enable Babystepping
Configuration_adv.h Changes
Path:Marlin\Configuration_adv.h
| Default Value | New Value | Notes |
|---|---|---|
| //#define BABYSTEPPING | #define BABYSTEPPING | Depending on the firmware you are using, this may already be enabled. |
| //#define BABYSTEP_DISPLAY_TOTAL | #define BABYSTEP_DISPLAY_TOTAL | |
| // #define BABYSTEP_ZPROBE_OFFSET | #define BABYSTEP_ZPROBE_OFFSET |
You can also download a copy of Marlin I built with the required changes and use supplied configs as a starting point. The firmware is available to download from “3D Printscape Marlin Builds“.
Build Firmware
VS Code user interface. That will kick off the build and shouldn’t take longer than a couple of minutes to complete. You should see success in the terminal window if everything worked. If it didn’t, you will be able to get the error from there to troubleshoot.
Copy the Firmware to an SD Card
Once the firmware has been successfully built, you will want to drag it to an empty SD card that is under 8GB or less.
You can find the firmware under “firmware\.pio\build\STM32F103RC_btt_512K” , firmware should be replaced with the path where you have the firmware. In my case, the path is “C:\Users\Owner\Desktop\RobMain\.pio\build\STM32F103RC_btt_512K”.
The file name will be firmware.bin. Since we are using an SKR Mini, we don’t need to worry about changing the firmware name or adding a date to it.
Install the Firmware on the Printer
This step sounds harder than it actually is. Assuming you copied the right file to a blank SD card, all you need to do is put the SD card in the printer and power it on. From there, the printer will pull the file and install it on the printer. The entire process should take less than 30 seconds. Once the printer boots into the standard interface, you can remove the SD card.
Set Z-Offset on the Touch Screen
Now that we have the firmware updates made, we can start the process of setting your z-offset. Follow these steps to get the perfect z-offset for your printer quickly.
Heat Build Plate and Nozzle to Normal Printing Temperature
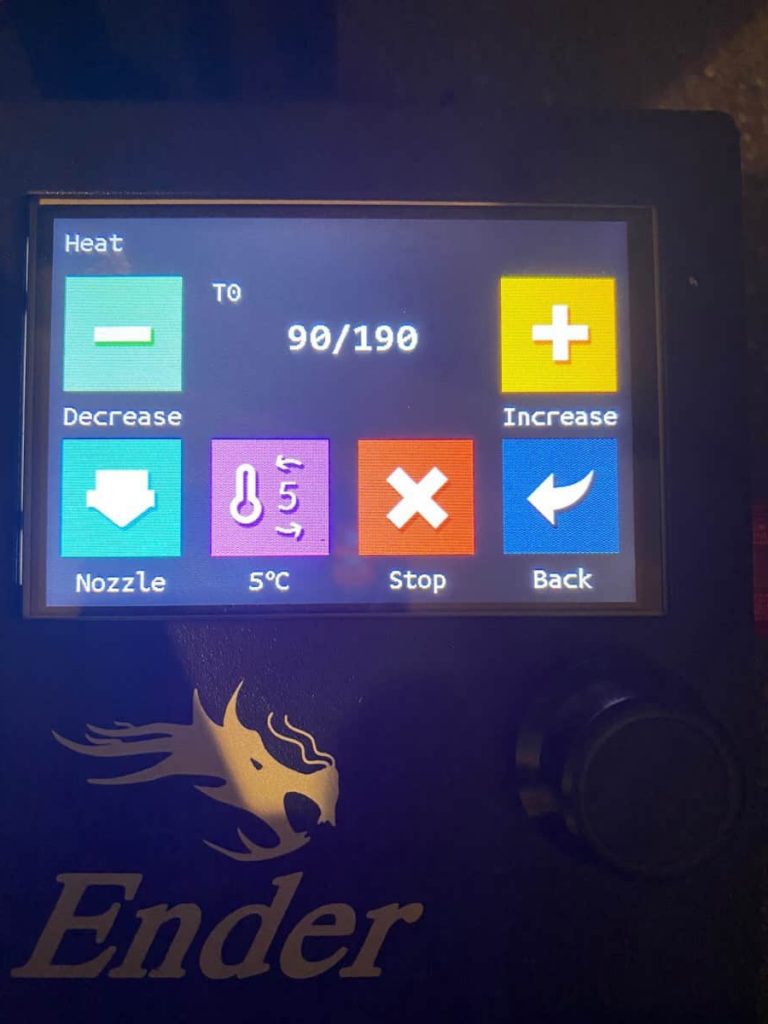
The first thing you will want to do is heat your build plate and nozzle to average printing temperatures. For me, I did 60 and 190 degrees.
You can do that by following these steps.
- Go to Nozzle
- Set to 190
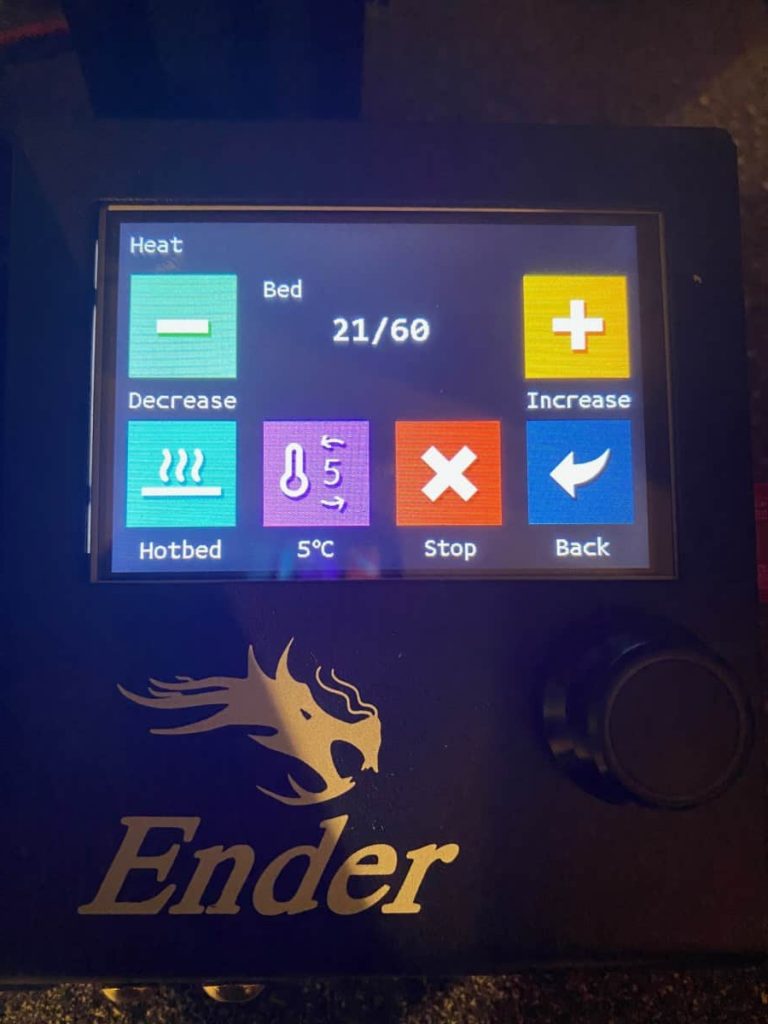
- Go to Bed
- Set to 60
- Wait for everything to get up to the set temperatures
Use the Z-Offset Wizard to Get Your Initial Z-Offset
Once everything is up to temperature, you will want to run the Z-Offset Wizard.
Steps to run the Z-Offset Wizzard
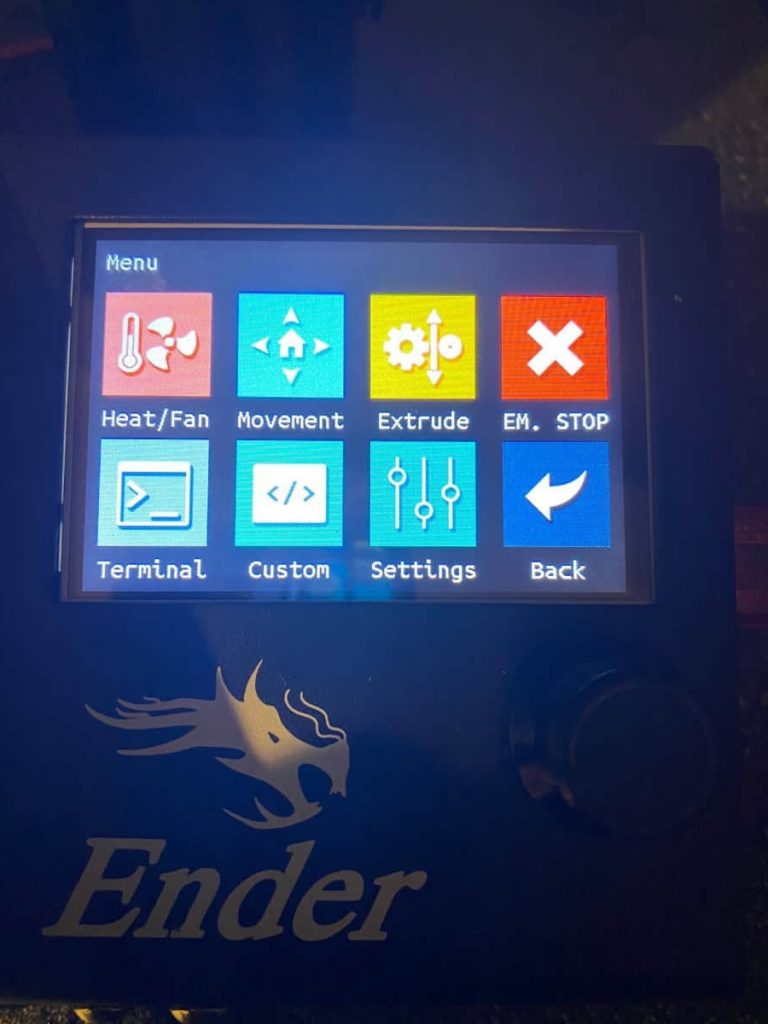
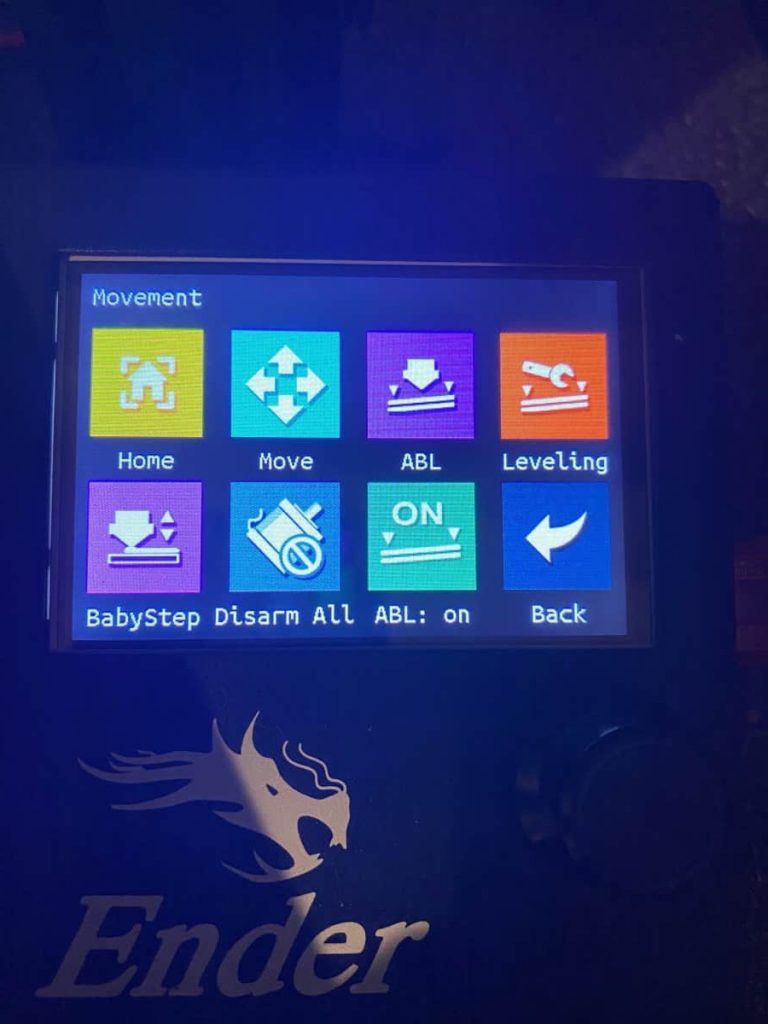
- Open the Menu
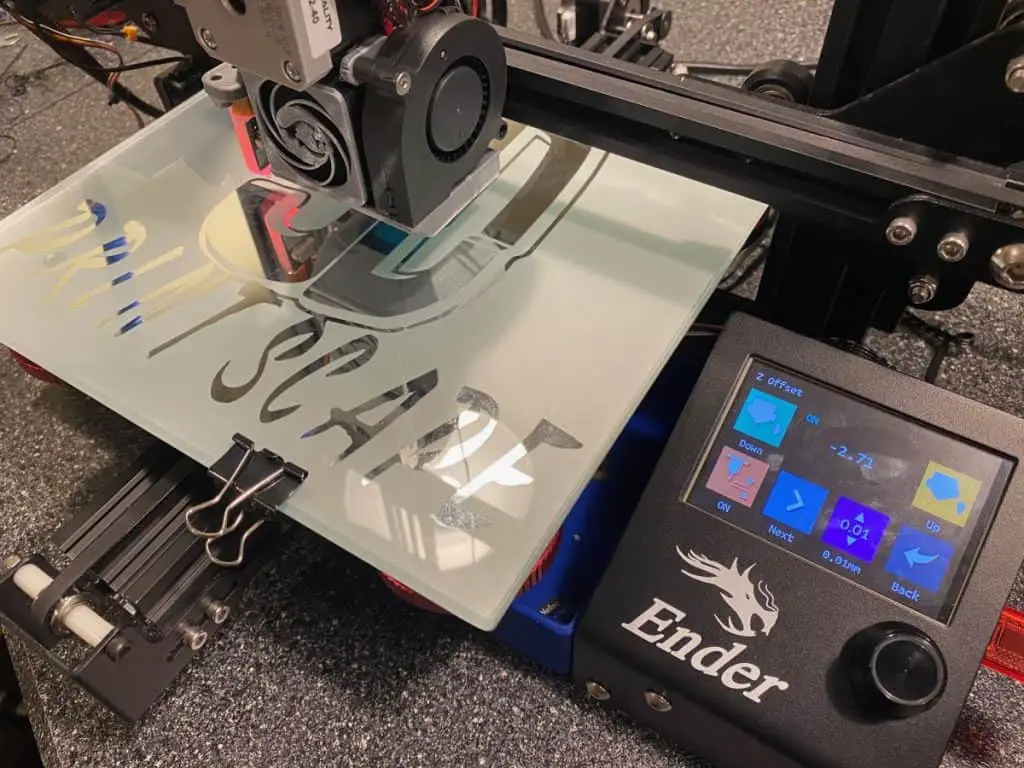
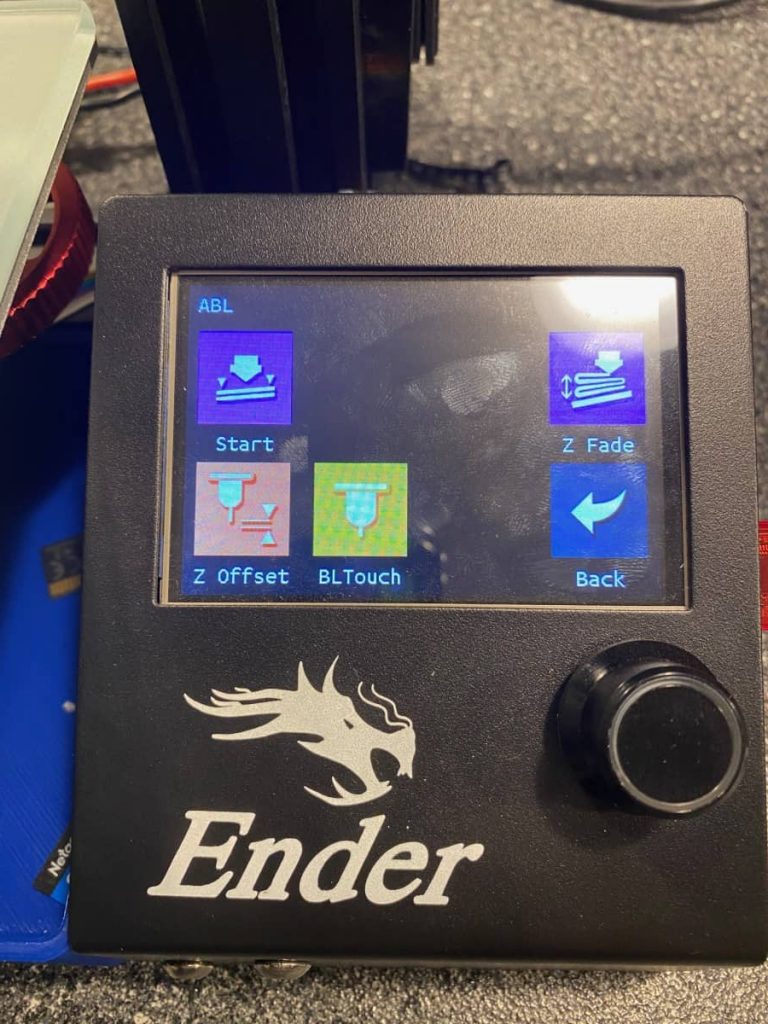
- Go to Movement – ABL – Z Offset
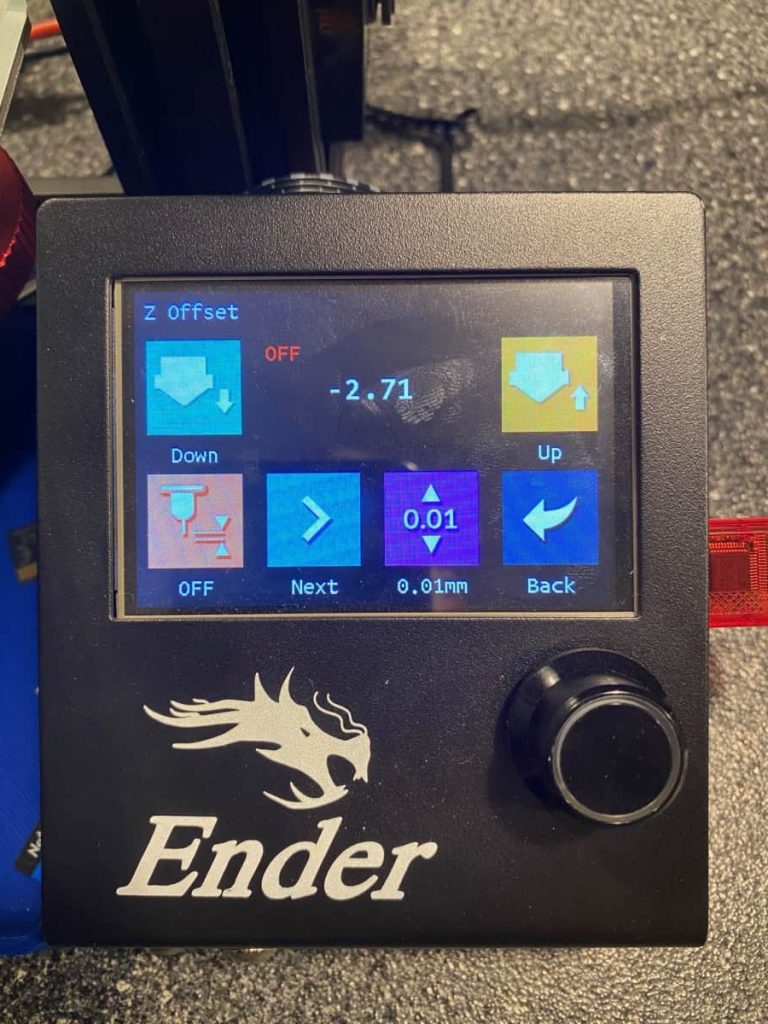
- Select Off at the bottom left to turn it on
- Lower the z-axis by 0.1mm until you get to paper height from the build plate
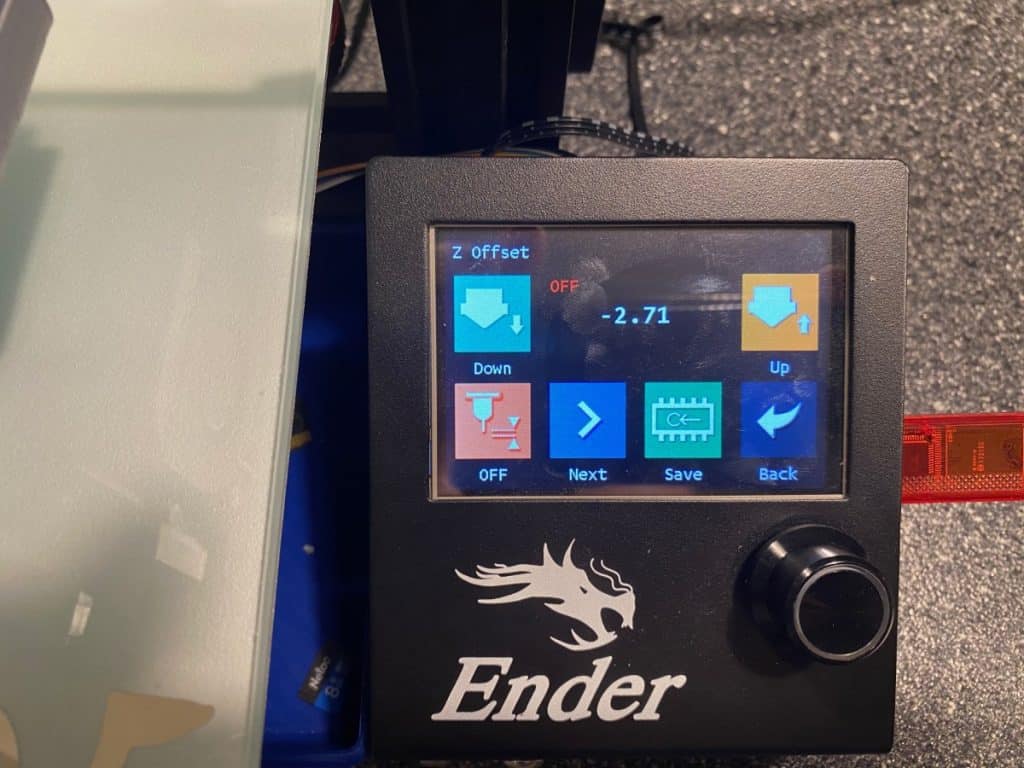
- Select next two times until you see Save
- Select Save, then click back until you get back to the main screen
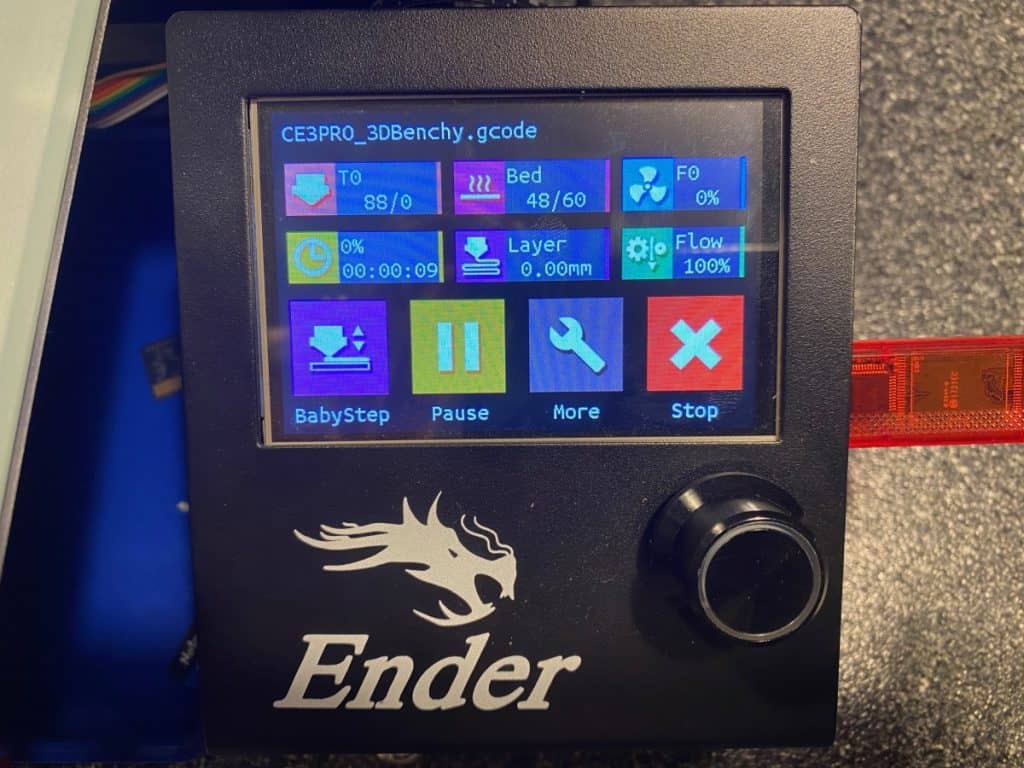
Kick-Off Test Print and Use Babystepping to Make Adjustments
Once you have your initial z-offset value set, you will want to kick off a test print so we can use babystepping to dial in the final z-offset value.
Steps to use babystepping to adjust the z-axis.
- Wait for the test print to start
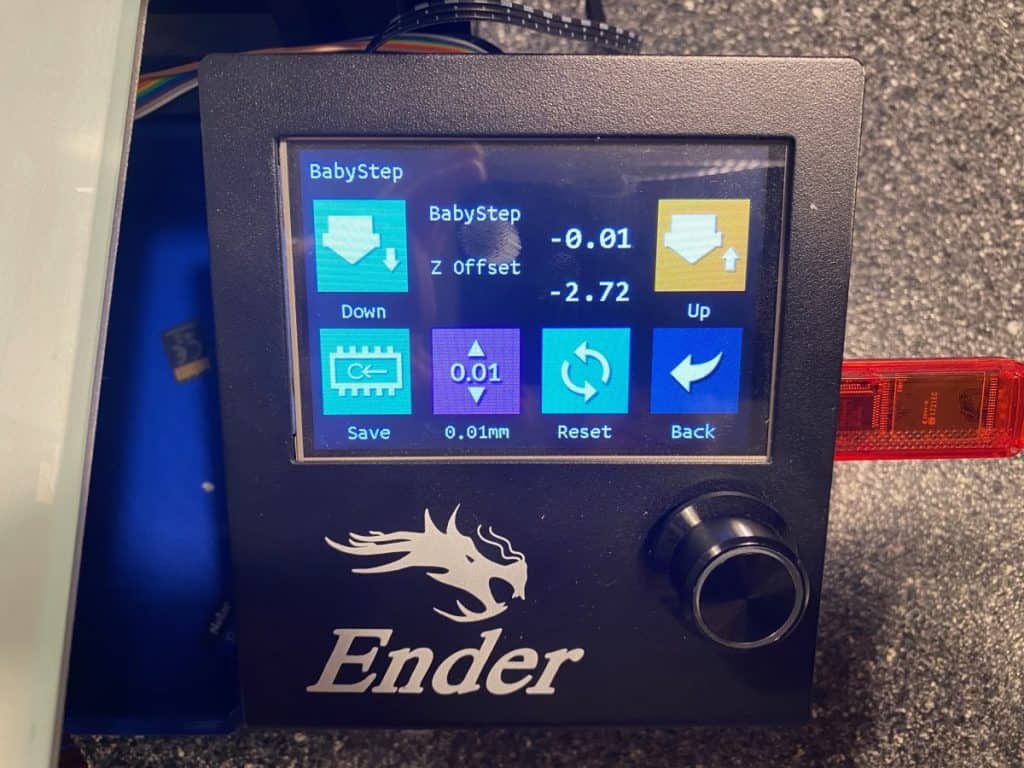
- Click on BabyStep
- Make adjustments, either up or down, until you have the right layer height
- Click Save, then click Back to return to the main screen
Next, you will want to kick off a test print and make sure the first layer looks right. If everything looks good your z-offset should be set correctly, and you shouldn’t need to make adjustments unless you alter how the BLTouch is mounted.
Related Questions
What if I don’t have a BLTouch? – If you don’t have a BLTouch, you won’t need to worry about setting the z-offset, but you will need to level the build plate manually.
What if I don have a TFT35? – If you don’t have a BTT touch screen, like the TFT35, you will need to enable the Z-Offset Wizard in the firmware by following this guide, “Z-Offset Wizard – Complete Guide!“ and use the interface you have.
Other Recommendations? – I recommend that once you get your firmware updated, BLTouch installed, and z-offset set correctly, I recommend calibrating your e-steps and printing a Temperature Tower.
Related Articles
- Guide to Install a BLTOUCH on a Creality 32-bit Mainboard
- Z-Offset Wizard – Complete Guide!
- Create a Temperature Tower Using Cura – The Easy Way
- Cura Profiles
- 3D Printscape Marlin Builds
Recap
Setting the z-offset used to be the most challenging part of installing a BLTouch, but BTT made the process much more manageable by building a Z-Offset Wizard into their touch screens. Utilizing the Z-Offset Wizard combined with babystepping gives you the ability to quickly and easily set your z-offset in a fraction of the time.
Make sure you check out our YouTube channel, and if you would like any additional details or have any questions, please leave a comment below or join us on Discord. If you liked this article and want to read others click here.
Hi Rob, I have an Ender 5 Pro with the Creality 4.2.7. board. I edited the firmware so that the printer starts printing again like it did stock with Creality 1.1.5. board right behind. Now I would like to install a touch screen, I can’t find a solution on the internet, but it seems to me that it should be possible with the right firmware adjustment. Is my thoughts right or am I wrong and if my thoughts are right then you have some tips. I am now familiar with Visual Studio. Please your advice.
What touch screen are you looking to add? If its the Creality one, im not sure they have the info public to make that and the bltouch work.
For the life of me I can’t get the z offset wizard on my printer. I downloaded the firmware file for my configuration. I have a Ender 3 pro SKR mini E3 V3 with BL touch, and TFT 35 Everything works fine on it, but I can’t get the wizard on my menu. Please help 😂
Can you look in the configuration_adv.h file to make sure #define PROBE_OFFSET_WIZARD is enabled. If it is, try to clear the eeprom on your board.