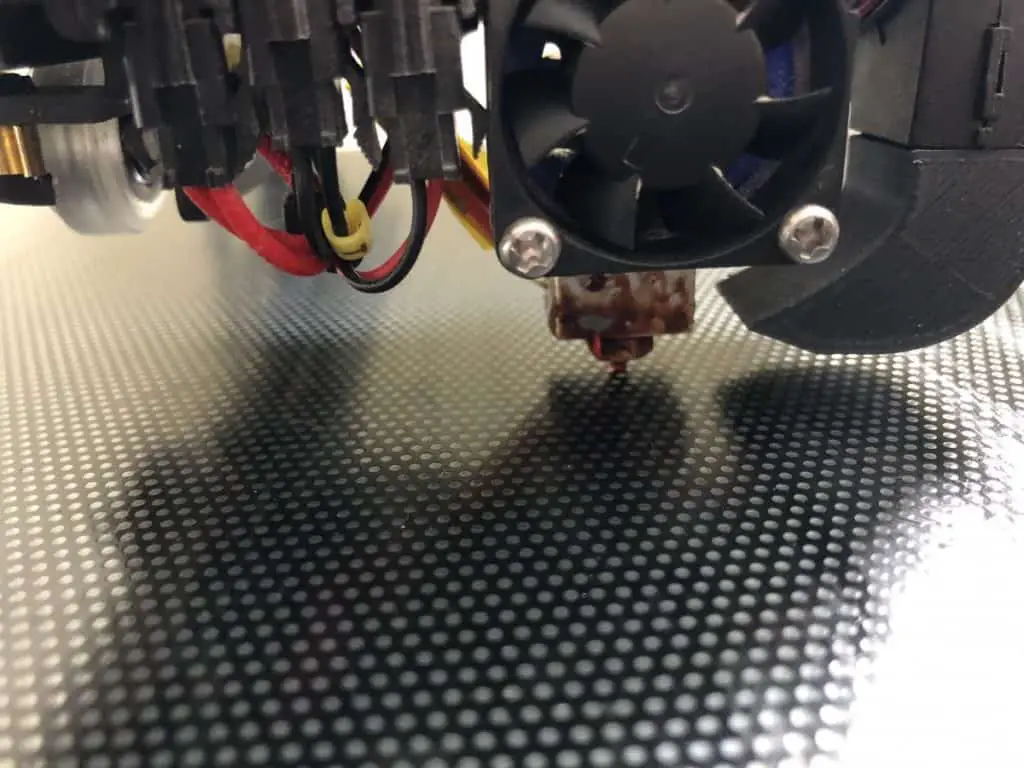
The nozzle of a 3D printer is closely responsible for how the 3D object turns out at the end of the day. When your nozzle gets worn out, it could affect the quality and appearance of the printed material. Fixing a worn-out nozzle first starts with understanding the signs that indicate that the nozzle might be faulty.
Here’s how to know if your 3D printer nozzle is worn out:
- Check if the 3D printer produces poor object quality.
- Examine the nozzle for scratches, bumps, and marks.
- Check if the nozzle diameter has slacked.
- Check if the tip of the nozzle has become dull.
When you use equipment, it’s only natural for certain parts to get worn out from time to time—especially the most utilized piece of the equipment. In this article, I’ll help you figure out if your nozzle is worn out and help you ensure that it stays in good condition.
1. Check if the 3D Printer Produces Poor Object Quality
The 3D printer works just like any other printing machine. It uses data from digital files to create a physical design. However, one thing distinct about 3D printers from different types is the material it prints out.
Unlike conventional printers that produce 2D-type materials, the 3D printer can help make actual objects. These objects can come in specific types, styles, colors, and shapes. It can also create designs in different sizes, colors, and forms.
One way to be sure that there’s a problem with your 3D printer is through the quality of objects it produces. When a 2D printer keeps growing blurry, low-quality materials, you know something is wrong with your printer.
It works the same way for a 3D printer. The nozzle is primarily responsible for the output, which means that the nozzle’s state determines the quality of the object produced.
While it’s not so in some cases, examining the quality of your print remains one of the surest ways to discover if there’s something wrong with your nozzle.
Look for straining, artifacts, spots that look like spaghetti, holes, bubbles, and weak layer adhesion in your model.
Once you notice a difference in the quality of objects your 3D printer usually prints, then something is wrong. While many other things could be the reason, the nozzle is always the first thing you should check.
2. Examine the Nozzle for Scratches, Bumps, and Marks
A 3D printer nozzle must be in perfect shape to produce the best-printed objects, just as in a sewing machine where a bent needle can affect the quality of a seam. Scratches, bumps, and marks on the nozzle are an accurate indication that something has gone wrong with it.
At times, these dings don’t affect the quality of the object printed. However, if not properly attended to and fixed, it could affect the quality of the printed models. It can also cause critical problems and affect the working condition of your 3D printer.
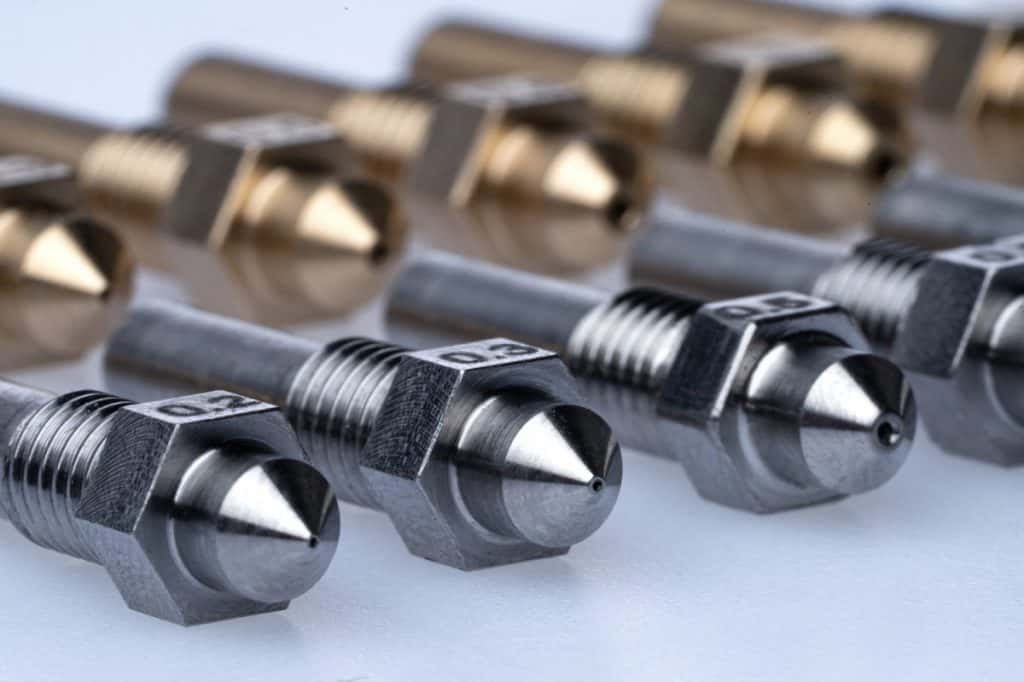
The nozzle of a 3D printer is made from different metals. Using the wrong metal with certain filaments and printers can damage the nozzle, often introducing bumps and marks from heat damage or chemical reactions with the filament.
Using the wrong materials together slowly but surely deteriorates the nozzle quality and affects the quality of the printed objects. When used over a long period, the nozzle of your 3D printer can also naturally deteriorate.
The best and most accurate way to spot nozzle deterioration is to check the nozzle periodically. Scratches, bumps, and marks on the nozzle are all the signs you need.
If you notice these damaged spots, you will need to replace your nozzle. When getting a new one, be sure to purchase one with the correct diameter for your printer. You should also do some research to ensure that you can use your favorite filaments with the nozzle.
For example, filaments requiring high print temps require a nozzle made from metal with a high melting point.
3. Check if the Nozzle Diameter Has Slacked
For the perfect 3D printing experience, all tools and equipment in use need to be in excellent shape. By closely observing your 3D printer and the quality of materials it prints out, you can easily spot a difference when the nozzle is faulty.
There are many reasons why your 3D printer nozzle can begin to misbehave. Amidst using the wrong nozzle for the inappropriate material or using your nozzle for an extended period, there’s another issue you can look out for when spotting a worn-out printer part.
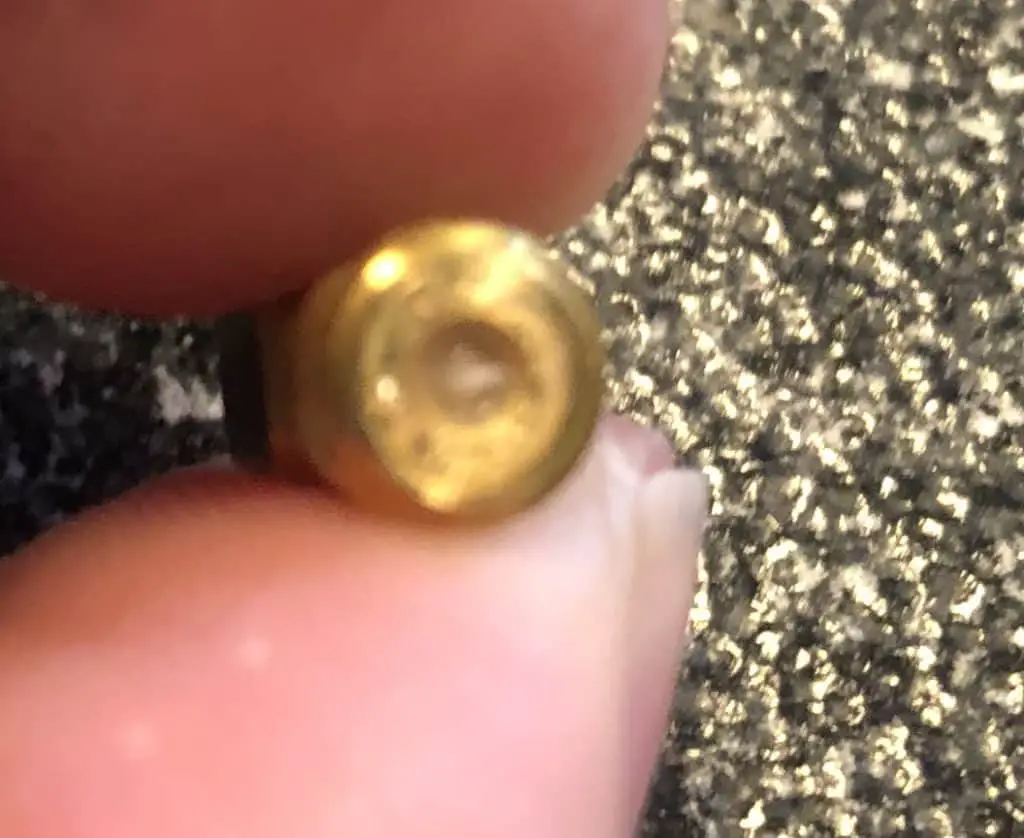
Another effective sign to know if your 3D printer nozzle is worn out is to check for the nozzle diameter. Every once in a while, the nozzle diameter can get slacked.
This enlargement of the nozzle spout can either be because of overuse or poor equipment management. It happens when the metals around the faucet melt or wear away from frequent printing or improper filament selection.
When the diameter increases, it means the nozzle of your 3D printer is experiencing slacking. While you can decide to visualize and observe this sign, it’s not 100% possible.
In light of this, you can also choose to run a quick test, compare and contrast, then narrow your options down to a slacked nozzle, and you’re well on your way to fixing the problem.
Slacked nozzles usually need to be replaced.
4. Check if the Tip of the Nozzle Has Become Dull
After a while, you might notice that the nozzle of your 3D printer has become dull, rounded, and shortened. This distortion remains the most obvious sign of a worn-out nozzle that needs to be changed.
This situation occurs when you use the wrong nozzle with a particular filament. After a while, it begins to affect the nozzle, making it dull, rounded, and shortened at the tip. As a result, the quality of your 3D prints drops drastically, and that’s a real problem.
When you begin to notice that the quality of your 3D prints has dropped, one of the best ways to know if the reason is a worn-out nozzle is to observe the nozzle itself. If the tip appears dull, rounded, or shortened, it’s time to change that nozzle!
Related Articles
- 3D Printer Nozzles (Detailed Overview)
- Quick Guide to Change the Nozzle on a 3D Printer
- 3D Printer Nozzle Hitting Prints or Bed – Common Causes and Fixes
- How Often Should Level a 3D Print Bed?
- Glass Bed Upgrade – Complete Guide!
Conclusion
Proper maintenance and management are vital to having a better and more functional nozzle.
Here are some things you can do to ensure the nozzle is in perfect working condition:
- Periodic cleaning. While this might not clear out all the problems, it works well enough to prevent most issues.
- Always use the proper nozzle with suitable materials. Consider the hardness to prevent dull and shortened tips.
- Change your nozzle every 4-6 months.
Make sure you check out our YouTube channel, and if you would like any additional details or have any questions, please leave a comment below or join us on Discord. If you liked this article and want to read others click here.