There are hundreds of apps available that enable your phone to perform 3D scans. Most apps work by processing multiple photos to recreate almost anything from the physical world, this is called photogrammetry. After processing all the images taken during the scan, the application saves the file and makes it available for you to use in a virtual environment.
I’ll give you the best practices I’ve found for 3D scanning, whether it be a model on a desk or even scanning yourself. Then I’ll give you a few examples of reputable phone 3D scanning apps.
There are many ways to make use of 3D scanning with your phone. You can scan your head and load it into Cura to size parts according to the body of the person they’re going on. If you want to scan your entire body for 3D printing or game development, you’ll be able to get the job done with almost any phone that has a decent camera. You’ll also need someone to scan you.
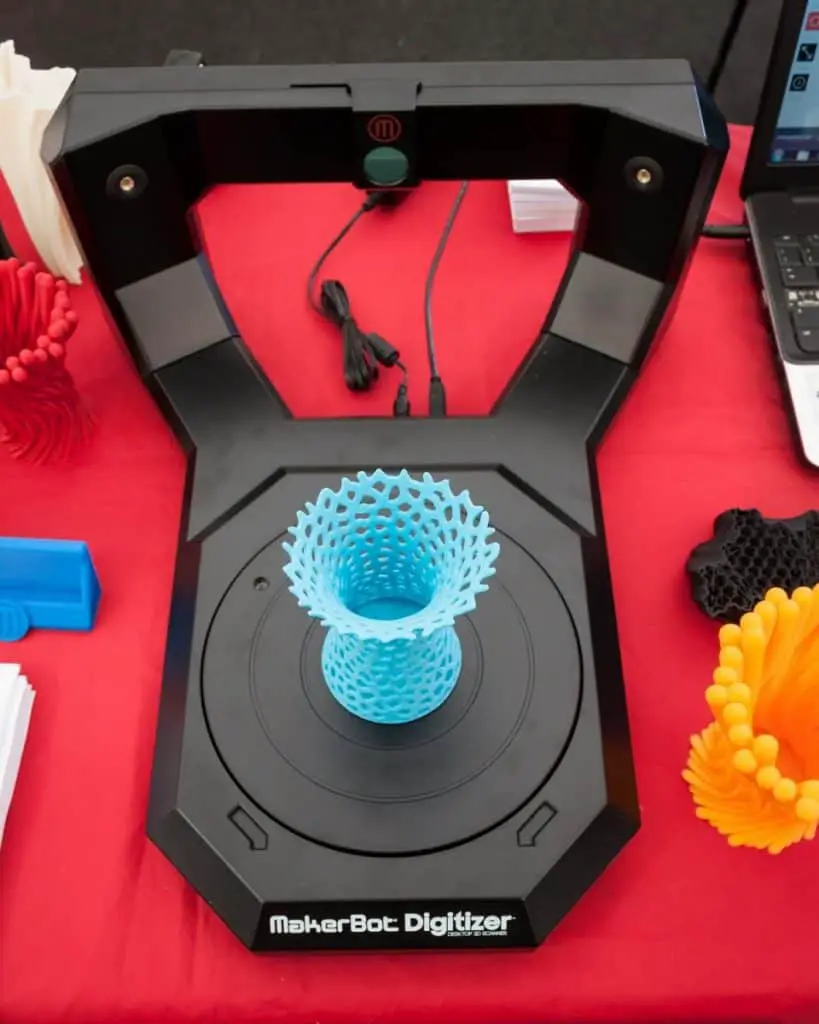
How To Scan A 3D Image With A Phone
Install a 3D scanning app like one of the recommended applications in this article and follow the instructions to start scanning an object. You’ll need to move around the object to get all its geometry. The object must be well lit, soft light is best. Also, rotate the object instead of walking around it to make the process easier.
Rotating the object is easy if you have a rotating display table this one these on Amazon, but if you have anything with a bearing inside, like an old office chair or used skateboard wheels, I’ll share a simple design to make your own rotating table.
Using one of these turntables, also known as a “lazy suzan”, will make everything a lot quicker and the scan will be more accurate because you’ll be holding the phone still while you scanning.

Basic Rotating Display Table Designs
If you can find an old office chair, you can convert it into a rotating display stand. The only condition is that the chair has a removable backrest so that you can do a 360° scan without it getting in the way.
After removing the backrest from the chair, find a flat surface of your choice to put on top of the soft cushion of the chair. Even if you only have a square-shaped surface to put in the chair, just make sure you scan close enough to keep the corners of the surface out of the frame.
The last piece of advice is to attach a string to the bottom of the chair so that you can pull on it to rotate everything while you stay stationary with your camera.
You can also use a wheel from an old skateboard or roller skates. Just glue the display surface to the bearing in the middle of the wheel. Lay the wheel down on a workbench, attach a small spacer onto the bearing of the wheel, after the glue dries, glue a flat surface onto the spacer. The lower the display table is, the more secure and balanced it will be. So don’t raise it up too much.
If you have a fidget spinner from a few years ago, you can finally use it for something functional. The concept works the same as an old wheel. Just lay the spinner down on the workbench and glue a spacer to the middle of the fidget spinner. Plastic bottle caps work well as spaces on fidget spinners. After the glue has dried between the spacer and the bearing of the fidget spinner, lay the flat surface on the bench and glue the spacer down.
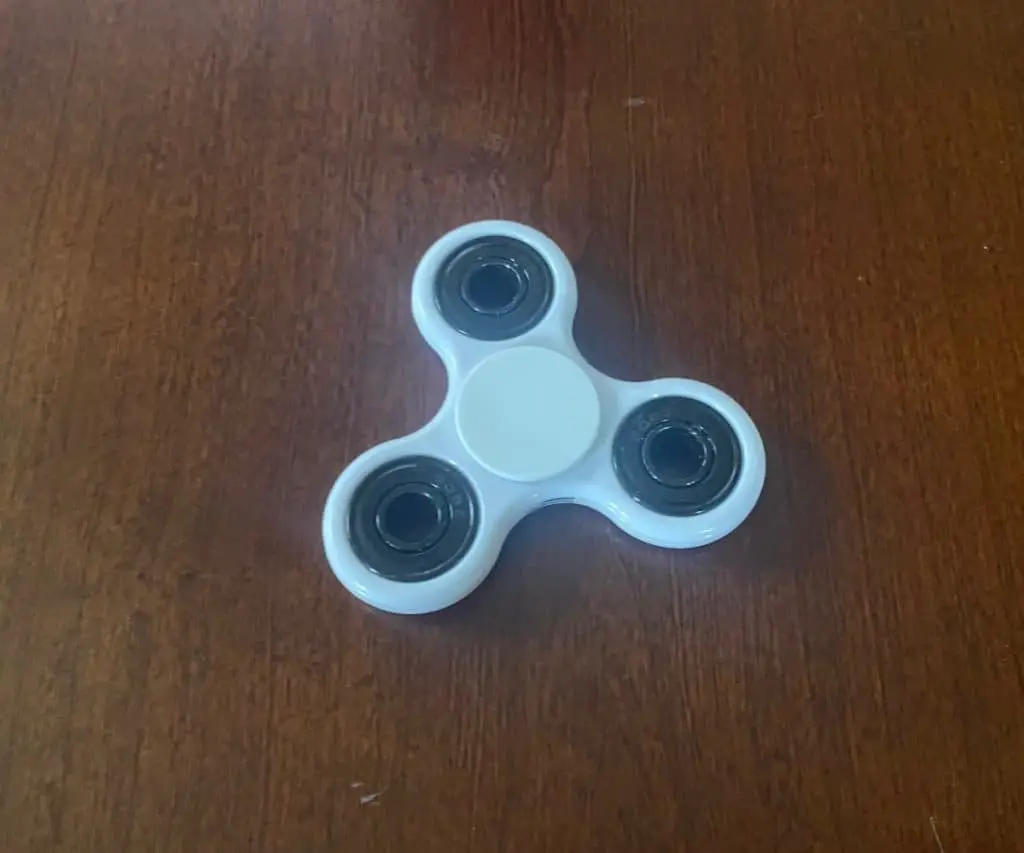
For the other side of the fidget spinner, glue three more bottle caps on each corner to create a base.
Best Practices For 3D Scanning With A Phone
These best practices are for achieving the highest quality 3D scan possible. But if your lighting isn’t perfect or you deviate in distance and height while scanning, the software should still be able to figure things out to a certain extent. Having said that, here are the ways that I ensure 3D scans are as best they can be.
The object must be well lit
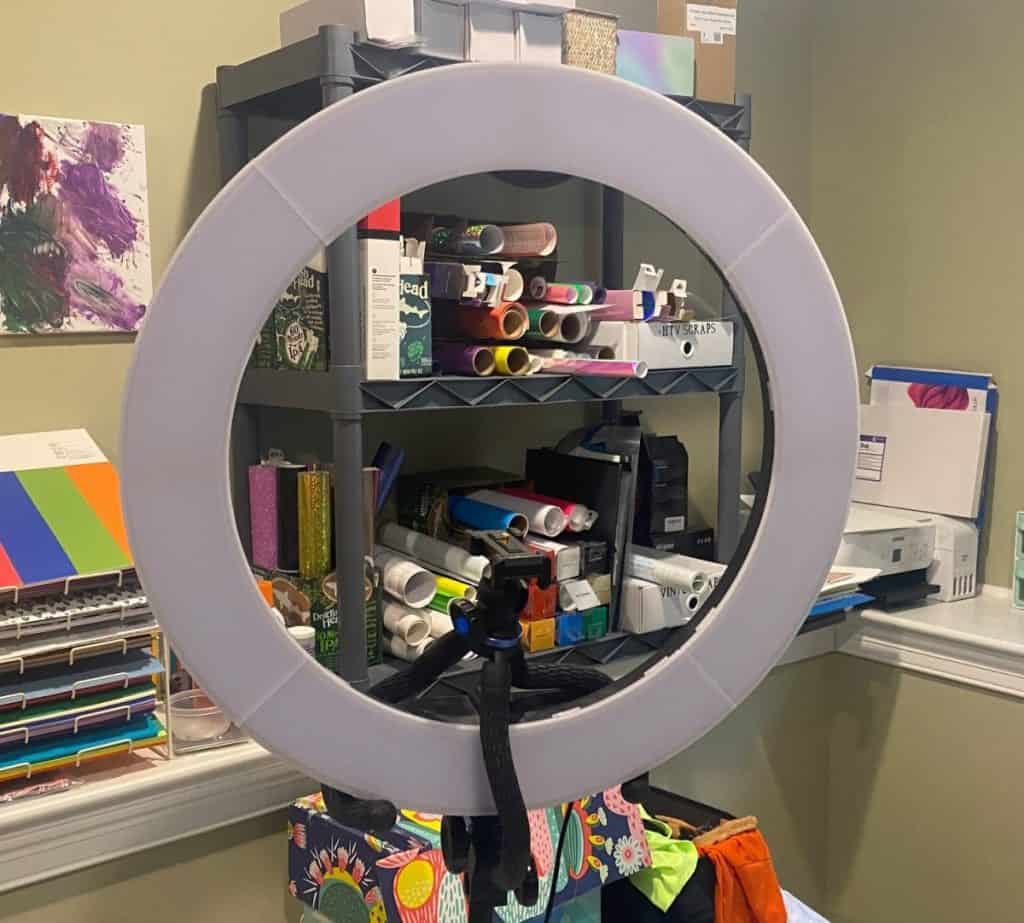
The most important aspect of 3D scanning with a phone is that there is enough light to make the object clear to your phone’s camera. To scan an object accurately, you’ll need to illuminate it with lights from every angle or perform the scan outside. If you perform the scan outside, overcast weather is better than sunny because the clouds act like diffusers to spread the light over the object evenly. The sun will also cast shadows on your model and ruin the scan.
Maintain your distance from the object
You need to retain the same distance from the object you’re scanning at all times during the scan, even though you’ll be circling around it. If you take a step back, the object will appear smaller at that angle and if you take a step forward, the object will be oversized compared to the rest of the scan.
One way to help yourself maintain the same distance at all times is to mark off a perfect circle from the center of the object to the distance you’ll be scanning at. To do this, use a piece of string to measure the distance as you move around the object. If the object is heavy enough, you can place it on top of the string and hold the other side while stepping around the object.
Create a point of reference for round objects
Round objects like cups or balls are difficult to scan because as you rotate around them, the phone doesn’t pick up all the movements because the shape of the object doesn’t change much as you circle it.
To overcome this obstacle, place a small cube next to the object you’re scanning and scan both of them at the same time. This will give the application a separate point of reference to look at for better movement detection.
Maintain your height for every rotation
In the same way that keeping your distance from the object helps to keep the geometry accurate, so does keeping the same height as you scan. The only time that you should increase or decrease the height of the camera is once you’ve completed a rotation around the model. If you bend or straighten your knees while circling the object, some areas won’t be scanned accurately.
To keep a constant height while circling the object, don’t change the posture of your body. Try to keep the phone at the same height from the beginning of the rotation and only estimate the height on a new rotation.
How To 3D Scan Yourself
For 3D scanning yourself, all the same rules apply, but if you don’t have enough artificial lighting for your whole body, it’s best to take the 3D scan outside on an overcast day. If it’s sunny, you might get shadows that will mess with the scan.
Of course, you’ll need someone to do the scanning because you’ll have to stand completely still for the entire scan which should take at least a minute to get a high resolution.
Without any assistance, you can still scan your head and chest perfectly if you have a chair that rotates. You’ll also need to take the backrest off so it doesn’t impede the scanning. Set your phone up on a tripod and spin on the chair while the phone captures all the images. Repeat the process at different heights and angles to complete the scan. Make sure that your head is rotating in line with the center of the chair.
If you don’t want a hole in the top of your virtual head, you’ll still have to scan it. Reach over from the side and pick up the phone. Keep the phone at the same distance and move it above your head while keeping your head still.
That should complete the scan, save and export the file into a program like Blender to work with it.
How Accurate is Phone 3D Scanning?
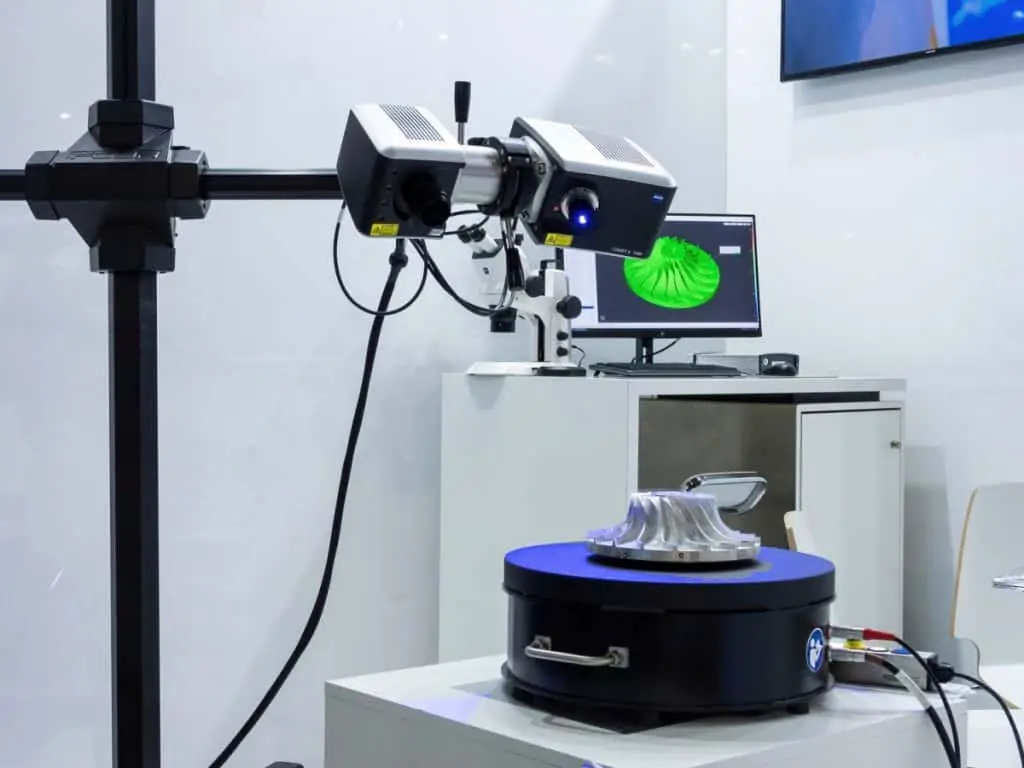
Phone 3D scanning can be as accurate as <1.5mm, you can compare this to a portable 3D scanner which has an accuracy of around 0.1mm. Even though a phone doesn’t scan as accurately as a dedicated 3D scanner, it does a decent job and even passes the requirements for medical 3D scans. Ref: ncbi.nlm.nih.gov
So 3D scans with a phone are fairly accurate, as long as it has facial recognition technology and you’re not just using the camera alone. With the camera alone, the accuracy of your 3D print will depend on the quality of the camera and the capabilities of the software that will process all the images.
The better the camera, the higher the accuracy. DSLR cameras will always be able to take higher quality photos, but most cell phones are perfectly adequate for anyone who is just experimenting or printing a 3D model for personal use.
Best 3D Scanner Apps (Android and iOS)
Qlone 3D Scanner (Android and iOS)
Qlone uses the camera on your phone to capture the object in 3D. You just need to print the AR mat out and place objects on it to be able to scan them. You’ll need to circle the object around three times to capture all its angles. The size of the object you can scan will depend on what size you can print the AR mat in.
Exporting the file is a premium feature, so you’ll need to pay to get it into editing software.
Qlone is a great app to experiment with 3D scanning with your phone and offers fair pricing for premium features. Here are links to it on the Google Play Store and Apple Store. Qlone Android Qlone iOS
Scandy Pro (iOS)
Scandy Pro is an accurate 3D scanning app for iPhone models X, 11, and 12 series devices. The facial recognition technology in these phones is what the app needs to make 3D scans as perfect as possible.
Scandy is based out of New Orleans and has round the world experience in 3D technology. Their core principles for the application are for the user to create, view, edit, export and analyze a 3D model with their phone.
To get started with Scandy Pro, you might need to go into the settings in the top right corner of the application. Then go to “Advanced Preferences” and switch on “Texture Mapping”
With texture mapping on, go back to the camera on the app and select the multicoloured circles. Then choose texture map from the options. Then move around the object, capturing all of its angles while following the best practices I mentioned earlier.
Here’s the link for Scandy Pro on the Apple Store. Scandy Pro
Bellus3D FaceApp (iOS)
Bellus3D’s FaceApp is another app that only works with iPhone X and later models. It’s a simple-to-use app that only charges you for exports.
Once you’ve made the scan, FaceApp uses proprietary and sophisticated vision processing to create a realistic virtual model of your head. The camera uses 30 000 infrared dots to capture a person’s head and face, which you can export in OBJ or STL format.
You can download Bellus3D from their website here: Bellus3D
Related Articles
- 3D Printer Speed VS Quality
- Create a Temperature Tower Using Cura – The Easy Way
- Cura Profiles
- What Is The Best Primer For 3d Prints?
- Best PLA Glue – The Answer Inside!
- 3D Printer Nozzles (Detailed Overview)
Conclusion
3D scanning with a phone has become a lot more viable in the last 5 years (2016 to 2021), mostly because of how well photogrammetry has developed, but also because of the face scanning technology in high range cell phones.
The resolution of a 3D scan created on a cell phone isn’t as high in resolution as a portable 3D scanner, but it’s good enough to get the job done for most of us, especially if it’s just for personal use. Having said that, it does fit the requirements of being valuable to certain medical fields already.
Make sure to give your phone the best scanning environment possible by following the best practices in this article, especially the lighting section.
All the best applications for 3D scanning have a fee to pay if you want to export any files, but you can pay a small amount for single exports in most cases.
Make sure you check out our YouTube channel, and if you would like any additional details or have any questions, please leave a comment below. If you liked this article and want to read others click here.
