3D printing is an amazing technology because 3D printers are seemingly capable of creating a lot of different things out of what seems to be nothing. This means that there are plenty of different things that you can do with a 3D printer. And if you are still in school or if you have a child in school, the good news is that you can use your 3D printer for neat science projects that will easily impress teachers and classmates alike. So, what science projects can you make with a 3D printer?
Some science projects that you can make using your 3D printer include:
- Volcano
- Solar system
- Cutaway Earth model
- Skeletal system
- Digital sundial
In truth, there are simply plenty of different things that you can do with a 3D printer. As such, there are plenty of different science projects that you can make using a trusty 3D printer. In that case, it is up to your imagination and your skills in terms of creating different 3D models that can be printed. Once you have that covered, you might end up winning that blue ribbon at the science fair.
What science projects can you make with a 3D printer?
When it comes to 3D printers, there are plenty of different things that you can 3D print as long as the model fits the parameters of what the printer can do. Thankfully, most school science projects aren’t that demanding when it comes to 3D printing. As such, you or your child should be able to print these neat science projects:
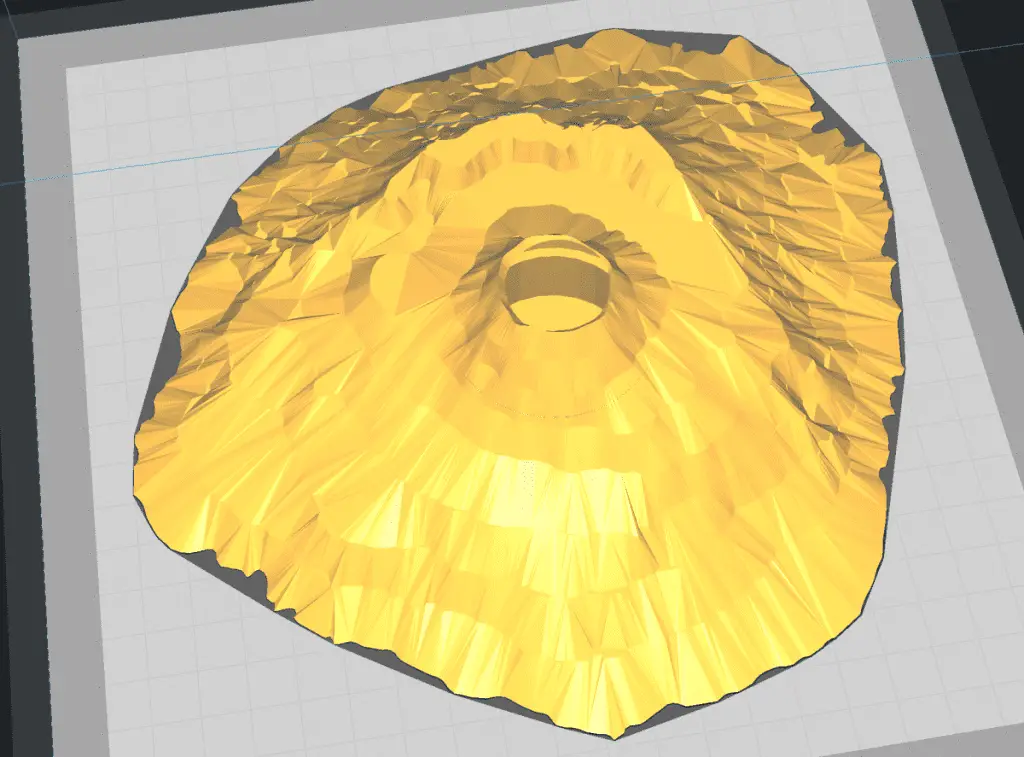
1. Volcano
There is nothing that can beat the old traditional volcano science project. The volcano has always been a favorite among different students when it comes to science projects. But while most of the other students in your class are using the classic water bottle technique, you can beat them by using your 3D printer to print out the volcano itself.
If you are particularly skilled at 3D modeling, you can design the volcano on your computer. This is going to impress your teacher because it takes skill and precision to create an accurate 3D representation of a volcano. However, if you don’t have the skills, you may be able to find some STL files of a 3D volcano on the internet, like this one on Thingiverse.
After printing the 3D volcano, what you can do now is to stick with the classics. You can use the old white vinegar and baking soda technique while mixing it with some red food coloring to create a chemical reaction. But instead of doing it in a water bottle covered with clay to form a volcano, you are now doing it inside a 3D-printed volcano.
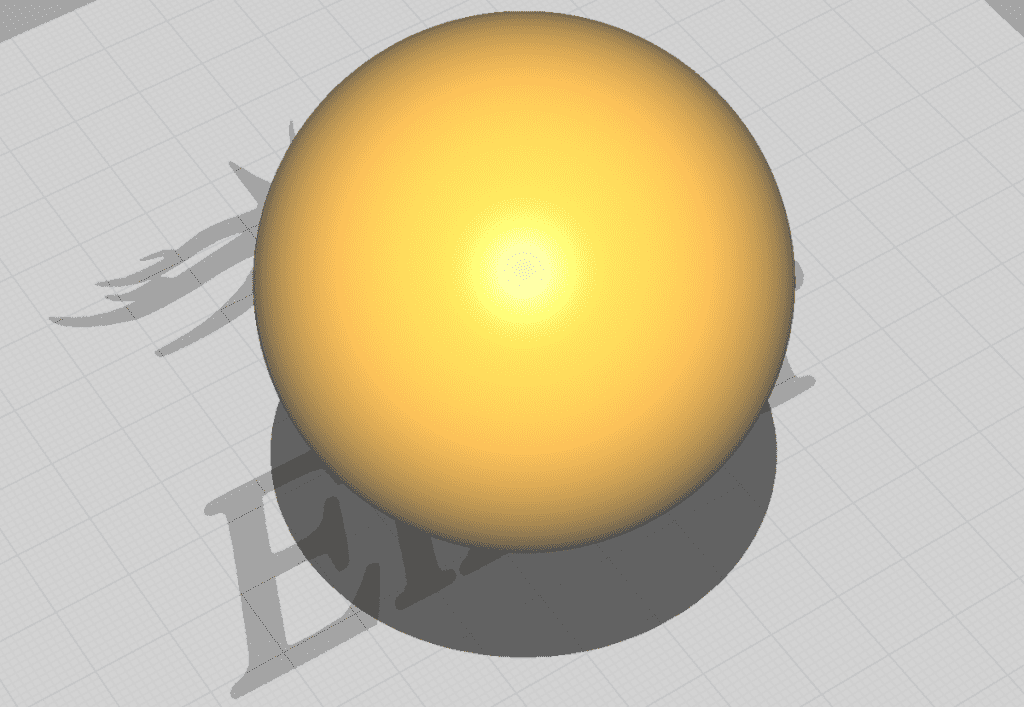
2. Solar system
Another cool science project that you can create using your 3D printer is a solar system, like this one. Now, what you need to do here when you create a solar system is that you have to individually print all of the different planets while getting their relative sizes right. And that can impress teachers because it should take a good level of scientific knowledge to understand how big a planet like Jupiter is relative to the size of the Earth.
So, the important thing to take note of here is that you should be able to create an accurate scale of the sizes of the planets relative to the size of the Earth. Going back to our Jupiter and Earth example, it would be neat to be able to create a smaller Earth compared to a large planet like Jupiter, which is 11 times wider than our planet. From there, you can also 3D print other planets based on how they are relatively smaller or bigger than Earth.

3. Cutaway Earth model
A cutaway Earth model is basically a model of our planet including its different layers. That means that this 3D model should be made of several parts that are put together so that you can showcase the Earth and its different models. The great thing about this science project is that you are going to be able to showcase your skills in creating a 3D model of the Earth while also boasting your knowledge of the different layers of the planet.
The tricky part here is that you will have to start from scratch using different shapes that you will have to put together to create a cutaway model. Basically, you will put the shapes together using a bottom-up approach until you are able to form the planet Earth. However, the final product will show a cutaway part that showcases the different layers of the planet.
You can check this page out if you want to see detailed instructions on how you can do this science project.
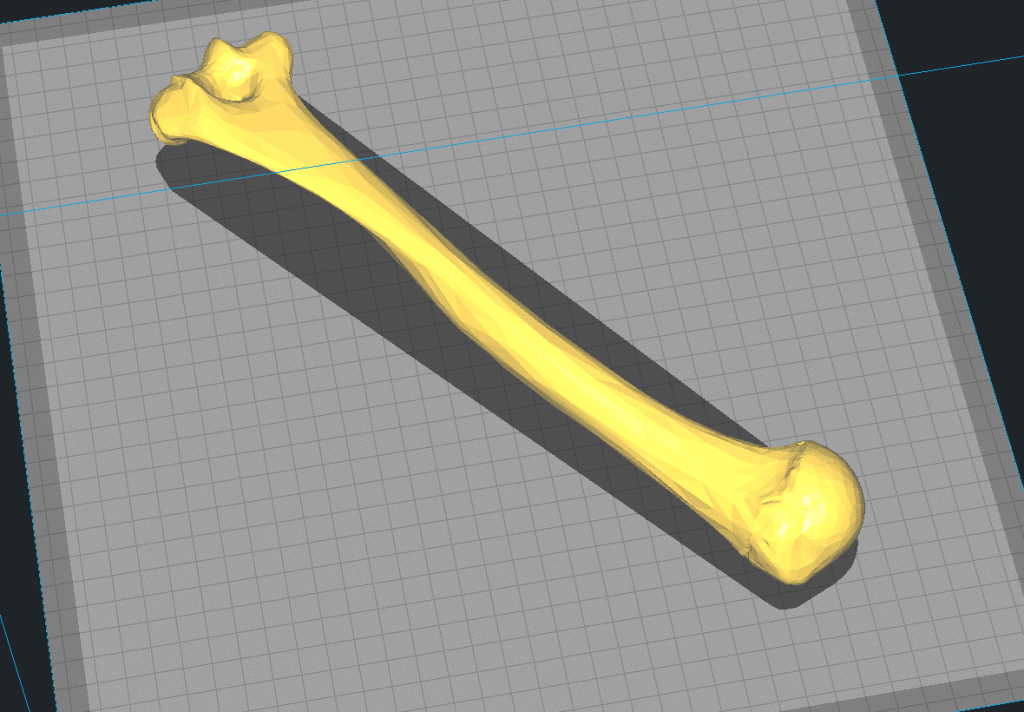
4. Skeletal system
Similar to a cutaway Earth model, a skeletal system project is also a good way for you to get that blue ribbon in that science fair as you individually print all of the different parts of a human body’s skeleton and then put them together to form the entire skeletal system.
The reason why this can be a good science project to do is that it showcases a good knowledge of the parts of the human skeletal system. On top of that, being able to create 3D models of the different bones in the body is a good way to prove that you know the shapes and sizes of each bone in the body.
All you need to do at the end is to put the different bones together to complete the entire skeletal system. Of course, it would be great to be able to put labels on each of the different bones or parts of the skeletal system for a more accurate representation of your knowledge. An example would be this right humerus on Thingiverse.
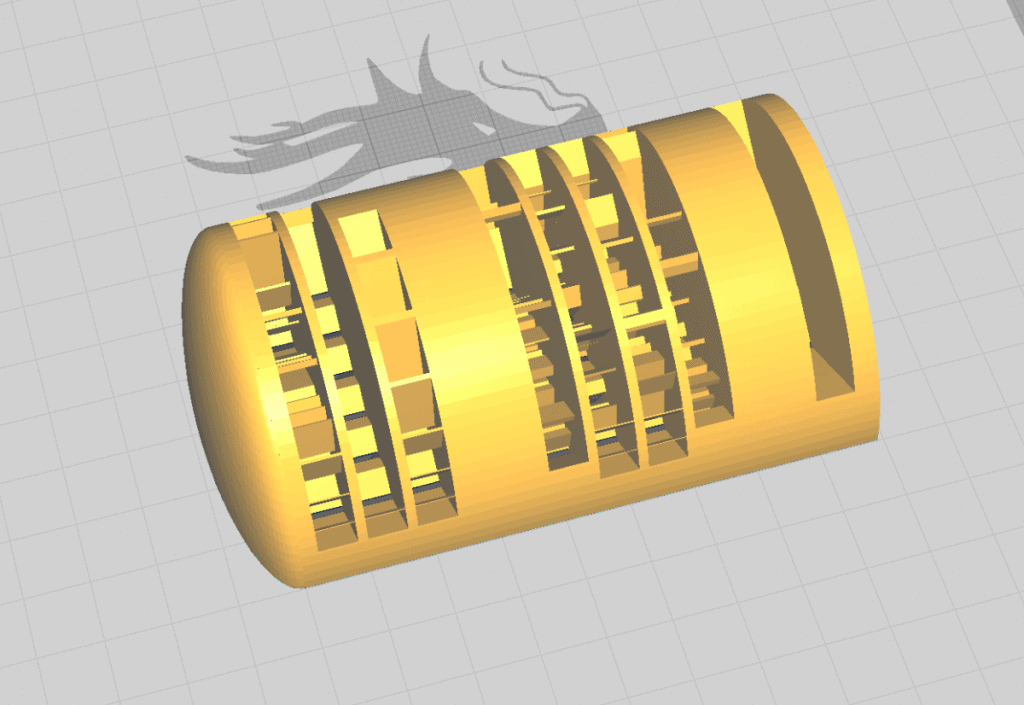
5. Digital sundial
The sundial used to be the basis of how people were able to tell time. This was before the invention of the clock. However, in this science project, you are going to be building a digital sundial in the sense that the sundial still relies on the positioning of the sun. However, the different holes on the sundial will show a digital time whenever the sunlight hits them relative to the position of the sun.
So, what will happen here is that the sundial is still a regular sundial in the sense that its shadow is the basis for telling the time. But you have to be able to 3D print different holes on the sundial to show the digital representation of the time. This will impress your teachers and classmates alike because of how accurate the time will be based on the positioning of the sun and on the different holes on the sundial.
Check this page out if you want to see more detailed instructions on how to do this project.
Related Articles
- Can a 3D Printer Print Anything?
- Is It Illegal to 3D Print Lego Pieces?
- What Is the Best Filament for Printed Lithophanes?
- How to Print a File from Thingiverse (The Easy Way!)
- Create a Temperature Tower Using Cura – The Easy Way
Make sure you check out our YouTube channel, and if you would like any additional details or have any questions, please leave a comment below or join us on Discord. If you liked this article and want to read others click here.