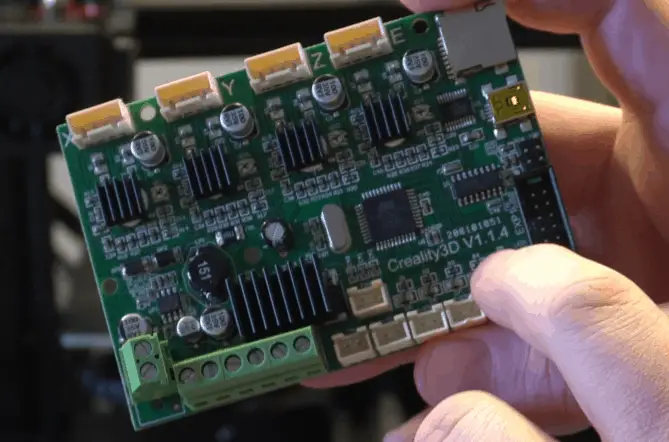
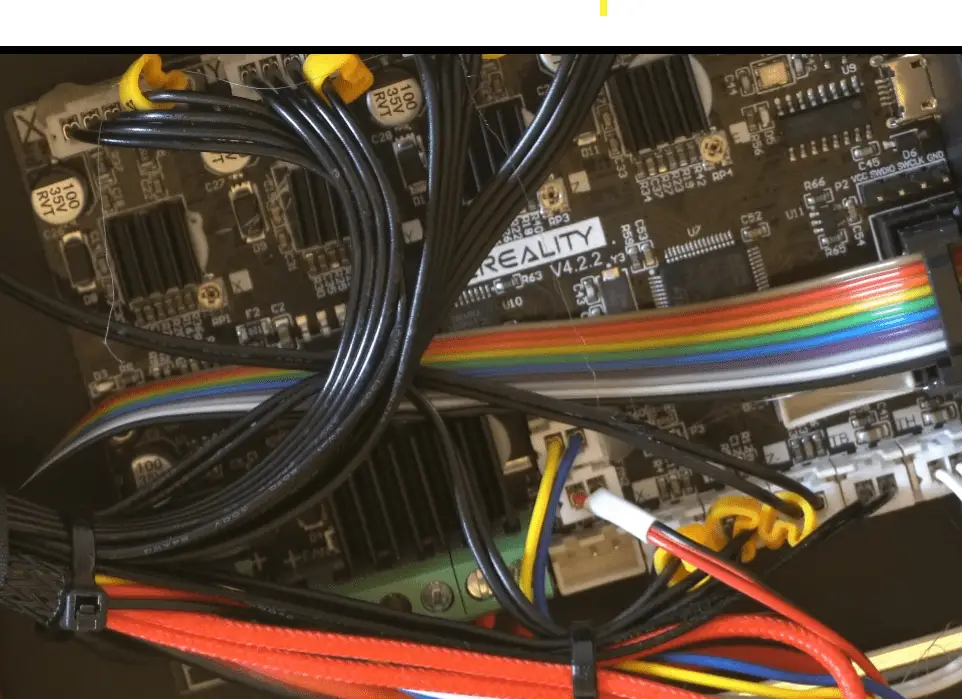
Upgrading the firmware on a piece of technology is one of the most overlooked tasks in the technology world, and the 3d printer hobby is no different. When someone buys a new piece of technology, they tend to just want to plug it in and start using it. Doing this can lead to you being left with bugs that have already been fixed and missing features. This is an easy fix if you have a new Creality printer that has a 32-bit mainboard.
Here are the steps to upgrade the firmware on a Creality 32-bit mainboard.
- Get the Version of the Mainboard That Is In the Printer
- Get Current Firmware Version from Printer
- Download the Firmware Package
- Move Firmware Package to SD Card
- Install the New Firmware on the Printer
*This process assumes you have a Creality 32-bit mainboard and plan to upgrade it using the pre-compiled Creality firmware. If you’re looking to build custom firmware, you will want to follow this guide “Marlin Firmware on Creality Board – Complete Guide!“.
** This process has been tested with the Creality 4.2.2 and 4.2.7 mainboard.
Why Upgrade the Firmware?
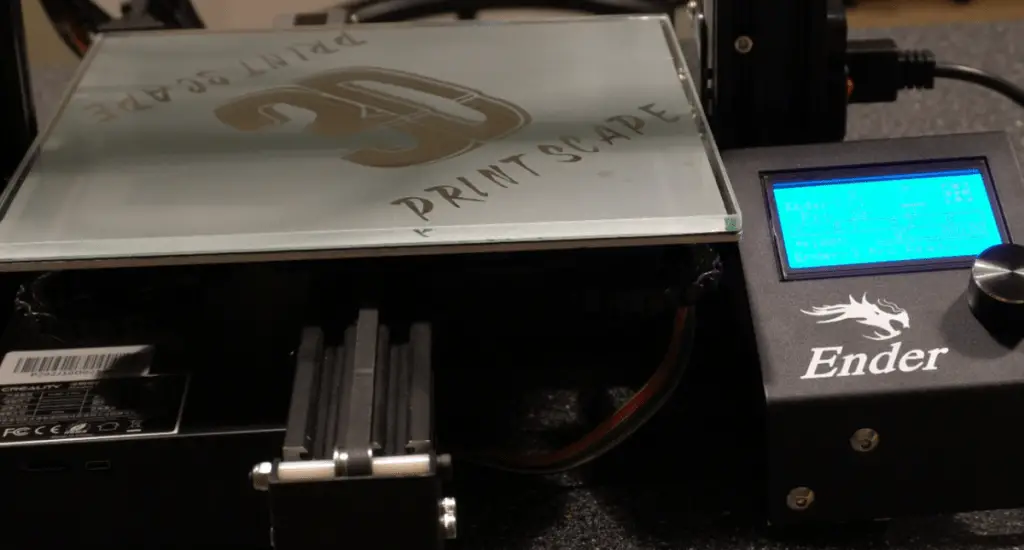
Firmware is code that is written on read-only memory that provides the hardware instructions on how to communicate with other hardware. Like any form of code, there are bug fixes and new features released in new versions. It’s also worth noting that many vendors won’t provide support if you are on outdated firmware and will force you to upgrade for them to help out.
For this reason, I recommend that you only upgrade to a version that has been out for a while and stable. I don’t recommend running a nightly build unless there is something in it that you want/need.
Step-by-Step Firmware Upgrade Guide
Requirements
Required Hardware
*Links are to Amazon and for the products I use.
Step-by-Step Guide
Get the Version of the Mainboard That Is In the Printer
The first thing you need to do is get the mainboard version that is in your printer. Unfortunately, there is no way to get the version from within the software, so we must get it from the board itself. There are two ways to get that.
The easy way which should work in most cases is to put the printer on the side and look through the vents on the bottom to see if you can see the version. This should work most of the time, but if you can’t see the version, you will need to take off the panel around it to expose the board and get the version.
Get Current Firmware Version from Printer
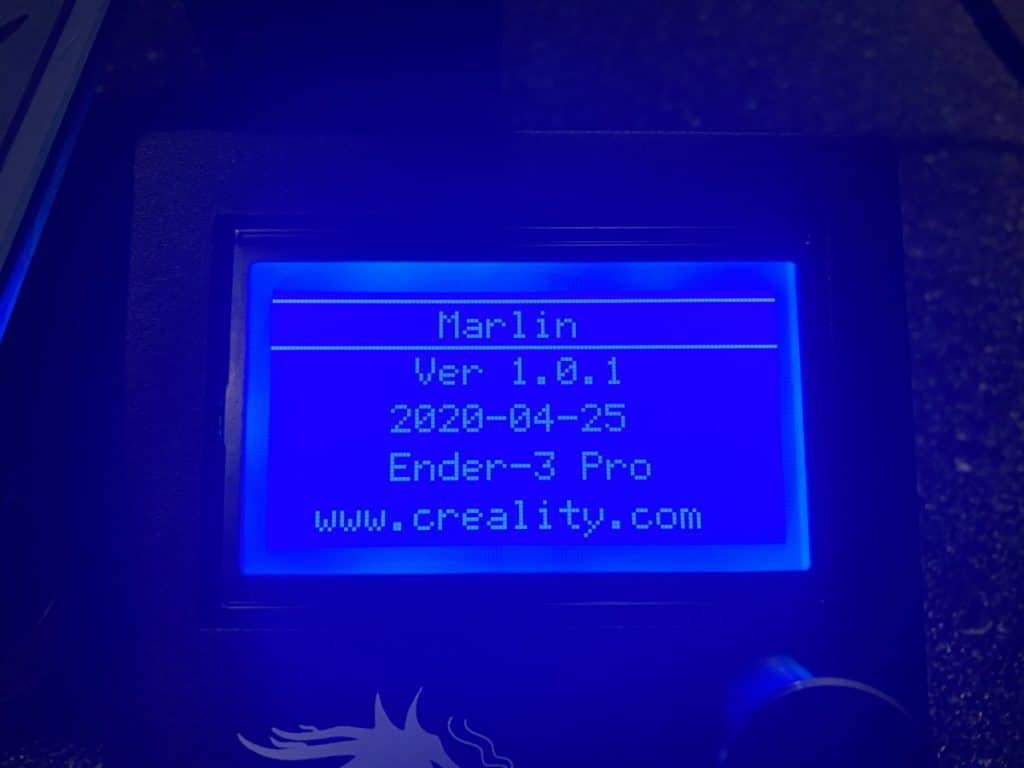
The next thing I like to do is get the current firmware version from the printer. This step is optional, but I like to know the version I’m running before I do the upgrade, and it doesn’t take long to get. You will want to open the menu and go to about printer. Here you will see the current Creality build you are on and the release date. You will just want to make a note of this; no action is required here.
Download the Firmware Package
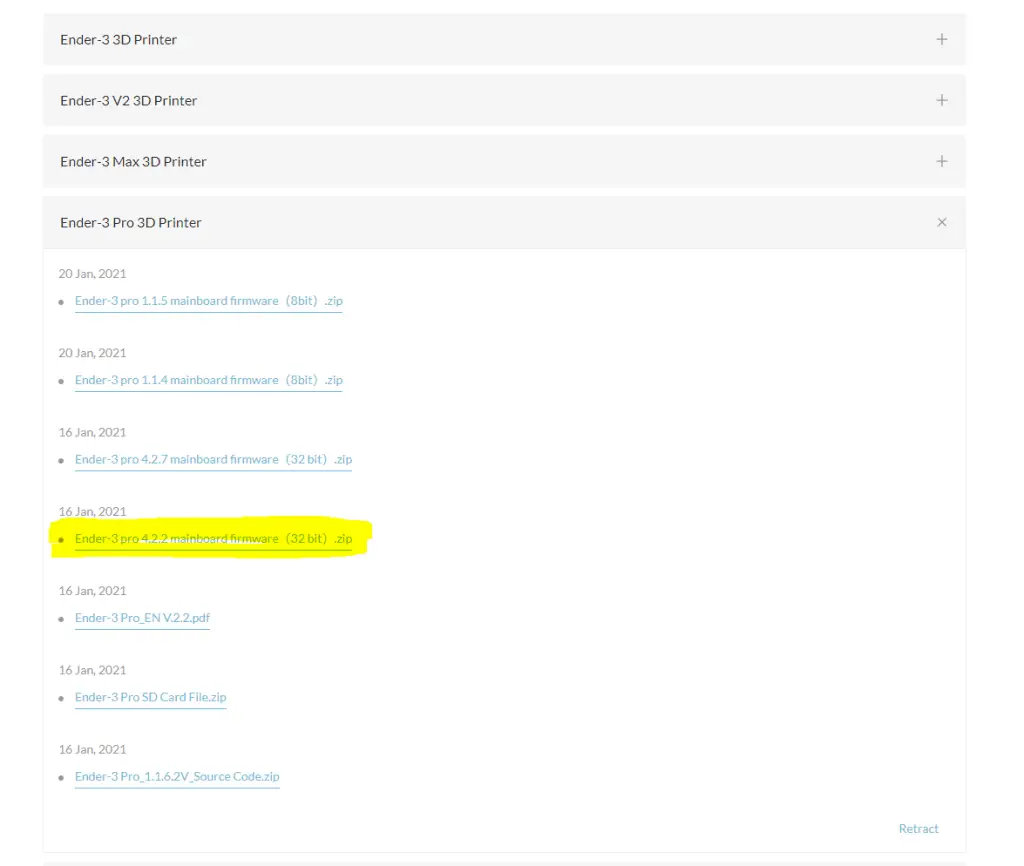
Next, we want to go to Creality’s download site and get the latest firmware for the printer and board combo you are using. In this example, I have the Ender 3 Pro with the 4.2.2 mainboard, so I will want to get the firmware for that.
Move Firmware Package to SD Card
Once you have the firmware bundle from Creality, you will want to unzip the folder and find the actual firmware file you need. In my example, I want to get the “Ender-3 Pro- Marlin2.0.1 – V1.0.1 – English.bin” file that’s under the “Marlin2.0.1 V1.0.1 original version” folder. If you have the BLTouch you will want to make sure you get the file for that. I will cover that in more detail in this article “Guide to Install a BLTOUCH on a Creality 32-bit Mainboard“.
Once you found the firmware bundle binary that you’re looking for, you will want to drag it to an empty SD card that is under 8GB or less.
Install the New Firmware on the Printer
This step sounds harder than it actually is. Assuming you copied the right file to the SD card, all you need to do is put the SD card in the printer and power it on. From there, the printer will pull the file and install it on the printer. The entire process should take less than 30 seconds. Once the printer boots into the standard interface, you can remove the SD card.
Now you will want to make sure the new firmware has been uploaded by following the steps we did to get the initial version. You will go into the menu then go to about printer. From there, you will make sure the version matches what was on the SD card, so 1.0.1 in this example.
One thing to note is that if the new version is the same, you won’t see any changes. Some of the new Creality printers shipped with the latest firmware but many of them have an outdated version, so I just run through the process regardless.
Related Questions
What if I have an 8-bit Creality mainboard? – You will need to install a bootloader on the printer, then push the firmware to it. I created a video covering the process of migrating to the TH3D firmware on an 8-bit board that you can see here.
Is the process the same if I have an SKR Mini mainboard? – Most of the process is the same, but you will want to get the firmware from BTT’s GitHub page.
Recap
It’s necessary to update the firmware when you buy a new 3d printer because many times, it comes with bug fixes, new features, and vendor support. The process doesn’t take much time and can save you from major headaches down the road. You should also look to see if any new releases are available every six months or so to make sure you stay current.
Make sure you check out our YouTube channel, and if you would like any additional details or have any questions, please leave a comment below or join us on Discord. If you liked this article and want to read others click here.

