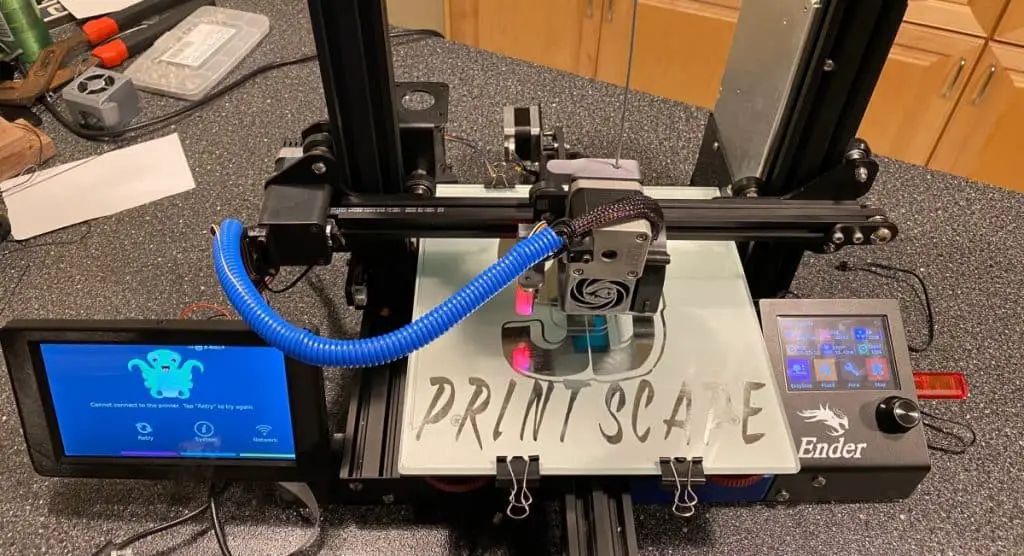
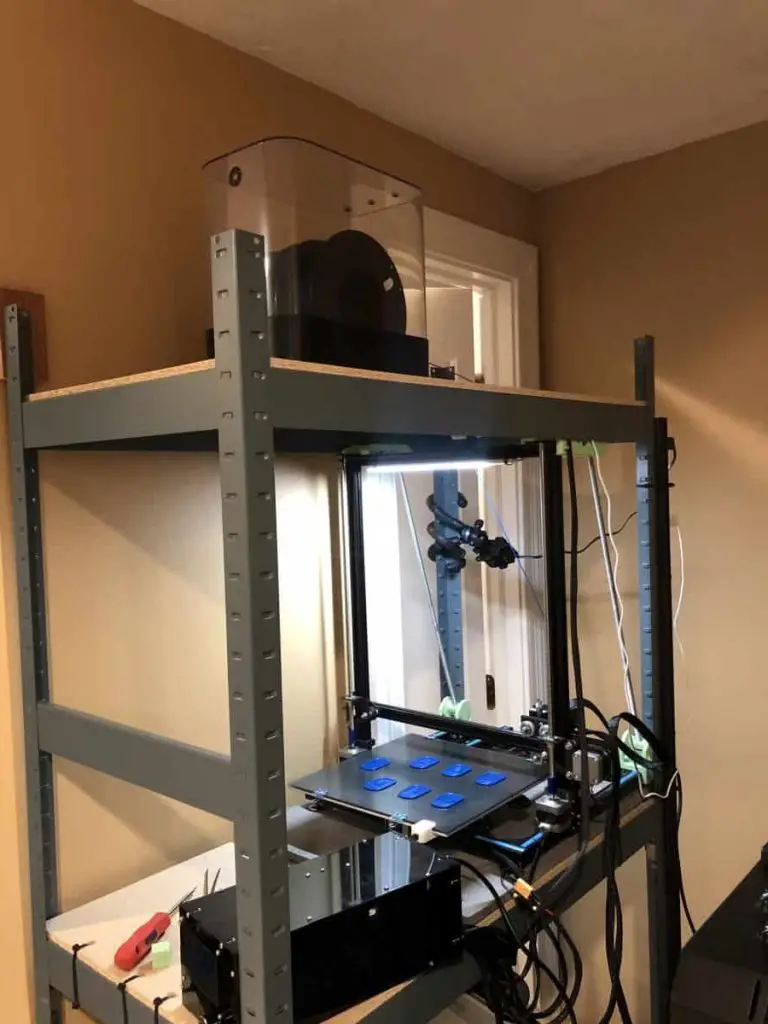
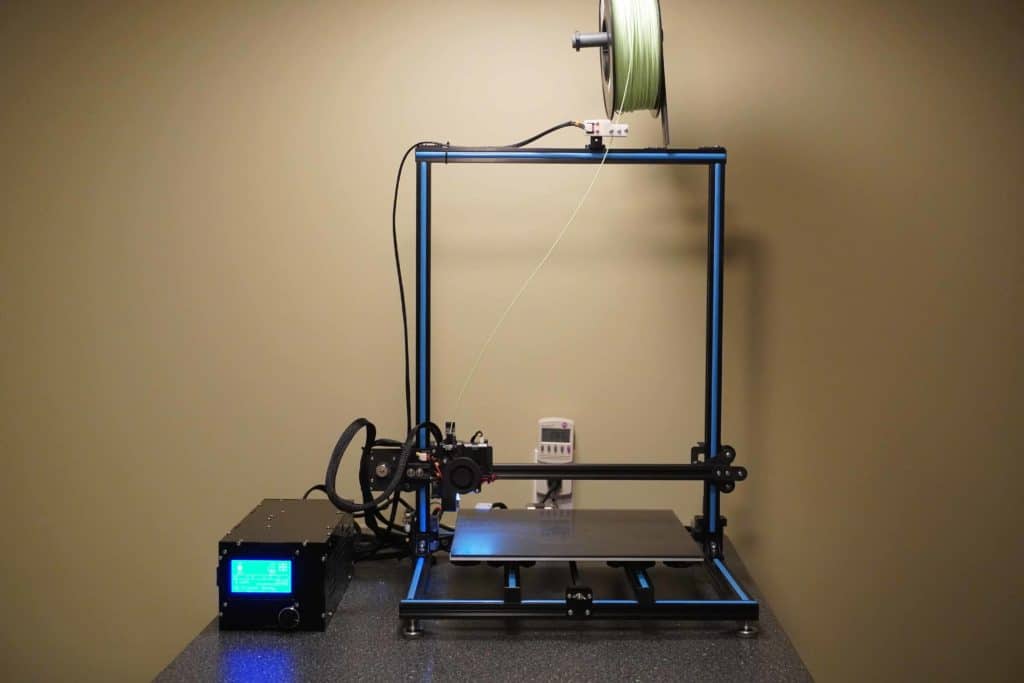
A 3D printer is much more stable and reliable if its table is flat and level. A sturdy table is important because if the build platform isn’t stable, your results won’t be high-quality. So, how do you reduce 3D printer table wobble?
Here are 6 ways to reduce 3D printer table wobble:
- Place your 3D printer on a sturdy table.
- Use clamps to secure the table.
- Add an MDF board to the surface.
- Install metal braces underneath the table.
- Ensure the ground surface is level.
- Add extensions to the table legs.
The rest of this article will describe each method in detail. Read on to learn how to go about each step to get the best results.

1. Place Your 3D Printer on a Sturdy Table
The first step to take is to make sure that the table you’re using is as sturdy as it can be. A sturdy table ensures you have a flat and level platform. If you have an unsteady table, it’s going to be very difficult for your machine to print successfully.
One way to check if a table is sturdy is by checking how much weight it can hold. Make sure that the table can handle twice your printer’s weight without any strain at all.
If you have a heavy printer or if there’s going to be more than one person using the device, try to find something heavier instead — the bigger and better the device, the sturdier its table should be.
2. Use Clamps to Secure the Table
The next step is to use clamps to secure your table. The goal of this step isn’t only to make sure that the table doesn’t move but also that it stays level.
Before clamping down the table or using any other method, make sure that it’s absolutely level in every direction possible. If the surface isn’t flat enough, it’ll negatively affect all of your prints; they won’t be very successful and might not come out as expected.
Here’s how to secure your table with clamps in 5 steps:
- Determine the size of your table and purchase clamps in that size.
- Lay out the clamps on a flat surface to determine which ones are needed for each leg.
- Attach one clamp at a time, tightening until it’s snug against the top of the table leg.
- Repeat steps 2-3 with all four legs of your table.
- Tighten all four screws before removing any loose pieces and debris from underneath your table.
3. Add an MDF Board to the Surface
Adding an MDF board to the surface of your table is a great way to make sure that it’s stable and level so it never has problems printing again.
MDF boards are thin enough that you can cut them with one of your sharpest knives easily. After you’ve cut the board down to the size of your table or 3D printer, secure it firmly into position on top of your table or desk with glue or nails.
Make sure that it sits perfectly flat on the surface before finishing off any loose ends with more glue. If you have time, leave it overnight before using your machine again for the best results.

4. Install Metal Braces Underneath the Table
Installing metal braces underneath your table will make it as sturdy as possible. If you have a large printer, it’ll need to be more secure underneath than a smaller machine.
You can find metal braces in hardware stores and online, and they’re usually effortless to install yourself – all you need is a drill and some screws.
If you’re looking for these handy tools, I recommend getting these Custom Table Legs Metal Table Legs (available on Amazon.com). They’re designed to add stability and strength to your table and come in custom tube sizes, meaning you choose the brace that can handle your printer and other equipment’s weight without a hassle.
Here are the steps on how to install metal braces underneath your printer table:
- Place your metal braces underneath the bottom of your printer table. You’ll have to measure them up so that they’re equidistant on each side and perfectly level with one another. The braces should be placed on the outside edges of the table legs, not directly beneath the center of each leg.
- Use a drill to make small holes in all four corners of each brace, then attach them to the table using screws.
Here’s a great YouTube video that’ll show you how to install braces or brackets on a table’s legs:
5. Ensure the Ground Surface Is Level
Suppose the ground surface isn’t level. In that case, one side of the table will be higher than the other, which won’t help with your printer’s stability.
Here are some signs of an unlevel surface:
- One side of the platform is higher than the other.
- The surface is warped.
- You can see a visible slope from one side of the table to the other.
- Your printer shakes, rattles and rolls when you try to print.
To ensure that the ground surface is as level as possible, you need to do some surveying. Use a spirit level tool or measuring tape to measure the ground surface in all directions.
Make sure that it’s as flat and level as possible before continuing with your project. If the ground isn’t wholly leveled, then there may be problems when you go on to print with your machine — so it’s important to check this step thoroughly.

6. Add Extensions to the Table Legs
Adding extensions to your table legs means that they can support more weight if necessary, yet they’ll remain sturdy enough not to buckle under pressure from above.
Extensions are usually made out of metal and sometimes come with plastic screws at the end for easy installation.
Here’s how to add extensions to your table’s legs in 5 easy steps:
- Measure the size of the table’s legs using a measuring tape.
- Cut each extension to match each leg at your preferred length.
- Make sure that they’re all the same length before inserting them into the open ends of each leg, screwing them in place securely with a drill.
- Repeat steps 2-3 with all four legs of your table for the best results.
- Secure each leg onto the table tightly with at least two screws per extension.
Related Articles
- 3D Printer Nozzle Hitting Prints or Bed – Common Causes and Fixes
- How To Tell if PLA Filament Has Gone Bad
- What Causes Blobbing On 3D Prints?
- How Often Do I Need To Calibrate My 3D Printer?
- 3D Printer Under-Extrusion – Common Causes and Fixes
Make sure you check out our YouTube channel, and if you would like any additional details or have any questions, please leave a comment below or join us on Discord. If you liked this article and want to read others click here.
